Tips and Guide on How to Fix an Old Singer Sewing Machine
Do you have an old Singer Sewing Machine that you want to repair? This article is designed to help provide step-by-step advice on how to fix a Singer Sewing Machine. Aside from the necessary parts and tools, you’ll also need some knowledge in distinguishing its various parts, as well as some practice in simply repairing the machine itself. Let’s get started.
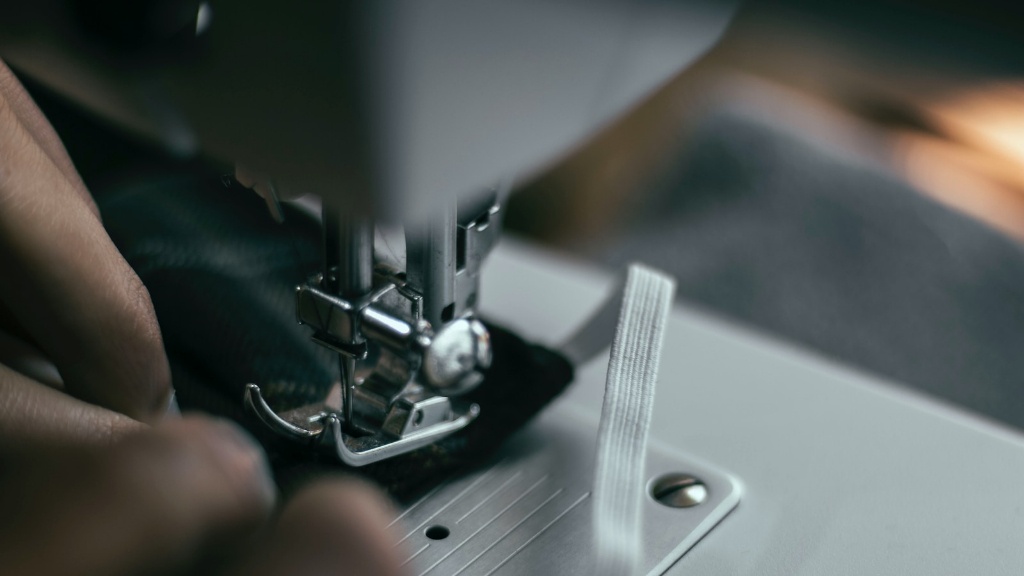
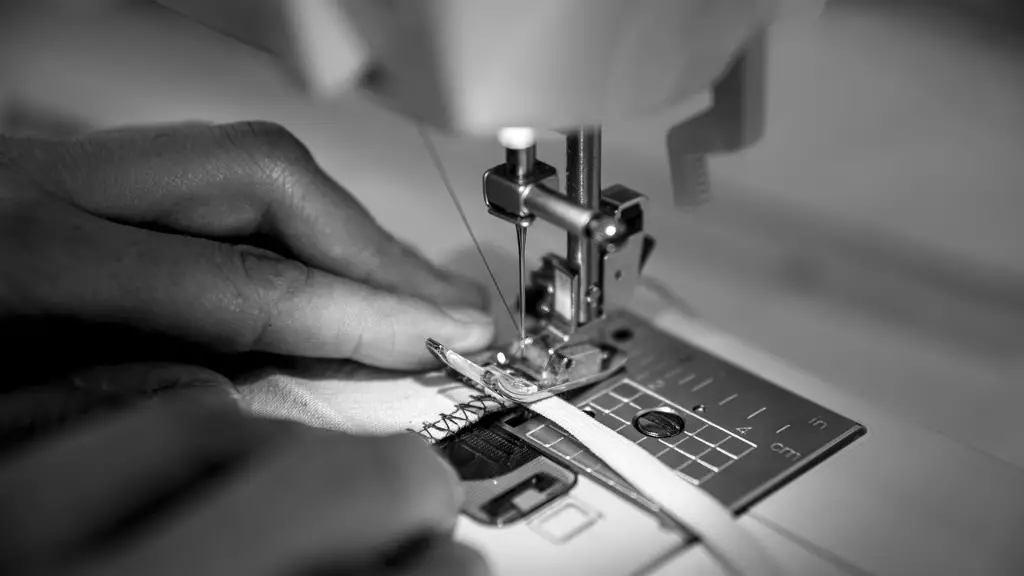
First off, you should familiarize yourself with common sewing machine parts. This includes the bobbin, needle, feed dog, presser foot, and many others. If you can’t identify any of these parts, consult the manual. Furthermore, you should also know the basic mechanics of the machine such as the way the belt loop functions. Knowing the interior parts of a sewing machine is essential in understanding its functions and in being able to repair it.
Once you have a concrete knowledge of the parts of your Singer Sewing Machine, it’s time to do some basic repairs. To begin, use a screwdriver to check the belt loop. If it’s too tight, or you see any signs of cracking, it’s a good idea to get a new belt. Next, check the bobbin area — it should be tight and tensioned. Make sure any cones of metal are securely connected and the area is clean from lint. If any dust builds up, you can use a small brush to clean it.
Next, you’ll want to take a look at the needle. If the needle is bent, rusty, or otherwise warped, you’ll need to replace it as using it will damage your clothing. To replace the needle, use a needle removal tool. Once you’ve removed the old needle, replace it with a new one that’s specially designed for Singer Sewing Machines.
Your Singer machine should have a metal screw located next to the feed dog. This screw is the mini-slide, and it helps to adjust the stitch length. To adjust the stitch length, simply turn the metal screw until you get the desired length. If you’re doing straight-stitching, you should aim for a 0.2mm stitch length. Once you have the correct stitch length, use a long screwdriver and adjust the tension on the back of the machine.
Next, take a look at the presser foot. The presser foot should be adjusted to the proper tension. To adjust the presser foot, simply turn the screw on the back of the machine. If the presser foot is too tight, it can cause mis-stitches, and if it’s too loose, it won’t hold the fabric properly. Adjust the tension until you get exactly the kind of stitches you want.
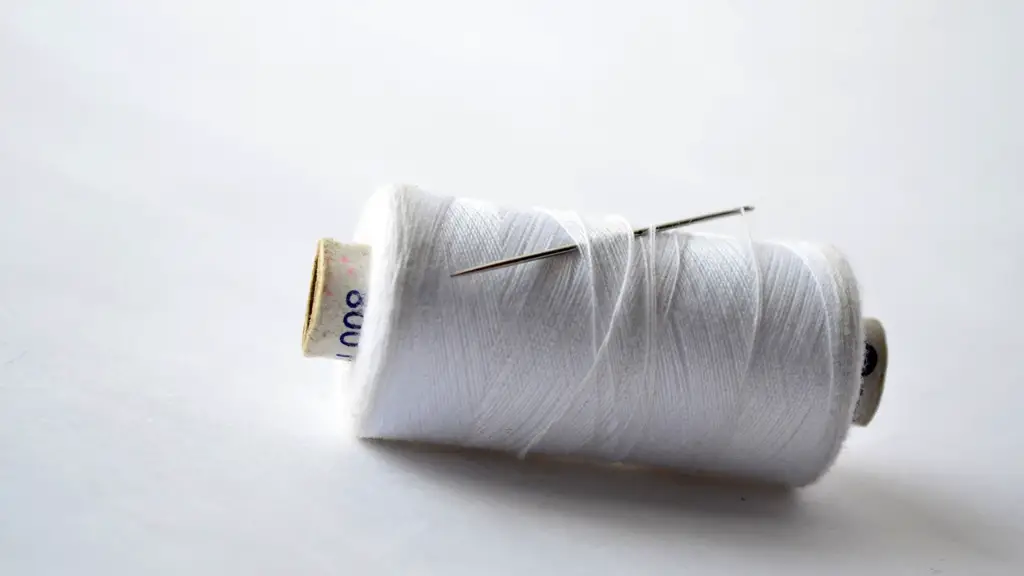
Finally, check the spool pin. This pin holds the spool of thread. It’s important to make sure it’s fastened tightly so that the thread doesn’t slip off. When replacing the thread, make sure it’s wound around the spool in the correct direction. This will ensure that it feeds properly.
Checkall Fittings
Regularly checking the fittings of an old Singer Sewing Machine will help prevent major breakdowns and costly repairs. Once you’ve gone through the steps listed above, it’s time to check all the fittings. Make sure all screws, clips, and springs are securely in place. Also, take a look at the drive belt and make sure it’s tight and not cracked.
Additionally, check for any friction around the wheel and lever area. If there is any damage or wear and tear, it’s a good idea to lubricate them. You can find lubrication oils for Singer Sewing Machines for a really affordable price. This will help keep the machine running smoothly and efficiently.
Another important thing to check is the stitch pattern. Make sure the stitch pattern is correct, and the machine is sewing properly. If the stitch pattern is off, it could indicate a loose tension wheel. Tighten the wheel and check again, but be careful not to overtighten it.
Finally, don’t forget to check the overall condition of the machine. Look for any signs of rust or corrosion that could indicate damage. If you see any rust on the metal, use a special rust remover to clean it. If the machine is too badly damaged to repair, then it’s best to replace it.
Try the Machine
Once you are finished inspecting and cleaning your Singer Sewing Machine, it’s time to try it. Select a piece of scrap fabric and start sewing. If the machine is working properly, the fabric should be moving through without any jams or kinks. Make sure to adjust the tension wheel as necessary to get the desired stitch pattern.
Try a few different patterns and see how the machine works. If the machine is still giving you trouble or you see any signs of malfunctioning, you may want to check for worn or loose parts. If something is loose or worn out, replace it right away with one that’s specifically designed for the Singer Sewing Machine.
You may also want to take a look at the feed mechanism and make sure everything is properly aligned. Check to make sure the upper thread isn’t getting caught in the gearing. Also, make sure everything is in place so that the fabric moves through without any issues.
The Benefits of Maintaining an Old Singer Sewing Machine
Maintaining your old Singer Sewing Machine can be an enjoyable task. Not only will it help you create beautiful clothing with ease, but it will also ensure that your machine lasts for many years to come. Many Singer machines are designed to last generations, and with proper maintenance, your machine can continue to bring joy and creativity to your life.
Furthermore, maintaining an old sewing machine will give you a deeper appreciation of its history. Singer Sewing Machines have a long and rich history in the fashion industry, and by taking the time to understand the workings of your machine, you’ll gain a better understanding of its role in fashion and the history of Singer itself.
In addition, regularly maintaining an old Singer Sewing Machine will help you create professional-looking garments with ease. If you’re an amateur seamstress, you’ll find it easier to make clothing with a machine that is well-maintained. The process of maintaining the machine is a good way to learn about sewing and will help you refine your skills.
Where to Find Parts for Old Singer Sewing Machine
If you’re looking for parts for an old Singer Sewing Machine, there are a few places you can look. The first is the Singer Parts Store. Here, you’ll find a wide range of parts for Singer machines, ranging from machines dating back to the 1940s. Additionally, there are several online stores that specialize in Singer parts, such as SewingMachineParts.com.
Also, you can find plenty of parts and tools on eBay and Amazon. Many sellers offer vintage parts and tools, some of which are no longer manufactured. And of course, it’s always a good idea to ask around. If you know someone who repairs Singer machines, they may have certain parts that you need.
Tools Needed for Repairing an Old Singer Sewing Machine
In order to effectively repair an old Singer Sewing Machine, you’ll need a few tools. The first is a screwdriver. You’ll need this to unscrew and tighten various screws around the machine. Additionally, you should also have a needle removal tool on hand. This will be used to safely remove the needle when replacing it.
You should also have a small brush that can be used to clean the bobbin area and other small crevices. You may also want to invest in a good lubricant, as this will help keep the machine running smoothly. Finally, it’s a good idea to have a spare belt loop and needle on hand, just in case.
Conclusion
In conclusion, repairing and maintaining old Singer Sewing Machines is a fun and rewarding task. It’ll take some knowledge in distinguishing its various parts, as well as some practice in simply repairing the machine itself. But with the right tools and knowledge, you’ll be able to make sure your Singer Machine is constantly running at the optimal performance. A well-maintained and cared-for Singer Sewing Machine will be able to last generations, creating beautiful clothing and memories along the way.
