Inspecting the Machine
Before attempting any repairs, it is important to inspect the machine and make sure it is in working condition. Check the wiring and power sources, ensuring that all connections are secure, and inspect the machine for any signs of wear. When inspecting, be sure to look for any loose screws, rust spots, and signs of general aging. If the machine has been sitting for some time, it might need a good oiling to get it up and running again.
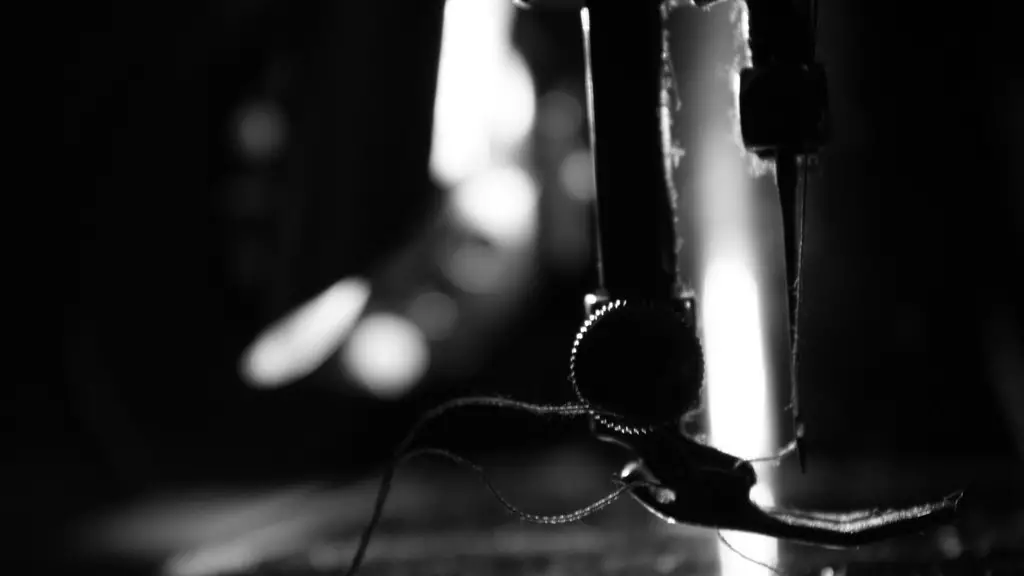
Investigate to make sure that the needle clamp, the needle, and the bobbin are in good condition and make sure to spend a little bit of extra time examining the bobbin case for any signs of wear. If the machine has been taken apart for cleaning, make sure to put it back together correctly, as incorrect assembly can lead to bigger repairs that could be difficult to fix.
Reconnect the wiring and turn on the machine to check the stitching. If the stitching has become loose, tighten the tension knob – if it’s winding too tight, reduce the tension to ensure proper stitch length and size.
Checking and Replacing Parts
Inspect all machine parts to make sure they are in working order. If the machine has suffered a lot of wear and tear, it may be time to replace some pieces. It’s best to use genuine parts as opposed to generic, outside-brand parts that may not last. Start by replacing the belt and any other belts, then replace any broken springs and other loose parts.
If the belt has become frayed or porous, it’s likely time to replace it with a new one. Ensure the belt is in contact with the flywheel to ensure it will operate correctly and make sure the machine’s power source is plugged in properly.
Depending on the model of the machine, it may be necessary to replace the needle plate and presser foot as well. Be sure to put them back correctly and make sure the bobbin threaded correctly, so the tension of the stitch is balanced.
Cleaning the Machine
Clean the machine thoroughly using a cloth and a vacuum cleaner. Dust, dirt and lint have the potential to cause major problems with the machine, such as thread jamming and misalignment of the needles. Make sure to clean the needle plates, and other components, such as the bobbin case and presser foot.
Cleaning is a vital part of maintaining your sewing machine properly. Make sure to take the time to clean the machine every time it is used, as lint and grime are the most common causes of malfunctions. This is especially important for older machines, as age can lead to excessive wear.
Oil and Lubricate
If the machine has sat for a while, it may need a good oiling. Many sewing machine oil cans come with an oiling needle, which is ideal for oiling these machines. Be sure to research the specific model of the machine so you know where each oiling point should be, as these differ from machine to machine.
After oiling, make sure to lubricate all moving parts with a light lubricant oil. This will help ensure the smooth and reliable operation of the machine and keep it running smoothly in the long run.
Caring For Moving Parts
Inspect the moving parts regularly to ensure all pieces are properly movable. This includes checking the needles, bobbin holders, tension discs, and presser foot. If any of the pieces seem to be stuck or otherwise inoperable, make sure to take the time to repair them.
Also, check the threads for any signs of fraying or tangling, and take the time to clean out any lint and dust that may have accumulated. Lint and dust can damage the machine over time, so taking the time to clean it out is essential.
Testing Out the Machine
Once the machine has been cleaned, lubricated and oiled, it’s time to test it out before returning it to the user. To do this, thread the machine’s needle and select the stitch you want to use. Select the right type of fabric and set the foot pressure accordingly.
Begin sewing and make sure the stitch is as expected. If there are any problems, try adjusting the tension to a lower setting, or further inspection may need to be done. Also, take the time to inspect the machine for any loose parts and make sure all pieces fit correctly.
Taking Care of the Machine
Sewing machines are a great tool and are very useful when it comes to repairs and modifications for clothing and other craft projects. As such, it’s important to make sure the machine is cleaned and taken care of properly in order to keep it running smoothly and effectively.
Regular maintenance is a must, and being diligent in inspecting the machine and fixing any faults as they arise will help ensure the machine’s longevity and proper functioning. Taking the time to properly repair and maintain an older Singer sewing machine will guarantee many years of quality sewing.
Preventive Maintenance
One way to keep a Singer sewing machine in working order is by taking the time to do preventive maintenance. This means cleaning and oiling the machine on a regular basis, and making sure all parts are properly adjusted. It is also important to check the tension of the machine regularly, as this is key for proper stitch length and size.
Wipe down the machine after stitching to get rid of any debris that is on the machine or in the stitches. Replacement parts are a good idea as well, as older machines may suffer from wear and tear that can be difficult to repair. It is best to replace parts as soon as they are showing signs of damage, in order to avoid bigger problems down the line.
Keeping Track of Wear and Tear
A key component of keeping a Singer sewing machine in working order is tracking the wear and tear on the machine over time. Take the time to inspect the machine on a regular basis, looking for signs of wear. Track the dates of any repairs, and be aware of any malfunctions – even minor ones, as they could point to more serious issues.
Write down any issues the machine may be having, such as tension problems, skipped stitches, improper threading, or any other problems. Keeping track of these issues will help in diagnosing any potential problems, as well as identifying her what needs to be done to repair the machine.
Troubleshooting
If the machine has been properly maintained but persists in malfunctioning, it may be time to do some troubleshooting. Start by examining any parts that are clearly worn or damaged, and if needed, replace them with compatible parts. Be sure to test the machine’s functionality after replacing any parts to make sure it functions properly.
Additionally, look for any wires or connections that may be faulty. Check if there are any short circuits and double-check the connections to make sure the wiring is secure. If necessary, consult the user manual or contact a professional to help identify the issue.
When troubleshooting, professional assistance may be needed. If the problem persists, it is best to avoid attempting complex repairs as these can cause further damage and possible loss of warranty on the product.
