Nothing can be more frustrating than threading the bottom of a sewing machine. It is one of the most difficult tasks that sewing machine owners face, as it is often tedious and time consuming.
However, there is no need to give up! All it takes is a few simple steps to get the job done.
First of all, it is important to determine the type of sewing machine you have. Different sewing machines have different necessary threading sequences and threading paths.
Once you have identified the type of machine, you need to inspect the base of the machine for the bobbin case. This is the part of the machine that is responsible for your bottom thread.
Once you have located the bobbin case, open it with a screwdriver. Carefully remove the bobbin from the case and place it on a clean surface.
Now check the thread’s tension. To do this, pull the thread gently between your fingers and it should have some resistance. If the thread is too loose, it may slip out of the take-up lever and cause problems.
If the tension is not right, adjust it using the little dial beneath the bobbin case.
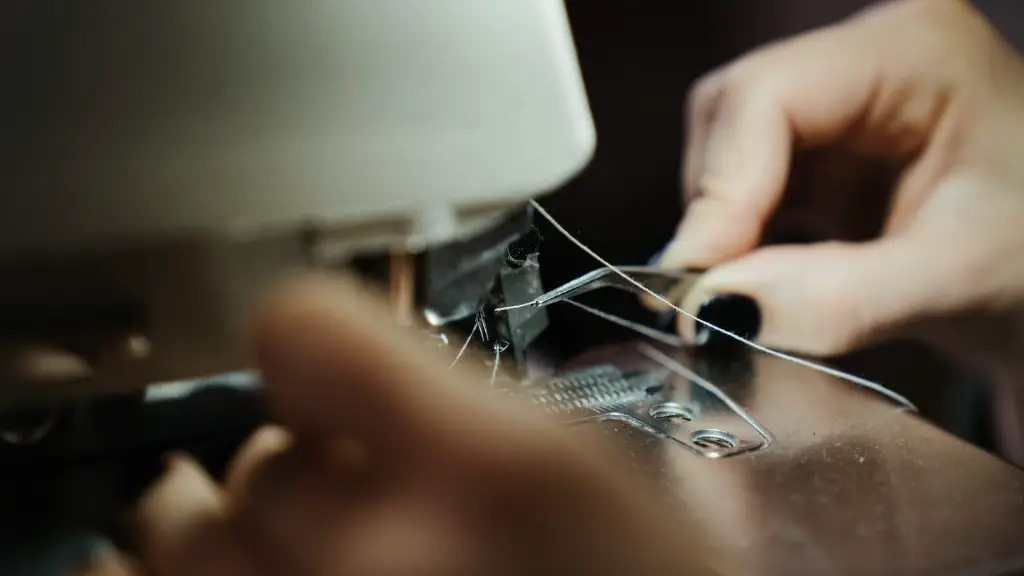
Once you have fixed the tension, trace the threading pathways that are indicated on the machine. These pathways will lead you to the thread-takeup lever, needle-clamp screw, and tension discs.
You need to insert the thread into each of these components in the correct order.
Finally, put the bobbin back into the machine and ensure the thread is looping around the bobbin-case tension spring.
Take Care When Threading
Since the machine won’t work properly unless the thread is threaded properly, it is important to take your time when threading the machine.
It is easy to overlook small details when threading the machine, such as a misaligned thread, a kinked thread, or a tangled thread. Double check that everything is in order before you start sewing.
Also, if you are new to using a sewing machine, start with simpler tasks to get a better understanding of how the machine works and the various parts.
Practicing with simpler tasks will also help you become familiar with the threading process. This way, you can spot any errors or problems more quickly, saving time and energy.
Additionally, if you find yourself getting confused, it is always a good idea to take a look at the manual for guidance.
Choose the Right Thread
It is also important to use the appropriate type of thread for your task. The thread must be made from a strong material, such as polyester or nylon, that can withstand the strong tension applied at the needle area.
Make sure the thread you choose is the correct size for the type of project you are working on. Generally, a thicker thread is needed for heavier fabrics and thinner threads are better suited for lighter fabrics.
To add to the durability of the stitching, you may also want to use a stronger thread, such as quilting cotton or silk thread.
Using the wrong thread can lead to lower tension, weaker stitching, and even jamming. All of these can cause terrible frustration and significantly slow down your work.
Therefore, make your selections wisely and keep a regular supply of quality threads on hand.
Maintain Your Sewing Machine
Keeping your sewing machine well-maintained is also essential for efficient threading. You should regularly check the machine for any signs of wear and tear. This includes inspecting the needle, the presser foot, and the bobbin winder.
In addition, check the machine’s tension and adjust it if necessary. For example, if you notice that the stitches are too loose or too tight, the tension could be off. Adjusting the tension is an easy process and can improve the quality of your stitches.
Finally, keep your sewing area clean and free of excess lint. Regular brushings can help keep the machine free of dust and dirt. This will ensure that the machine runs smoothly, and you won’t have to worry about thread jamming.
Prevent Thread Jamming
Thread jamming is a common problem that often occurs when the thread is not threaded correctly. To prevent this, make sure the thread is looped around the tension disk and the bobbin case.
Also, inspect the machine for any snags or knots in the thread. If you find any, gently cut them out and replace the thread.
Additionally, check the machine’s tension setting. If it is too high or too low, the thread can easily get jammed in the machine. To prevent this, adjust the tension to the manufacturer’s recommended tension level.
You can also avoid thread jamming by using the right needle. The wrong needle size can cause the thread to get stuck in the fabric. Consequently, you should use the indicated needle size for the fabric and thread you are working with.
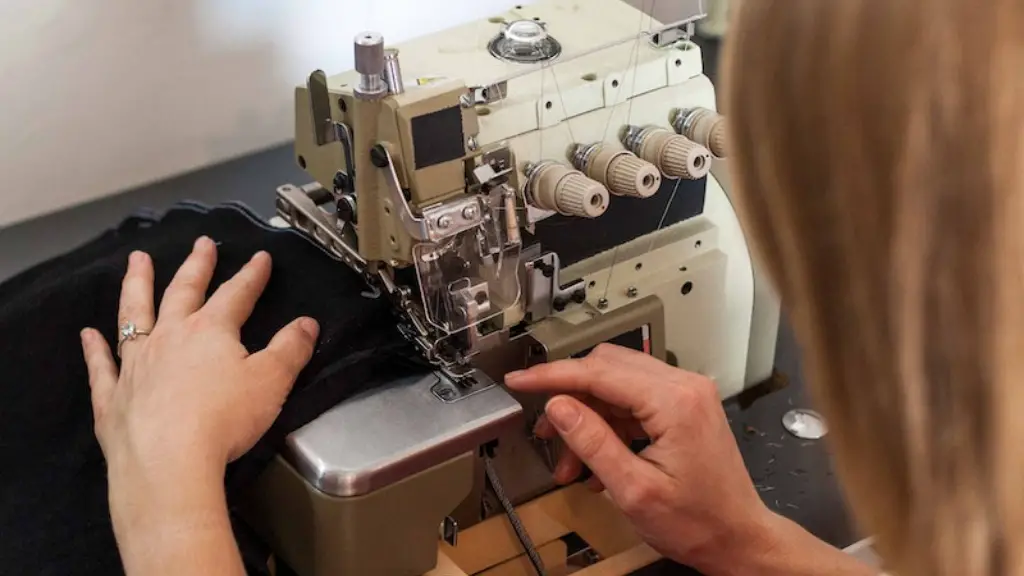
A second option is to use an overlock foot. This foot attaches directly to the bobbin case and helps make sure the thread does not get tangled or caught in the bobbin.
Troubleshooting Thread Jamming
If your thread does become jammed, the first step is to turn the machine off and remove the fabric from the machine. Then, carefully remove the bobbin case and look for any threads that are stuck. Check for any knots and snags, and then carefully cut them out.
Additionally, you may have to remove the thread spool and check for any knots there. You may also need to loosen the tension on the thread.
If the problem persists, it is best to contact your sewing machine manufacturer or an experienced sewing machine technician. They can help you identify the source of the problem and provide recommendations for resolving it.
Summary
Threading the bottom of a sewing machine is a tricky and often time-consuming task. However, by following the right steps and using the right thread, it is possible to get the job done quickly and easily. First, determine the type of machine you have and inspect the bobbin case. Make sure the thread’s tension is correct and trace the threading pathways indicated on the machine. Finally, keep your sewing machine well-maintained and use the correct thread for the project. Additionally, troubleshooting thread jamming can help you resolve any unexpected issues that occur.

