Uneven stitches are a frustrating result of an otherwise enjoyable sewing experience. It’s a problem that can be easily fixed with a few simple steps. Most of the time, it’s caused by an issue with thread tension or the bobbin. Many sewers have found that correcting the tension settings for both the top and bottom thread can solve the issue.
Start by making sure your sewing machine is properly threaded. Check both the top thread and bobbin thread to make sure that each is tensioned correctly and feeding into your projects. Different machines can have different requirements, so it’s important to consult your user manual if you’re having trouble.
Once you have the threads properly tensioned, you will want to see how the stitches turn out. Often times, the culprit is a miss-tensioned bobbin. It’s important to know the basics of how a bobbin works to ensure that yours is properly tensioned. A bobbin is a small spool that holds thread and is placed into the sewing machine beneath the needle. It is the bobbin that feeds the how the stitches will look.
If your bobbin tension is off, you may need to adjust it. To do this, loosen the bobbin tension screw and try the machine to see if the stitches are improving. If the stitches remain uneven, try tightening the screw a bit more. The bobbin tension should be just tight enough to hold the thread without pulling too much.
If adjusting the tension does not improve the stitches, it could be a problem with the machine itself. It’s possible that a stitch plate may need to be replaced or that the feed dogs have been overfilled and need to be cleared. Be sure to contact a qualified technician if you suspect one of these issues.
Aside from these steps, some sewers have found that basic maintenance helps to prevent uneven stitches in the future. Keep the machine clean with regular dusting and lubrication. Change the needle if it starts to dull and make sure the presser foot and stitch plate are in good condition.
How to Adjust a Sewing Machine’s Tension
Adjusting the tension on a sewing machine is often the best way to combat uneven stitches. It’s important to check both the top thread and bobbin thread to make sure that each is tensioned correctly. Start by checking your user manual to find the recommended settings for your machine. This can be done by loosening the tensioner screw at the top of the machine, which will vary depending on the make and model.
Then try testing the machine. If the stitches are still not even, adjust the tensioner one more time and try it again. This process may take some trial and error but taking your time will pay off with evenly sewn stitches on your projects.
When you have found the perfect tension for your machine, take note of it for future reference and make sure to stick to it when sewing. Doing this will ensure all of your projects are even and beautiful, every time.
How to Fix a Jammed Bobbin
One common problem sewers run into is a jammed bobbin. If left unchecked, a jammed bobbin can result in uneven stitches. The first step is to look for signs that the bobbin has malfunctioned. Look for build-up of thread around the shuttle hook inside the bobbin case. If you see this, it’s a good sign that you may need to clean out the bobbin case.
The best way to clean a jammed bobbin is to remove the case and gently unwrap the thread. Some cases require tools to remove, so consult the user manual of your machine to find out the right way to do it. Once it’s out of the machine, carefully unwind any tangled thread and discard any debris. Then re-insert the bobbin and try the machine again.
If the bobbin was jammed from an overload of thread, it’s a good idea to invest in a thicker quality of thread. This will usually increase the lifespan of the bobbin and reduce the chances of it jamming again.
If the issue persists, contact a professional technician for help and inspect the bobbin and shuttle hook for any wear or damage. Replacing these if necessary can help to get your machine back in working order.
How to Troubleshoot a Skipped Stitch
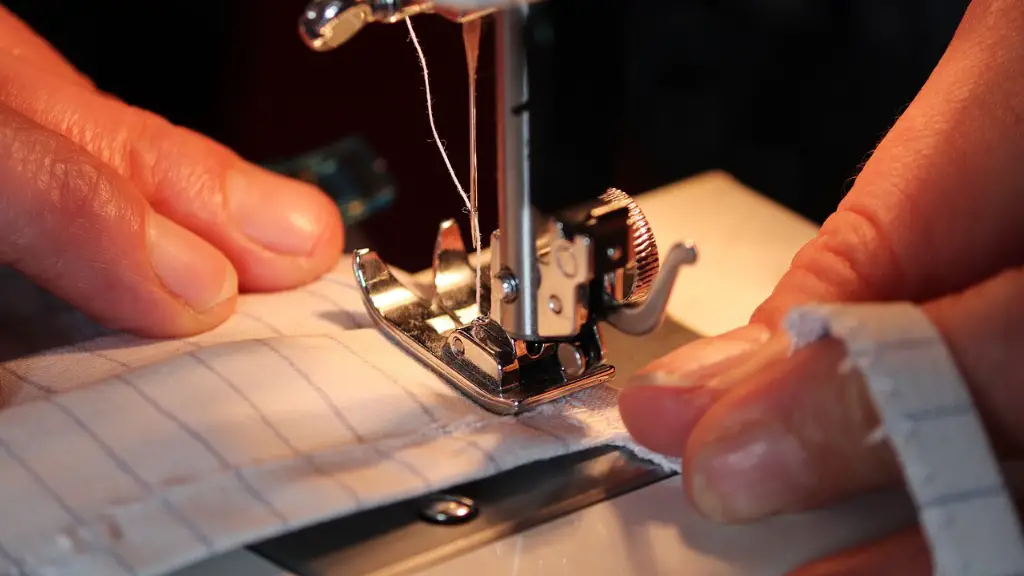
If you find the stitches on your projects are skipping, it could be because the needle or presser foot isn’t correctly installed. Make sure that needle is inserted correctly and that the presser foot is down against the fabric before you start stitching. Doing this will keep the needle correctly aligned and help it to pass through the fabric easily.
Another culprit could be the needle itself. Needles can become bent or dull over time. If this is the case, replacing the needle with a sharp new one is the best way to get back to consistently even stitches. Be sure to use the right size needle for your fabric and switch them out regularly for the best performance.
If neither of these steps help to resolve the issue, it could be time to oil and clean your machine. Dust and lint can build up, causing the machine to jam and resulting in skipped stitches. Cleaning the machine will help to keep the mechanisms running smoothly and reduce the chance of the needle skipping over material.
How to Prevent Uneven Stitches
Ultimately, prevention is key when it comes to avoiding uneven stitches. One of the best ways to keep your machine working in top condition is to keep it properly maintained. Clean it out with a silicone-free oil every few months and dust it regularly to keep the mechanisms clear of lint and dust.
Another way to keep your machine at its best is to use the right tools and make sure they are in good repair. Make sure the right needles and threads are used for the fabric and replace the needles frequently. Check the presser foots and stitch plates often and only use good quality ones to get the best performance.
When it comes to thread, it’s best to use thread specifically designed for your machine. This will ensure that it moves through the machine smoothly and won’t cause any jamming. Also, be sure to spool the thread correctly so that it doesn’t get stuck in the works.
By following these steps, you can keep your machine running smoothly and your projects looking professional with evenly sewn stitches each time.
How to Check Threads and Thread Tension
Checking the threads and thread tension on your sewing machine is a crucial step to keeping your projects looking great. First, make sure that your machine is threaded correctly, both at the top and in the bobbin case. To determine the correct tension for the threads, consult your user manual for the recommended settings. Different machines can have different requirements, so it’s important to stick to the instructions for the best result.
To adjust the thread tension, you can use the tensioner screw located at the top of the machine. Many machines will have a numbered dial which will help make it easier to set the tension. Start by loosening the tension and try the machine to see if the stitches are improving. If they still remain uneven, try tightening the screw a bit more. The thread tension should be just tight enough to hold the thread without pulling too much.
Once you’ve adjusted the tension, take note of the setting for future reference. Then take a few minutes to check the threads in the bobbin case. Make sure they are wound correctly and that the bobbin is properly adjusted. Keeping the threads and bobbins properly tensioned and wound is key to achieving beautiful and consistent stitches.
Other Uneven Stitch Solutions
Aside from checking the machine, threads and bobbins, there are a few other simple solutions for uneven stitches on sewing machines. Many sewers like to use stabilizers, which can help to reduce puckering and looseness of the material. Additionally, if working on larger areas, consider using a walking foot seam. This will help evenly distribute the layers compared to regular machines without a walking foot.
Also, consider using a tension disk to help with heavy fabrics. Tension disks are designed to hold the fabric in place for improved stitching precision and accuracy. They can be used on both the top and bottom tension, depending on the type of fabric being used and the weight of the project. Be sure to consult your user manual or a professional technician to find the right tension disk for your needs.
Finally, move your presser foot forward to reduce chances of uneven stitches. This is especially useful when sewing on a thicker fabric which can slip or move around, resulting in an uneven seam. Moving the presser foot forward will keep the fabric in place and unscathed throughout the entire stitching process.
