1. Diagnosing the Needle Problem
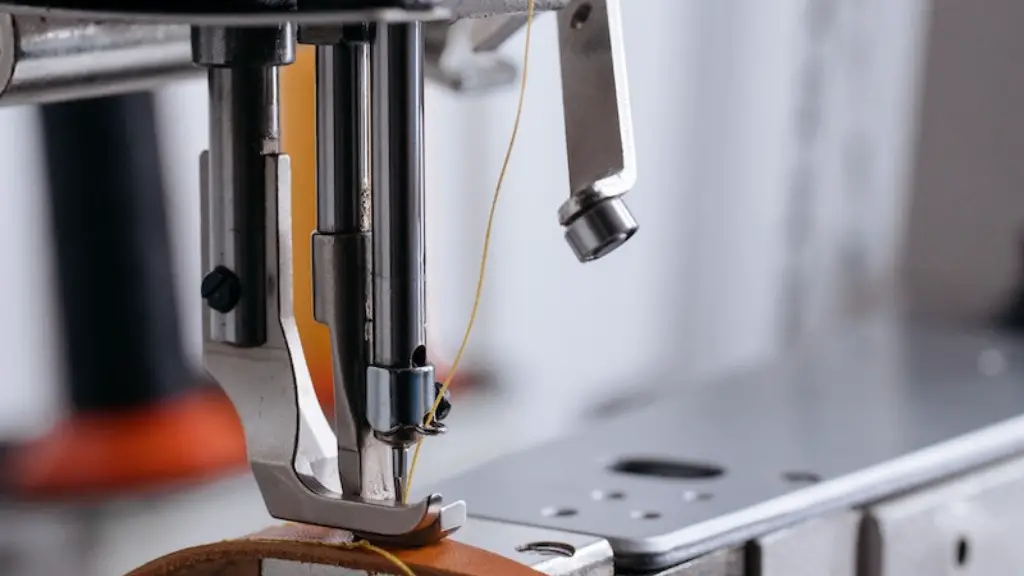
When a sewing machine needle becomes stuck inside the machine, the cause is usually due to the tension settings being too high and the needle bending. Before attempting to remove the needle, it is important to understand where exactly it is stuck. This can be done by carefully checking the bobbin casing, throat plate, and feed dogs for any sign of the needle.
In some cases, the needle may have broken off inside the machine. Inspecting the needle for any broken pieces is necessary before attempting to remove the needle from the sewing machine. If any pieces of the needle are found, using tweezers to gently remove the pieces is recommended.
If the needle is stuck in place, it is best to turn off the machine, unplug it and wait a few minutes for the needle to cool down before attempting to remove it. This is because if the needle is still too hot, it may expand and become even more stuck.
2. Using the Right Tool
In order to safely and successfully remove a needle from a sewing machine, it is necessary to use the right tools. This may include a pair of tweezers, a slot screwdriver, and a needle clamp. Using the wrong tool or one that isn’t strong enough can cause further damage to the machine.
It is also important to use caution when attempting to remove the needle. Poking and prodding too hard and in the wrong place can also cause damage to the machine, as well as injuring oneself. It is best to only use the tools listed above, and to do so in a slow and gentle manner.
3. Taking the Needle Out
Before attempting to remove the needle, it is important to check that the machine is unplugged. Then, the slot screwdriver can be used to slowly and gently raise the needle as much as possible to get a grip on it with the tweezers or needle clamp. Care should be taken not to force the needle too much, as this could cause further damage to the machine.
Once the needle has been raised high enough, the tweezers or needle clamp can be used to gently grab hold of the needle shaft, and then pull out the needle in a slow but steady motion. Be sure not to jolt or jerk the needle as this could cause it to break apart or cause further damage to the machine. If the needle still won’t come out, use a bit of oil or lubricant on the needle to help loosen it.
4. Preventing Needle Damage
There are several steps one can take to prevent needle damage in a sewing machine. First, check the needle for any signs of wear and replace it if needed. Also make sure the tension settings are properly adjusted before sewing, as too much tension can cause the needle to bend or break.
It is also important to use the right needle for the fabric being sewn. Different types of fabrics require different sizes and types of needles. Using the wrong type of needle could cause damage to the fabric and the needle itself.
In addition, make sure to oil the machine regularly to ensure that it is operating in its best condition. Oil helps keep the machine functioning properly and prevents unnecessary wear and tear on the components.
5. Troubleshooting Difficulties
If, after following all the guidelines listed above, the needle still refuses to come out, it is likely that the machine is damaged in some way. This can be caused by a number of things, including the needle being bent or broken, or the needle shaft being stuck in the machine due to poor lubrication. If the needle is bent or broken, it is best to replace it with a new one.
If the needle shaft appears to be stuck due to poor lubrication, use a bit of oil or lubricant on the needle shaft to help it come out. If the needle still won’t come out, take the machine to a professional to have it inspected and repaired.
6. Cleaning the Machine
After removing the needle, it is important to clean the machine and make sure it is properly lubricated. Check for any lint or debris that may have gotten caught in the bobbin mechanism or other areas of the machine, and remove it with a soft brush.
After the machine is clean, use a good quality machine oil and lubricating oil to ensure that the machine is working properly and efficiently. This will also help prevent further needle damage in the future.
7. Storing the Needles
After removing the needle, it is important to store it properly to prevent damage. Store it in an airtight container to protect it from moisture and dust. Be sure to label each size and type of needle so they can quickly be identified and used.
In addition, it is important to inspect every needle before using it. Check for any signs of wear or damage, and replace it if necessary. Proper storage and regular inspection of needles will help prevent further needle damage.
8. Working with Professionals
Although some people may feel comfortable attempting to remove a needle from a sewing machine on their own, it is always best to work with a professional. Professional repair shops have the correct tools and expertise to safely and effectively remove any stuck needle from a sewing machine.
Furthermore, working with a professional can help identify any underlying issues that may be causing the needle to become stuck in the first place. This can also help prevent any further damage to the machine, and save time and money in the long run.
9. Maintaining the Machine
To prevent future needle damage, it is important to regularly maintain the sewing machine. This includes cleaning the interior and exterior of the machine and replacing any worn parts. A regular maintenance schedule should be established and kept in order to ensure the machine is operating properly.
In addition, it is important to inspect the machine and its components before use. This includes checking the needle, bobbin tension, feed dog, and other parts of the machine. Take the time to periodically adjust the tension settings as needed, and make sure the machine is lubricated properly.
10. Taking Safety Precautions
When attempting to remove any stuck needle from a sewing machine, safety precautions should always be taken. Make sure the machine is unplugged and the needle is cooled down before touching it. Wear protective eyewear and gloves to protect against injury. Additionally, be sure to use the correct tools and gently move the needle in order to minimize the risk of damage to the machine.
