Introduction to a Sewing Machine
Making clothes and accessories can be a great pastime and a fun and rewarding hobby. Sewing is a skill that has been around for centuries, and still today, many people use it to create their own fashions and accessories. Getting a sewing machine ready for use can take some time and effort to ensure that everything runs smoothly. In this article we’ll discuss the steps for how to get a sewing machine ready.
Clean and Oil Moving Parts
The first step to any successful sewing machine setup is to make sure the machine is clean and properly oiled. Begin by unplugging the machine, and then remove any dust or dirt by wiping off the external parts of the machine with a damp cloth. It’s important to remove any lint or built-up dirt from around the needle and the bobbin area. Then, locate the screw or latch that holds the faceplate onto the machine and remove it. This will give you access to the internal moving parts of the machine.
Once the faceplate is removed, use an oil appropriate for your machine and lightly oil any moving parts as you rotate the wheel or hand-wheel to move the needle. Place a few drops of oil around the bobbin case, the tension disks, and in any other moving parts of your machine. It’s important to apply the oil in the correct amounts; too much oil can cause the machine’s parts to wear down too quickly. If the oiling process is done properly, the machine should run more smoothly and be less prone to skipping stitches.
Check Machine Readiness
Once the machine has been cleaned and oiled, it’s important to check to make sure everything is running as it should. Put the faceplate back into place and plug in the machine. Turn the machine on, and use the hand wheel to test the movement of the needle. If the needle gets stuck in one place when the wheel is turned, or if it moves too quickly, it could be a warning sign of an issue with the needle or the machine itself. If this occurs, you may need to adjust the tension of the machine.
Adjust Tension and Thread Placement
Tension is an important part of the setup of a sewing machine. If the tension is not adjusted correctly, the stitches on the fabric can become uneven or pull loose. To adjust the tension, find the tension regulator on the front of the machine. This little wheel is used to increase or decrease the pressure of the needle. Increase the pressure if the stitches are coming out too loose, and decrease the pressure if the stitches are too tight.
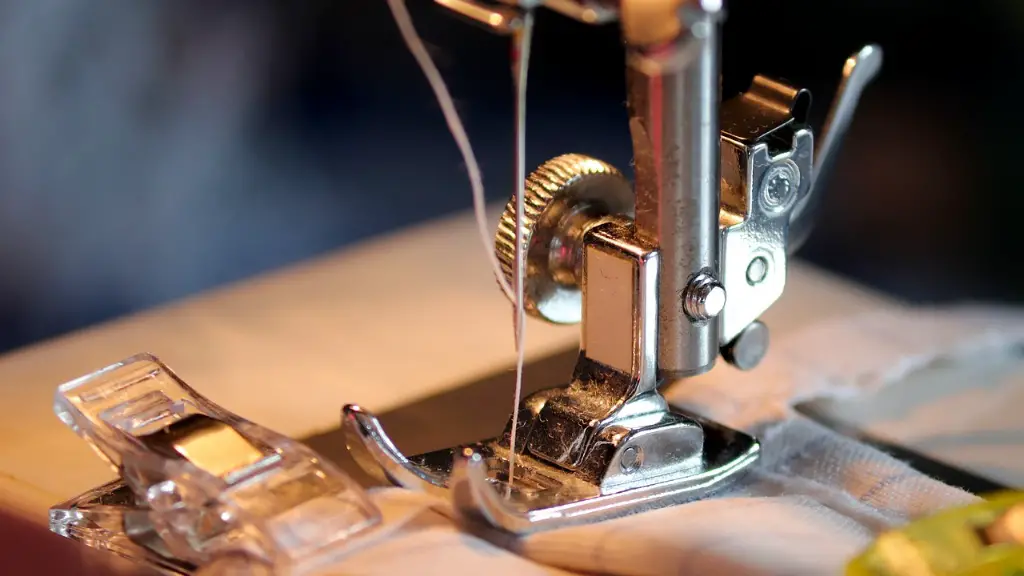
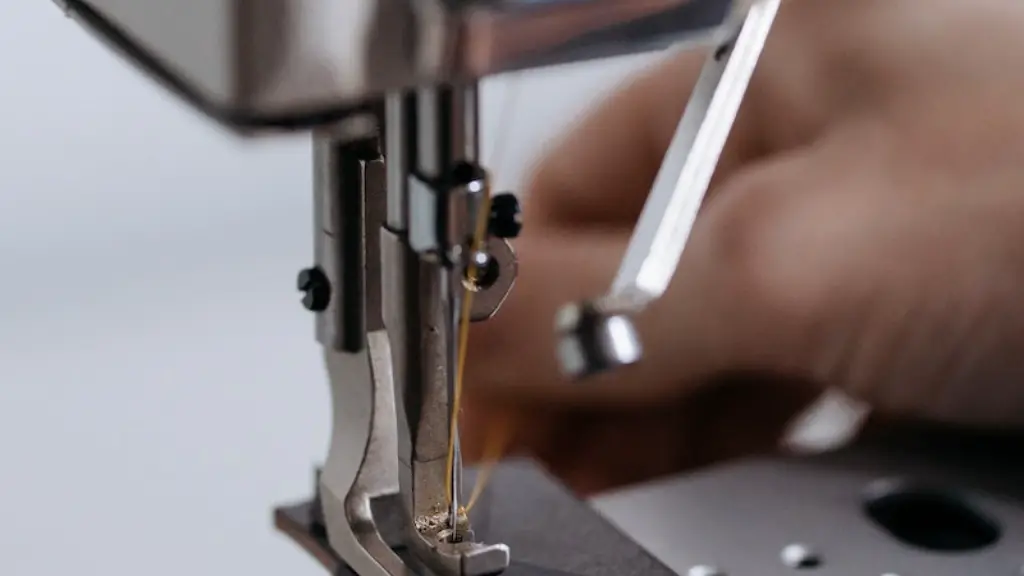
It’s also important to make sure that the thread is in the correct position before starting to sew. To do this, find the tension disks, which are located on the faceplate of the machine. Place the thread underneath the bottom tension disk, twist the spool to the right side of the machine, and move the thread up and over the top tension disk until the end is coming out of the top. This will ensure that the thread is securely in place and that the stitches will hold.
Test Sew a Seam
Once the setup is complete, it’s time to test sew a seam. Start by preparing your fabric; cut two pieces of fabric to the same size and shape, and place them wrong sides together. Set the machine to a straight stitch and lower the presser foot. Then, guide the fabric into the machine, keeping it straight and snug. To start sewing, turn the wheel and hold the fabric in place with your hands. Once the seam is finished, trim off any excess threads and check to make sure that the stitching looks even.
Troubleshooting
When working with a new machine, you may encounter some problems with the thread or the stitches. If you notice any loops or skipped stitches, you may need to check and rethread the needle, or adjust the tension or stitch settings. It’s also a good idea to test sew a sample piece of fabric before starting on a project to make sure everything is running correctly.
Customize Applications
One of the best parts of owning a sewing machine is having the ability to customize and create one-of-a-kind pieces. Once you’re confident with the basics of operating the machine, try experimenting with different types of fabric, colors, and stitches. You could even try adding patchwork, quilting, or appliqué to a project for a unique, handmade look.
Maintenance and Care
Regular cleaning and maintenance of your sewing machine is essential for its longevity. Every few months, it’s worth taking the machine apart and cleaning it thoroughly to remove any dirt or lint build-up. It’s also important to oil the moving parts of the machine every once in awhile, and check that the tension and stitch settings are in the correct position. Regular maintenance and care will ensure that the machine will produce beautiful, even stitches for years to come.
Specific Projects and Uses
Sewing machines can be used to create a variety of projects, ranging from simple repairs to elaborate quilts and wall hangings. They can be used to hem and mend clothing, create curtains or drapes, create placemats and tablecloths, and even make intricate holiday decorations. With a little practice and the right tools, sewing machines can create beautiful and useful projects that are sure to be cherished for years to come.
Safety and Precautions
Safety is important when working with a sewing machine. It’s recommended to wear protective gloves when handling the machine and fabrics, and to keep the machine in a safe and well-ventilated area. It’s also essential to follow the manufacturer’s instructions for use and maintenance at all times, and to seek guidance from experienced sewers for any questions or issues.
Accessories and Extras
In addition to the basic sewing machine, there are many accessories and extras that can make sewing easier and more enjoyable. Some examples include extra needles and bobbins, a seam ripper, a needle threader, and extra thread colors. For more involved projects, there are also presser feet, specialty needles, and other accessories that can add texture and detail to fabrics.
Conclusion
With the right knowledge, a sewing machine can open up a world of possibilities. Every time that a machine is picked up, there is the potential to create something truly unique and beautiful. Whether you’re a beginner or experienced sewer, it’s important to take the time to properly get your sewing machine setup and to read the instructions and safety precautions that come with it. With care and patience, you’ll be ready to create beautiful projects in no time.


