Basics of Sewing a Straight Stitch
Sewing a straight stitch on a sewing machine is a fundamental skill for sewing garments and other fabrics. When done correctly, a straight stitch is the foundation that helps to ensure fabric will stay together, seams look elegant, and projects look finished. Learning how to sew a straight stitch and understanding why it’s important for your projects will help you create successful projects.
What is a Straight Stitch?
A straight stitch is a line of stitches that appear as a row of straight lines. The length of the stitch can be adjusted and can range from short to long. It’s often referred to as a “running” stitch because it’s the stitch used most often while sewing.
A straight stitch is used to assemble fabric into a garment or as a decorative element. Larger stitches create a looser seam, while shorter stitches create a tighter seam. It’s important to note that when creating a seam, the right side of the stitch (with the bobbin) is seen on the wrong side of the fabric, while the wrong side of the stitch (with the feeders) is seen on the right side of the fabric.
Types of Straight Stitch
In addition to the standard straight stitch, there are many variations of the basic straight stitch that can be used for various applications. Here are some of the most common types of straight stitch:
- Backstitch: This stitch is used to reinforce sections of a seam or to attach two pieces of fabric together. It is done by sewing forward and then going back with stitches as if in reverse, joining the seam together.
- Ladder stitch: This stitch is used to hide seams in between fabrics, such as in hemming or hand embroidery. It is done by sewing back and forth, completing a “ladder” like formation.
- Buttonhole Stitch: This stitch is used to make buttonholes in fabric. It is done by looping the thread around the opening and creating a series of stitches.
- Slip stitch: This stitch is used to hold two separate pieces of fabric together without being seen. It is done by stitching on the wrong side of one piece and slipping the needle through the wrong side of the other piece, creating an invisible seam.
Procedure of Sewing a Straight Stitch
Before starting to sew a straight stitch, make sure to check your fabric’s cut and shape, thread the machine correctly, and check the tension dial. Follow these steps to sew a straight stitch:
- Put the presser foot onto the sewing machine. Make sure the presser foot is even with the fabric, and able to move up and down freely.
- Put the thread in between the bobbin cage and the bobbin. Pull the thread through the steel plate and guide it behind the tension discs.
- Attach the thread to the needle using the hand wheel. Pull a few inches of the thread towards the back of the machine. Thread the needle from the back of the machine, connecting the bobbin thread to the needle thread.
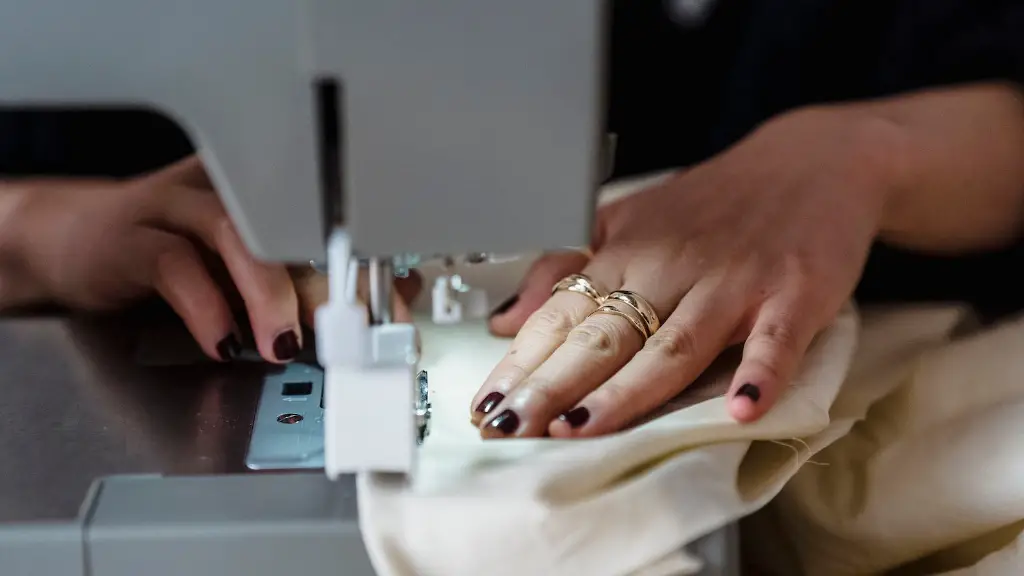
- Place the fabric under the sewing machine’s presser foot. Guide the fabric with your fingers as you sew.
- Set the machine’s stitch length according to the type of fabric you are using. The standard stitch length is 2.5mm (1/16”). Stitch length can be adjusted by the dial next to the needle.
- Set the stitch width. This depends on the type of fabric and pattern you are stitching, but typically should be set between 0-5 (0 being the narrowest).
- Begin sewing. As you sew, the tension disks will evenly distribute the thread, helping create a consistently straight stitch.
Troubleshooting Common Problems
If there are problems with the stitch while sewing, making sure to double-check the tension settings is the first step. If the tension is too loose, it will result in the needle thread not being picked up by the bobbin thread. If the tension is too tight, it can cause the stitches to be too tight or too loose.
If the tension is not the cause of the problem, then the needle may not be the right size for the fabric. Using a needle that is too large can cause the needle thread to break, while a needle that is too small can cause the thread to slip and the stitch to be uneven.
Lastly, if your problem persists, it could be a sign that the machine needs to be serviced. If your machine is more than 5 years old, it may need to be serviced more often.
Tips for Perfect Straight Stitch
- Ensure the needle is in the correct position before beginning to sew. The needle should be in the highest position when the foot plate is raised.
- Wherever possible, use a seam guide to keep the stitch evenly placed on the fabric.
- Ensure the thread is correctly in position and securely fastened at both ends.
- Whenever possible, use a universal needle, as well as a thread that is the same color as the fabric.
- It is always important to periodically clean the bobbin case and lubricate the needle and tension discs.
- Test the fabric and tension settings on a scrap piece of fabric before starting on a project.
Presser Feet
In order to get the best possible results when sewing a straight stitch, it is essential to use the correct presser foot for the project. Presser feet provide a stable foothold for the fabric for a uniform stitch, helping to make the job much easier. The most common presser feet used for straight stitching are the all-purpose presser foot, the zipper foot, and the piping foot.
An all-purpose presser foot is designed to sew a wide range of fabrics, from light weight materials to heavier woven fabrics. It is the most versatile presser foot and can be used for different types of stitches.
The zipper foot is used to sew close to the zipper teeth when sewing a zipper. This foot has a narrower center so that the fabric can be sewn closer to the zipper teeth.
The piping foot is used to attach narrow strips of fabric, called piping, to the edge of fabric. This type of foot has a groove in the center of the foot which allows the fabric to glide through easily.
Other Considerations
Although the straight stitch is a basic stitch, there are still many things to consider when sewing a straight stitch. It is important to consider the type of fabric being used and the size of the stitch being used. The weight of the fabric and the stitching weight should also be taken into account. It is also important to use the correct type of needle for the fabric to ensure optimal results.
Knowing the basics of how to sew a straight stitch and using the correct tools are essential for successful projects. With practice and patience, sewing a straight stitch can be mastered, ensuring that all sewing projects are of the highest quality.

