Hemming a tee shirt can be a tricky thing but with a few supplies and the right know-how, it can be done with ease. Whether you are sewing on a machine or hand-stitching, hemming a shirt is a skill worth mastering. It can come in handy for altering clothes for a better fit or for a stylish new look.
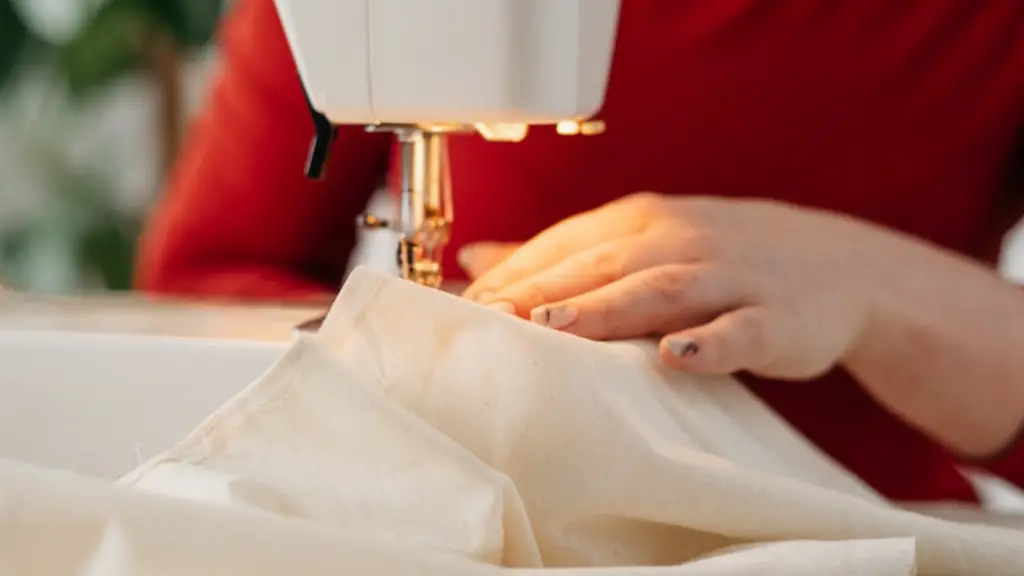
Most shirts come with pre-finished hems, but with normal wear and tear, the fabric starts to pull and the hems come undone. With a few supplies, you can easily re-hem your shirt on a sewing machine. So, gather the supplies, find a comfortable spot and get started.
Supplies
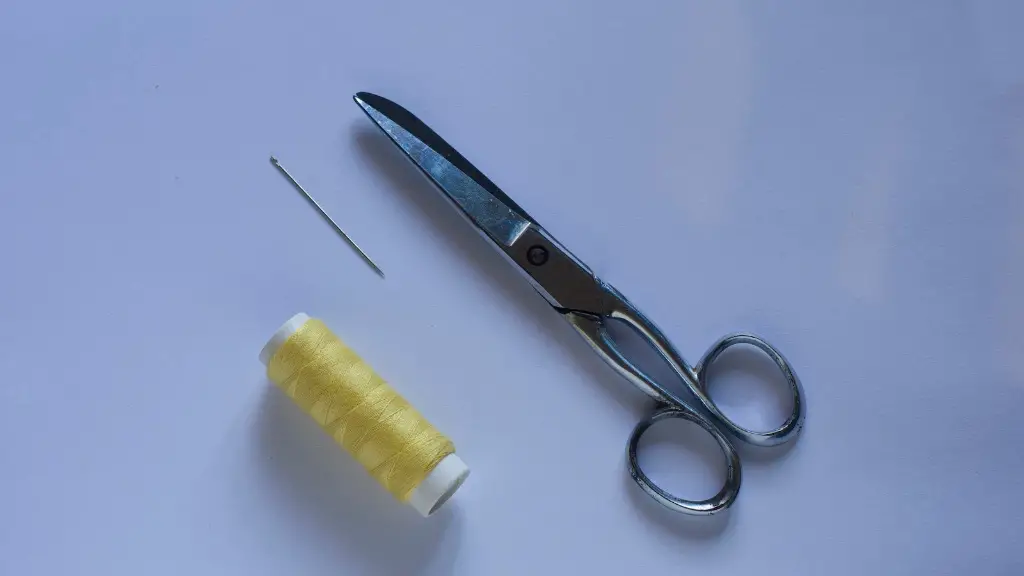
The two main supplies required for hemming a shirt on a sewing machine are fabric scissors and thread. You can go with any color of thread according to the color of the fabric of the shirt, but a color that blends in or is slightly darker is preferable.
Along with the thread and scissors, you will also need pins and a measuring tape. You’ll also need an iron and a needle and bobbin for your sewing machine. If you’re going to be hand-stitching, instead of using a sewing machine, you’ll need a thicker thread and a thimble.
Measuring & Marking the Hem
The first step is to measure the length of the shirt, from the bottom of the shirt to the desired hem length. Once the measurement is taken, mark the stitching line with pins at the measured length. Make sure to use hand-stitching pins that are shorter than regular pins. The pins should be safe for the fabric, to avoid tearing it.
Take careful measurements as this will determine how your final hem looks. If you are planning to use an elastic on the hem to give the shirt a comfortable fit, then you may want to add some extra length to make sure the hem will fit correctly around your body.
Iron, Trim, Sew
Once the hem is marked, the next step is to iron it out before sewing. Carefully follow the instructions on the sewing machine and use the zig zag stitch. The zig zag stitch will give the hem a strong and neat finish and will make sure the stitching stays intact even after multiple washes.
After you have stitched the hem using the zig zag stitch, it’s time to trim off the excess fabric. Make sure that you don’t cut into the seam, as this can damage the fabric. Now, your hem is finished. All that’s left to do is to press the shirt one last time to give it a nice and neat look.
Hand-Stitching
If you don’t have a sewing machine, then you can still try the hand-stitching method. The process is similar to the one mentioned above, but you will need thicker thread than what is usually used. Most experts also advise using a thimble to make the stitching easier.
Make sure that you have a steady hand to achieve neat and consistent stitches for the hem. The stitch should be strong enough to secure the neck opening of the shirt. When the stitching is done, you can use small scissors to trim the excess fabric and voila, your shirt is ready to be worn.
Alternative Hemming Techniques
There are multiple alternatives when it comes to hemming skirts, jumpers, and other clothing which can’t be sewn by a sewing machine. For example, with an overlocker or serger, you can get a neat finish on hems made with stretch fabrics. Overlockers are also great for finishing knit fabrics as they use multiple threads to secure the seam.
If the fabric you’re using for your project is delicate, then you can use a special adjustment on the sewing machine, usually referred to as the ‘hand look stitching’. It is widely used for hems of shirts, sweaters, and skirts made from delicate fabrics.
Pressing the Hem
Pressing the hem is essential for a neat finish. The pressure from the iron should be just enough to smooth out the fabric. When pressing, start from the inside of the hem and work your way out. Do not press too hard on the fabric as this may cause unwanted creases or wrinkles in the fabric. Depending on the fabric of your shirt, you can also finish up the hem by giving the shirt a wash in cold water and hang it out to dry.
Using Bias Tape
Using bias tape to hem a shirt is another great option. Bias tape is made of fabrics in a variety of colors, so you can find one that matches perfectly with the shirt fabric. Preparing bias tape requires a few extra steps, and it is best to use the same fabric as the one used for the shirt. Additionally, it is essential to make sure that the tape has a slight stretch in it, or else it may not fit the contours of the fabric properly.
To use a bias tape for hemming, first measure the hem and prepare the bias tape as mentioned above. Now, attach the bias tape to the wrong side of the hem and stitch it in place. Iron the hem, so it looks neat and check for any gaps in the hem that need to be patched.
Stitching the Hem
The next step is to stitch the hem in place. This can be done using a basic straight stitch or a zig zag stitch. If you want to be extra sure, then you can make a double stitch to secure the hem in place. Using a zig zag stitch ensures that the hem has extra flexibility, which is especially important when working with stretch fabrics.
When stitching the hem, make sure that you do not leave any large spaces in between the stitches. The stitches should be neat and evenly spaced, to prevent any fraying or loose threads.
Hemming With Elastic
Using elastic for hemming is a great option for skirts, blouses, and trousers. It is a quick and easy way to fix sagging hems and add extra width to clothing. Before adding the elastic, measure the item of clothing and decide how much length and width you want to add. With a wide elastic, the hem will turn out snug and neat.
To hem with elastic, attach the elastic to fabric and stitch the elastic in place using the zig zag stitch. Make sure that the seam is secure and strong, so it does not come undone with wear and tear. Now, try the item of clothing on, to see if it fits correctly.
Finishing the Hem
Before finishing the hem, press down the seam with an iron. Take care not to press too hard or the fabric may get damaged. Also, trim off the excess fabric and threads so that the hem looks neat and tidy. Now, your shirt is ready to flaunt.
Now that you’ve finished hemming the shirt, it’s time to admire your handy work. Hemming is a skill that can come in handy in plenty of situations, so it is well worth getting the hang of it. Try experimenting with different hemming techniques and explore the possibilities.


