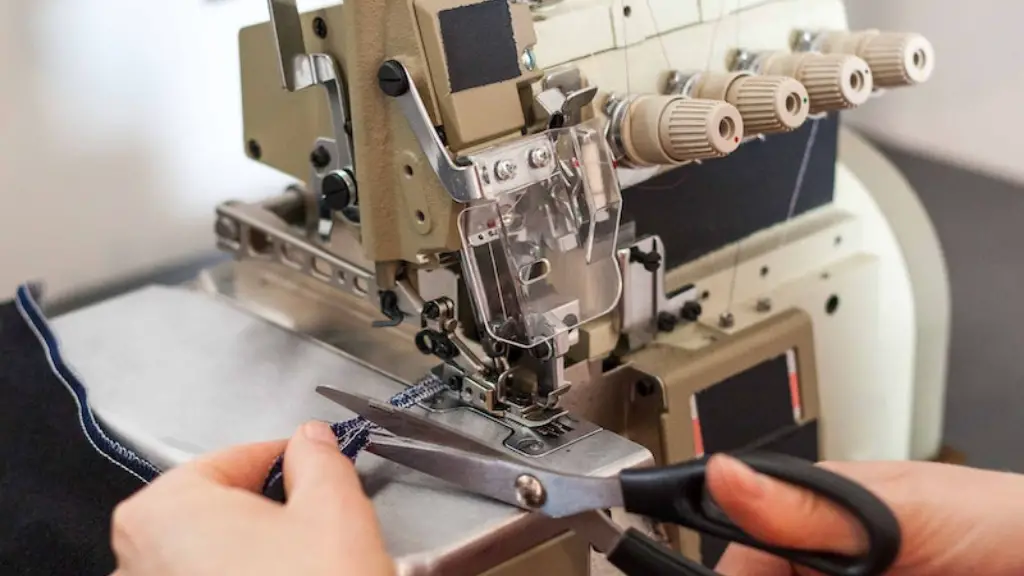
Clothing can often fit too long or too short and needs to be altered, usually through hemming. Hemming is the process of folding up, tacking and stitching the hems of trousers, skirts, jackets and dresses. Many do not realize that hemming clothes without a sewing machine is not only possible, but can be quicker and easier than you may have thought.
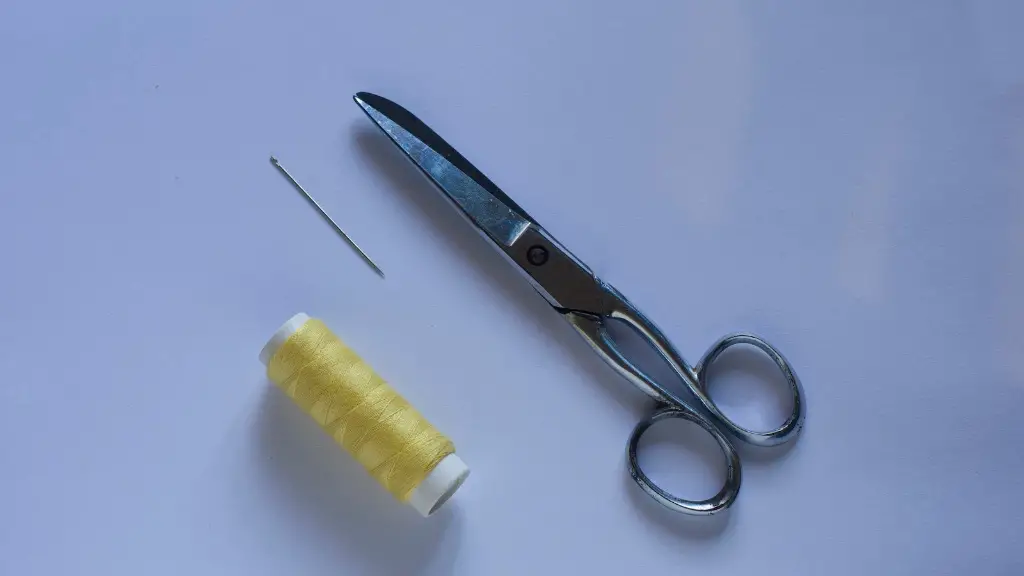
Hemming clothes without a machine requires few tools and materials: Hand needles, thread, fabric scissors, tailor’s chalk, a measuring tape and an iron. Iron-on hemming tape is also a useful tool as it fuses the fabric on contact. Using this type of product, most items can be hemmed without any need for stitching.
For trousers and skirts, marking the desired length is the first step. Measure from the crotch seam, up or down depending on the piece, to the floor for trousers or an inch or two above the knee for skirts. Make the measurement at the center front, side seam and center back. Draw a line with tailor’s chalk at the same height on each, being sure to press the seam out before you measure, so the line is even. If the item needs to be shortened, fold up the bottom of the item to the top of the line as evenly as possible and press with an iron.
If using a special hemming tape, remove the backing and, while keeping the fabric taut and the sides even, adhere the product. Once the entire hem has been fused to the fabric, press the item with an iron one more time. For tape made of an adhesive fabric, rather than a plastic, seams may need to be sewn.
If using a hand needle and thread to hem the item, pins, straight and possibly curved, will be necessary to secure the fabric and get an even look. Choose thread that closely matches the color of the fabric and use at least two strands of thread. To begin, turn up the fabric evenly, pin in place and press with an iron. Take small stitches either in the existing seam or about one-eighth inch from the edge of the fabric, being sure to knot the thread at the end.
Continue to pin and stitch from the center to each side, removing the pins as you go. As you near the corners, fold the fabric as is necessary for a neat finish and pin. When finished stitching, knot thread, press item and trim any excess thread. To make the hem less noticeable, try not to make the stitches too small.
How to Hem Jackets
Jackets usually need to be shortened in order to be flattering and fit properly. This is achieved by hemming, as it adds structure and neatness. Before hemming, try on the jacket and find the most flattering hem length by folding and pinning. Once you are happy with the length, mark the fabric according to the method used for trousers and skirts. Allow a extra half inch to accommodate the hem.
To hem a jacket, use the same method as for trousers and skirts or the iron-on tape. Start by folding the fabric up along the chalk line, shortening the hem to the desired length. Pin the fabric in place and press with an iron. If using the tape, begin at the center back, removing the backing and sticking the tape to the fold. Continue to the side seams and around the jacket to the other side seam, then the other back.
Press the jacket one more time with an iron and check that all the seams and hems have been properly secured. If stitched, knot the thread securely and trim any loose ends. For any loose threads or puckers, or if the adhesive has been damaged, wipe the area with a damp cloth and press again.
How to Hem Dresses
Dresses can also be hemmed to give them a custom length. To begin, find the most flattering length with the help of a friend or tailor. Once determined, mark the desired length and repeat the same method for the other hems. Be sure to allow one-inch or two for hem allowance before turning the fabric up.
When using iron-on tape, choose one that is wider than the hem. Begin by trimming the backing. Apply at the center back, to each side, making sure the sides stay even, then around the hem to the other side of the dress. Press the dress with an iron, repeating the process if necessary. Do not cover the invisible zipper with the tape.
For a stitched hem, begin with a straight stitch close to the edge at the center back and sewing around the hem evenly to the other side. Keep a knotted and doubled thread while sewing. As with the other items, be sure to knot your thread securely once finished. Press and trim any excess thread.
How to Hem Accessories
Accessories such as scarves or neckties can be hemmed to give them a finished and polished look. Measure and mark the desired length for the edge of the accessory, adding two or three inches for hem allowance. Make the necessary markings and pin the hems in place.
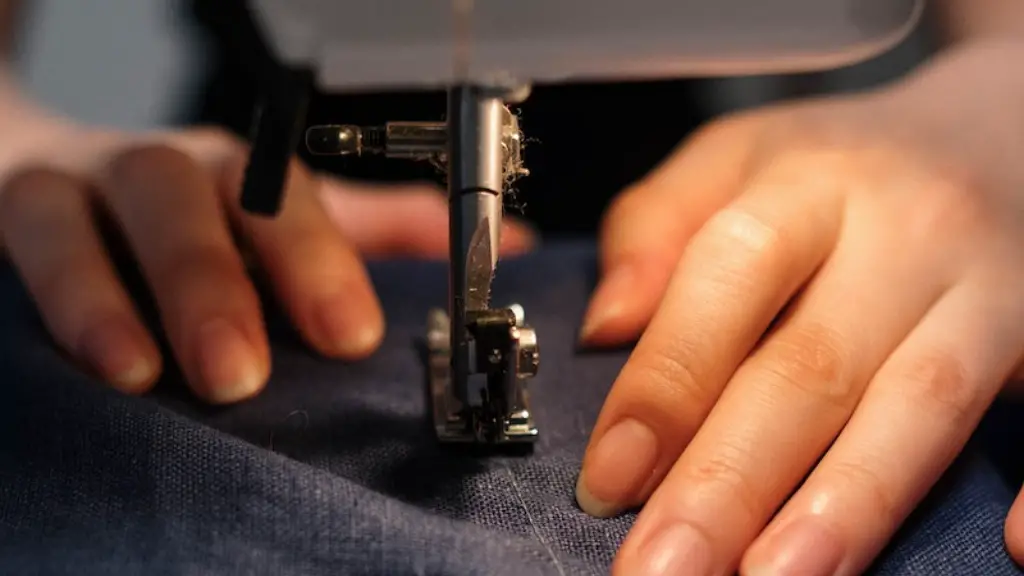
If hemming with a machine, follow the manufacturer’s instructions, being sure to remove the pins before sewing. Use a zig zag stitch around the edge of the accessory and keep the fabric to the side while moving the fabric and the presser foot forward.
To hand stitch, fold the fabric along the mark and, using small stitches, stitch around the entire edge, knotting when finished. As with the other items, be sure to press the finished hem and trim any excess thread. For accessories, the stitches should be almost invisible.
How to Strengthen Seams
Finally, it is important to strengthen the seams when hemming clothes without a machine. This can be done with a stabilizing tape that does not require sewing. For example, Seams Great is an iron-on seam stabilizer and can help reduce bulk, make seams visible and increase strength. Place the tape linearly over the areas that need to be strengthened and press with an iron, following the manufacturer’s instructions.
In conclusion, hemming clothes without a sewing machine is doable and doable with the best possible results. With proper materials and techniques, you can tailor your clothing easily and quickly, producing professional and attractive results.
How to Clean After Hemming
After hemming, it is also important to clean the item. Remove all pins, scissors and tape. Brush the item lightly with a lint roller or a light brush to remove dust and particles. If any marks or wrinkles remain, airing the item out in a dry and safe place is an effective way to get rid of them. If the fabric requires a more intense cleaning method, vacuuming or spot cleaning with a clean cloth and a small amount of detergent may be recommended.
The item should then be left to hang or steam and if necessary, pressed with an iron. When necessary, use a pressing cloth to protect the material from direct heat.
How to Prevent Hemming Mistakes
In order to ensure the best possible hemming results, it is important to be well prepared and use the right methods and techniques. Make sure to read the fabric care label for appropriate cleaning techniques and always test any products before using. Furthermore, use quality materials, measure items properly and mark accurately with the help of a measuring tape or a ruler.
If using a sewing machine, be sure to set it up correctly and adjust the tension, needle and thread. Take your time and practice on some scrap fabric first. Alternatively, start with hand-stitching as this gives more control over the fabrics. Do not try to rush, as errors are all too common when working with fabrics.
How to Choose Hemming Materials
Choosing the right materials for hemming is essential. Begin with fabrics; choose ones that are strong, durable and of good quality. For hand-stitching, thread should closely match the color of the fabric and be strong without being too bulky. For all fabrics, it is also important to consider their weight and texture.
For other materials, try using an all-purpose adhesive, safety pins and, if using a machine, scissors and solid-tipped needles. Also, choose a product that can be used with different fabrics and consider the visibility of the finished product.
How to Store Hemming Materials
Storing hemming materials properly is key to successful hemming. Home sewing machines require regular oiling and other machines should be left in a safe place, away from extreme temperatures. Keep needles and scissors in a secure box, away from children and pets. Thread should be kept in a cool and dry environment and, before discarding any pieces of fabric, make sure to ensure that it is not necessary for future projects.
Finally, it is also important to check that the items are still in good condition. Check thread for production dates, check the quality of pins and needles and be sure to replace anything that is not up to scratch.
