Choose the Right Needle and Thread
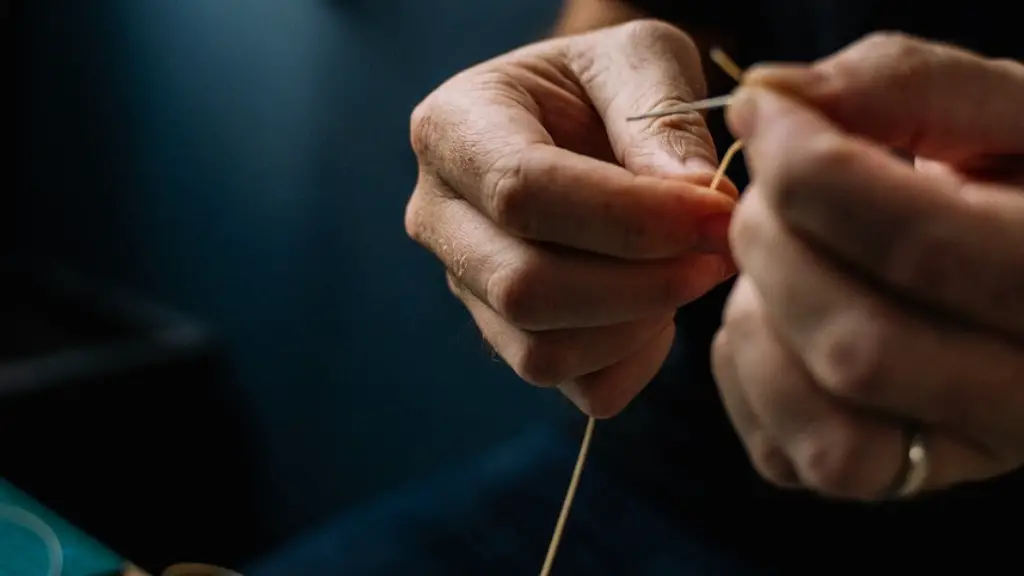
When hemming pants with a sewing machine, the type of needle and thread chosen is incredibly important. Using a needle that is too thick or too thin can cause it to skip stitches or sacrifice the fabric. Picking the right needle is essential to a seamless hem job. Universal needles, which can accommodate almost any type of fabric, are the best bet for hemming pants. When selecting a thread, an all-purpose polyester is usually a safe bet since it is strong and abrasion resistant. For added strength, select a thread that is as close to the shade of the fabric as possible.
Mark and Cut the Excess Material
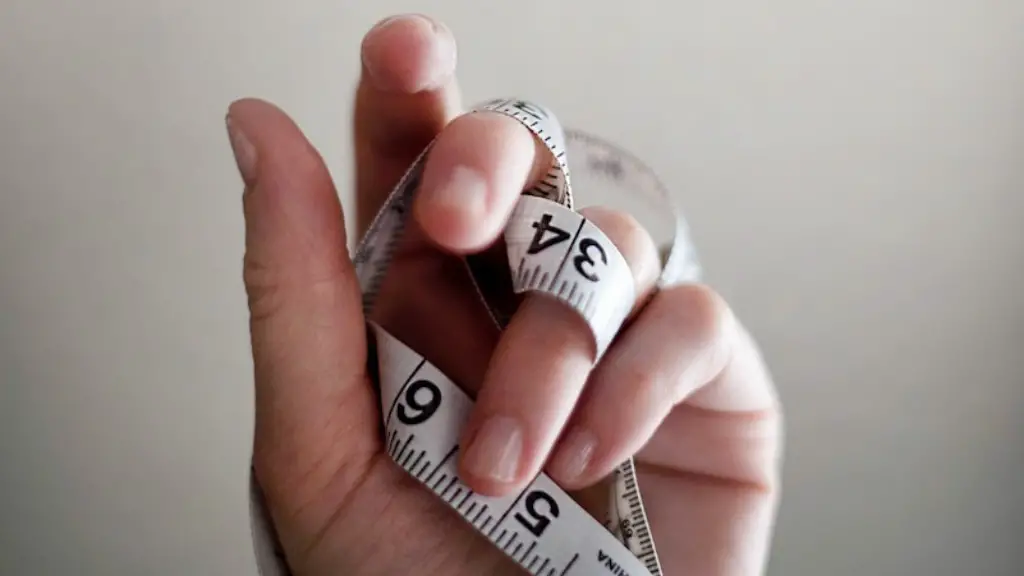
Once the correct needle and thread are chosen, it is time to mark and cut off the excess material. To achieve the ideal length of the pants, find where the bottom edge of the pant leg meets the shoe and roughly mark the new hemline of the pants. With the mark visible, use a ruler and fabric marker to draw a line around the entire pant leg. This part is essential to creating a neat, stylish hem job. Cut off the excess material up to the line. Be sure to cut just one layer of material, as hemming pants with too much fabric can cause it to bunch up and be unflattering when walking.
Fold and Press the New Hem
After cutting off the excess material, fold the raw edge of the fabric up towards the inside of the pants and pin it in place. Then with an iron, press down on the fold for about two to three minutes. This process helps the fabric to stay in place while sewing. Next, firmly press the fold down again with the iron, this time using an up-and-down motion. This ensures that the fold is extra crisp and easy to work with while sewing.
Hemming with a Sewing Machine
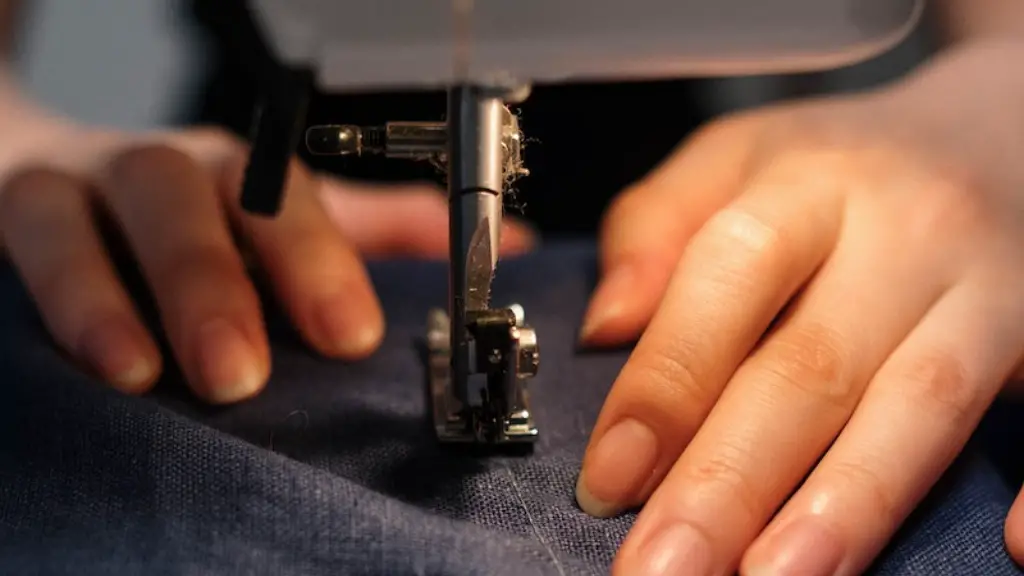
Now to the actual sewing. Begin by adjusting the thread tension and stitch length on the sewing machine. The stitch length should be between 2.5 and 3.5, while the tension should be fairly tight. Start at the very top of the pant leg and carefully sew along the hemline all the way until the end. When sewing, be sure to backstitch at the beginning and end of each stitch, as these will help the stitches remain strongly secured. As the sewing machine creates each stitch, pinch the hem and the main fabric with fingers for an even, flat appearance.
Press the Finished Hem
After the stitching is complete, press the hem with the iron again. This ensures all the folds and stitches are adequately secure. If there are any additional creases that need to be smoothed out, carefully do so with the iron or steam. After this is finished, turn the pants inside-out and check to make sure the hem job is satisfactory.
Finishing the Hem Job
For added security, hand-stitch the entire hem using a slipstitch. Starting at the top seam, stitch with small, tight stitches until the whole hemline is covered. This extra step provides an extra layer of protection against wear-and-tear, ultimately extending the longevity of the hem job. When complete, turn the pants right-side-out and enjoy the newly secured pant legs.
Alternative Processes
In addition to sewing machines, hand sewing and even no-sew methods are available for hemming pants. For instance, with a no-sew method, the edges of the fabric can be sealed with hem tape. This saves time and does not require any type of machine. As with any hemming job, the type of method chosen depends on personal preference and level of craftiness. Ultimately, all methods when properly done can create stylish and secure hems.
Pros and Cons of Hemming Pants on a Sewing Machine
Hemming pants on a sewing machine is an incredibly versatile way to achieve a precise and secure hem job. Sewing machines create a precise stitch in just a few minutes, allowing for a strong and durable bond to form. However, the time it takes to thread the machine, adjust the tensions, and change the needle can be a bit tedious. Additionally, sewing machines can be quite costly, so it is important to determine if the benefit is worth the price.
Tips for Hemming Pants with a Sewing Machine
Sewing machines can produce beautifully secured hems, but there are some tips to keep in mind for an optimal hem job. It is important to practice on scrap fabric before hemming the actual pants. This way, the user can become familiar with the ins and outs of the machine and the optimal settings for different types of fabric. Additionally, when beginning to sew, start with a few stitches from the reverse side of the fabric. This helps to make sure the stitch is secure and even before moving forward.
Test and Replace the Sewing Machine’s Parts Regularly
To make sure the stitching remains proper and consistent, a sewing machine’s parts should be thoroughly tested and replaced when necessary. Thicker fabrics, such as denim and corduroy, require a thicker needle that can accommodate the extra fabric. The feet should be replaced as necessary, as well. Additionally, the machine should be oiled regularly to keep it from binding up and help with an easier sewing process.
Satisfactory Finish
The final step in hemming pants with a sewing machine is to inspect the pants for any stray threads, creases, and minor mistakes. If any stitches have come loose, simply hand-stitch them back in place and add a few extra stitches for extra reinforcement. Finally, give the hem a last press to make sure the fabric is lying flat, and the hem job is complete.


