Making curtains with a sewing machine is not a difficult task, especially when working with lined curtains. It requires patience, some basic sewing skills and essential supplies. The instructions in this article will help guide you through the simple process of hemming lined curtains, giving your windows a unique, finished look.
Before beginning the hemming process, it is important to have all the necessary supplies. Firstly, you will need a sewing machine, fabric shears and thread that matches the curtain fabric. Also, an iron and ironing board will come in handy when prepping the fabric for hemming.
The following steps are for one single curtain. Once you have gone through the process successfully for one, it will be much easier to do the remaining curtains.
Start by laying the lined curtain on a flat surface such as a table or counter. Using a measuring tape, measure the curtain to decide on the hem placement. A general rule of thumb is to leave a 1/2 inch above the liner for the hem, but it is best to refer to the specific instructions for the type of fabric being used.
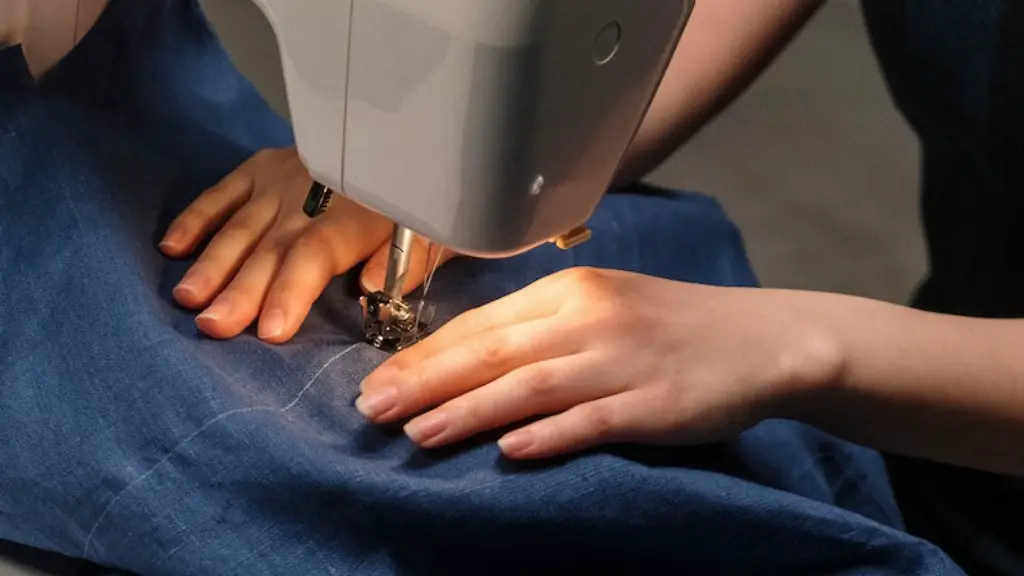
Now, secure the material with pins where the hemmed edge should be. Carefully and slowly, stitch the hem with a straight stitch on the sewing machine. Stitch the entire length of the curtains.
Remove the pins and then press the curtains with an iron for a crisp and clean finish. If needed, stitch again if the structure of the curtains appears loose. Finish the edge to avoid fraying.
When hemming is complete, take a moment to review your work. Ensure the hem is even and straight, and use a seam ripper to remove any stubborn threads that may be stuck.
Ironing Linen Curtains
When ironing linen curtains, it is best to use a low setting on the iron to prevent any damage. Take the fabric in small sections at a time and make sure to press the material gently. Additionally, use a thin cotton or linen cloth between the iron and the fabric to prevent any direct contact between the two. Finally, when pressing, use long strokes to evenly press the fabric every time.
Sewing Decorative Cuffs
To add a decorative element to the hemmed curtains, consider adding a cuff – small pleats of fabric. Measure the length of the finished curtains and add twice the cuff width. For example, if the finished length is 40 inches, add 4 inches for the cuff. This measurement should be taken from the hemmed edge.
To sew the cuff, lay the hemmed curtains flat and come up with a basic pattern for the pleats. Generally, each pleat should about be 1/2 inch wide. One side of the pleat will `stand up’ while the other side will `lay down’. Sew the pleats along the lower edge, leaving an opening to thread a ribbon or cord through.
Gently press the pleats with an iron, and use pins to hold the pleats in place. Now, sew the pleats in a straight line to secure the fabric. This will be the bottom of the cuff.
Thread the cord or ribbon through the opening and tie a knot. Sew the opening so the ribbon or cord is secured in place. The decorative cuff gives the curtains an extra pop of texture and interest to the overall look of the room.
Adding Sewn-in Grommets
Grommets, an alternative to using standard curtain rods, can also be added to the top of the curtains. Grommets create a more contemporary appearance and gives the curtains more movement when opened and closed.
Similar to the hemmed edge, find the exact placement of the grommets by measuring the curtains and opting for a location approximately 4 inches down from the top of the curtains. Again, mark the top of the grommet locations with fabric pins.
Using a sharp metal or rotary cutter, cut openings where the grommets will be inserted. Place the grommets into the opened holes and hammer lightly on the outside of the fabric until the grommets are secure.
Finally, stitch around the circumference of the grommets, overlaying the fabric slightly. This will give the grommets a secure and tight fit.
Pressing Synthetic Materials
When working with synthetic curtains, it is important to take extra caution when pressing. Synthetic materials can be more delicate and require more gentleness when pressing with an iron. As a reminder, use a low setting and light pressure when pressing.
If the curtains are double-lined, it is best to stitch the inner lining first, press lightly and then continue to the outer layer. Stitching in this manner helps the fabric maintain a straight, even edge that looks polished and clean.
Cleaning and Maintaining Curtains
For curtains with removable liners, remove the liners and clean according to the fabric type. In general, opt for low-heat settings in the dryer and use a gentle cleanser. When hanging your curtains after cleaning, be sure to follow the specific instructions included as some fabrics may shrink or change in color after drying.
For curtains without removable liners, you can simply vacuum the immediate dust and dirt buildup. Additionally, you can use a fabric brush to remove any stubborn dirt in crevices.
Using a Top Stitch
Using a top stitch is a great way to add more unique design detail to your finished curtains. A top stitch is done to the bottom of the curtains, roughly a 1/8 or 1/4 inch above the traditional hemmed seam.
Once the hemmed edge is finished, use a straight stitch to create the top-stitching. Sew the length of the drapery and remember to leave openings for the grommets if applicable. Take care when measuring out the top-stitching pattern so that the pleat width and overall pattern are even.
Finally, press the edges with an iron for a neat appearance. This will help secure the stitches and will give your curtains more structure and crispness.
Sewing Sharp Curved Corners
When the original hem is finished, the corners can look bulky and unfinished. To give your curtains a more custom look, try sewing sharp angled corners to the hemmed edge.
Start by clipping the four corners with fabric scissors. Using a ruler, measure the same exact amount for each corner. Cut at a sharp angle for precision and for a cleaner finish.
Once the corners are cut, fold the cut edges and press the fabric with an iron. Now, place the curtain on the machine again and straight-stitch the hem. Be sure to maintain a straight stitch to avoid puckering of the fabric.
Using this method will give the curtains a professional, finished look. Additionally, the angle corners create a sharper, neater appearance.
