General Tips
Hemming pants with a sewing machine is a great way to save money and time. It is fairly simple to do and can be done in a few quick steps. Before starting, it is important to note that it is important to use a proper and high quality thread, needle, and fabric. Depending on the type of fabric, choosing the right size of thread and needle is important. Furthermore, it is best to practice the process on a scrap piece of fabric to get the hang of the process and decide on the desired hem width.
Another important detail to keep in mind is that if the pants being hemmed are raw denim, it is important to use a special denim thread to ensure that the hems are neat, and the fabric does not tear. Additionally, it is best to use a longer stitch length and a lighter hand when hemming, as the denim fabric is thick and thus needs extra attention.
Gathering Material and Thread
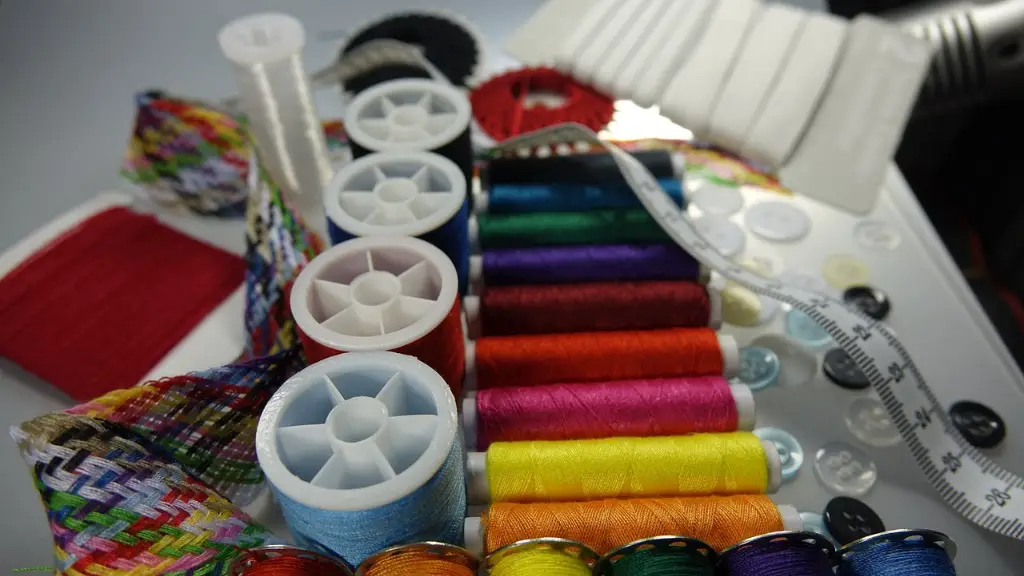
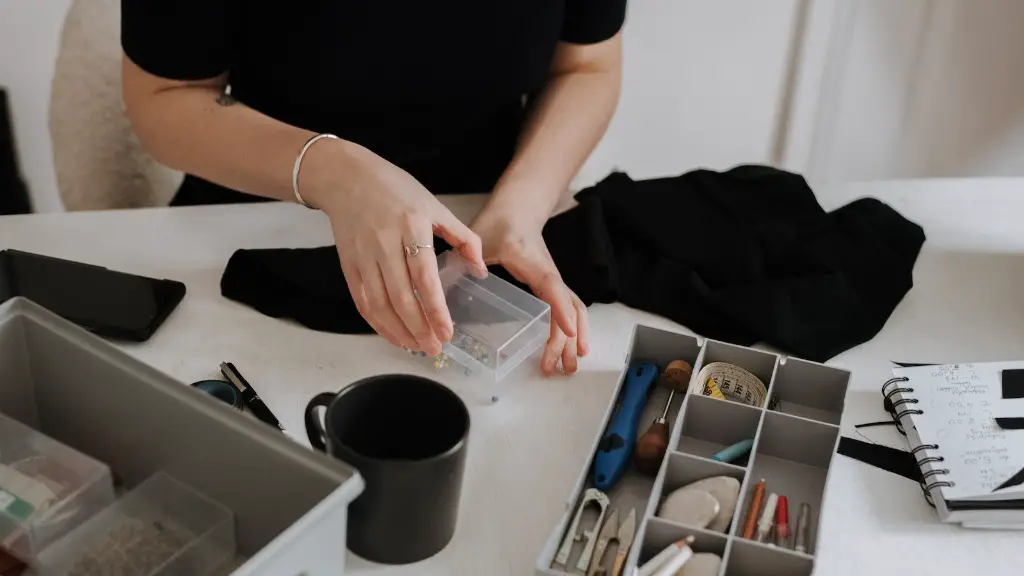
The first step of hemming pants is to get all the required materials, along with instructions. Most fabric stores have specific types of threads and needles for different fabrics, and it is important to take note of the type of fabric being used when choosing the thread and/or needle. Furthermore, tailor’s chalk, threader (optional), fabric scissors, and pins are also necessary.
It is important to get a thread color that is a perfect match with the fabric, in order to achieve a neat and professional-looking hem. If this is not possible, a color that is as close to the fabric shade as possible is ideal. One tip is that when hemming dark denim jeans, black thread is usually a good option.
Measuring and Pinning
Once the materials have been gathered, the next step is to measure the desired hemming length. The fabric should first be turned up (at the original hem) by the desired amount, and the fold should then be pinned on both sides of the leg. If needed, use a ruler or measuring tape to make sure that both sides are even. Furthermore, it is important for the pins to be placed securely and properly, as this will prevent the fabric from bunching up during the sewing process.
If the pins are placed too far apart or too close, it will create an uneven hem. Additionally, it is important to make sure that the fabric is pinned in a nice and straight line, while being careful not to stretch it out. Once the pins have been secured, it is best to use a tailor’s pencil or chalk to draw guide lines on the fabric to ensure that both sides of the hem are the same. If a tailor’s pencil is not available, an ordinary pencil can also be used.
Sewing and Trimming
Once the edges have been pinned and marked, the next step is to carefully sew the hem. First, it is important to check the thread on the sewing machine to ensure that it is of the correct type and color. Then, the sewing machine should be set on ‘straight stitch’, and the stitch length should be slightly longer than usual, as this will make it easier to sew the hem. Furthermore, the needle should only penetrate the fabric up to the hem width, as this will avoid the needles from hitting the pins.
Once the hem has been sewed, it is important to remove the excess fabric and trim down the thread. Trimming the excess fabric can be done with regular fabric scrapers or with a special pair of scissors. Before trimming the fabric, it is best to use a ruler to measure and make sure that the hem is even on both sides of the leg.If there is any extra seam allowance, it should be trimmed off. Lastly, it is important to cut the thread without cutting the fabric, as this will ensure a neat and professional finishing.
Ironing the Hem and Finishing Up
After the trimming is done, the hem should be neatly ironed. This will ensure that the fabric lies flat and looks neat. Once the ironing is done, it is important to check for any loose threads or uneven parts. Any uneven parts should be trimmed off, and/or tucked in and ironed for a neat result. It is also important to check the thread tension of the sewing machine, as this can play a big role in the outcome of the hem. Additionally, the extra fabric should be tucked away neatly and the excess thread should be cut off.
Re-Hemming and Tips
If the hem is too long, it is possible to take up the hem by re-hemming the pants. This process is similar to hemming pants, but instead of sewing new hems, the existing hems are removed and then re-hemmed. It is important to note that the length of the hem must be measured before removing the existing hems, as this will ensure that the pants do not come out too short after the process.
Finally, it is important to remember that it is best to go slow and not rush when hemming pants. Taking the time to get the measurements right, using the right tools and materials, and going over the hems multiple times will help create a neat and professional-looking hem.
Ironing and Pressing
Ironing the hems is essential. It is important to read the fabric label and get the right iron temperature before getting started. Generally, it is best to press on the wrong side and never on the right side. This could cause permanent discoloration as well as other forms of damage.
Additionally, it is important to note that if the hems are made of satin, velvet, chiffon, or any other delicate fabric, it is best to use the ‘no steam’ setting on the iron. This will prevent the fabric from getting damaged. Furthermore, if the hem is made of silk, it is important to use a pressing cloth to protect the fabric from getting damaged.
Using A Tailor’s Cushion
When hemming fabrics like cashmere, jersey, or any other type of knit fabric, it is best to use a tailor’s cushion. This is a useful tool that helps to hold the fabric in place while hemming. In addition, this cushion also prevents the fabric from wrinkling and bunching up while sewing.
Using a tailor’s cushion will also help to create neat and even hems. The cushion should be placed on the hem line while hemming, and the fabric should then be pulled taut while sewing. This will help to create neat and even hems. Additionally, a tailor’s cushion can be used to hold the fabric in place while measuring, pinning, and trimming the hems.
Testing the Hem
Once the hem is finished, it is important to check and make sure that it is even and that the stitches are neat. This can be done by trying on the pants and making sure that the hems sit evenly against the leg. Additionally, it is important to make sure that the hems are not too loose or too tight.
If the hem is not even, it is possible to make adjustments and re-sew the pants. It is also important to make sure that there are no loose threads or uneven parts that need to be trimmed. Additionally, it is important to check and make sure that the fabric is not bunching up or wrinkling. When finished, the hems should be neat, even, and should sit nicely against the leg.
