Designer styles, trends and fabrics of shorts come and go and can make them hard to keep up with. To keep with the ever-changing fashion trends, Hemming shorts with a sewing machine is a great option. Hemming can alter the length and look of shorts while customizing your clothing to suit your own personal style. After learning the basics of how to hem shorts with a sewing machine, your wardrobe options can be endless.
The first step involves preparing the shorts for the desired look. Measure the shorts for the desired length and mark the hemline with chalk or tailor’s chalk. It’s important to bear in mind that you need to consider the style of shorts when choosing the length, as different styles such as Bermuda, cargo and knee length all require a unique length.
Once the desired length has been determined, turn up the hemline, allowing an extra few centimetres for hem allowance, to create the roll. Next press the roll up with an iron, essentially ‘setting’ the fabric into the style. At this point the hem can be stitched in the normal fashion or a more creative approach can be taken such as topstitching.
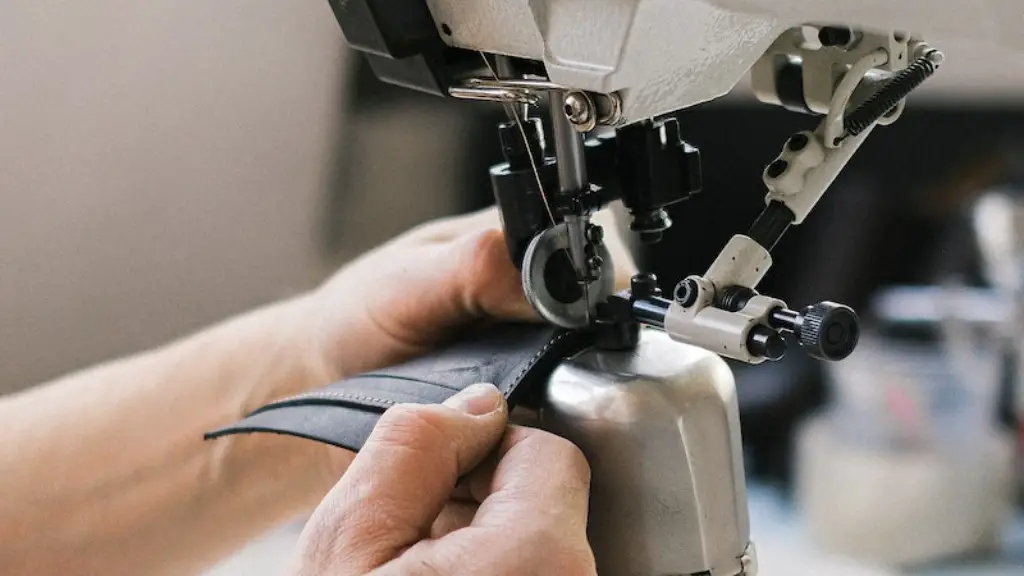
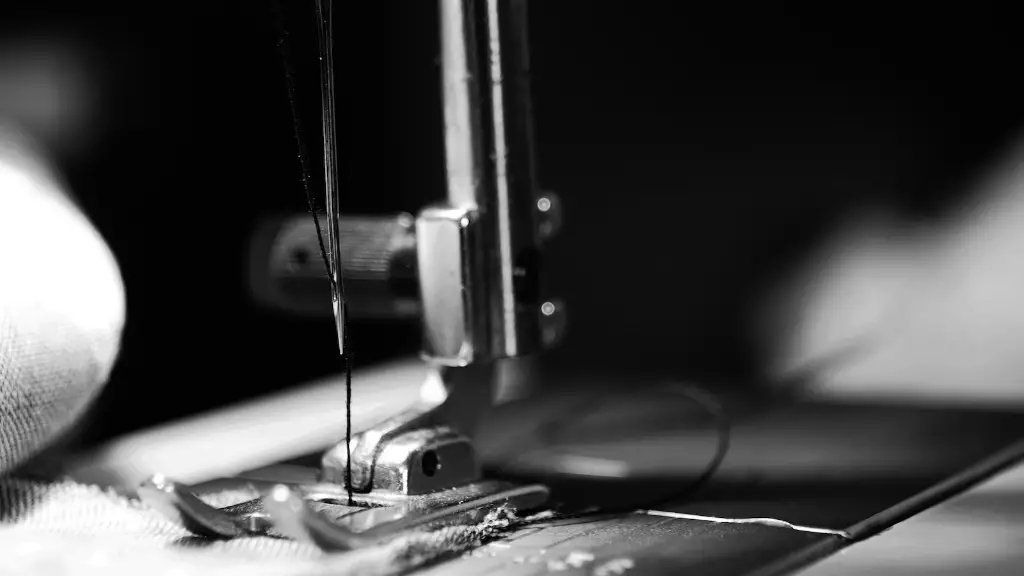
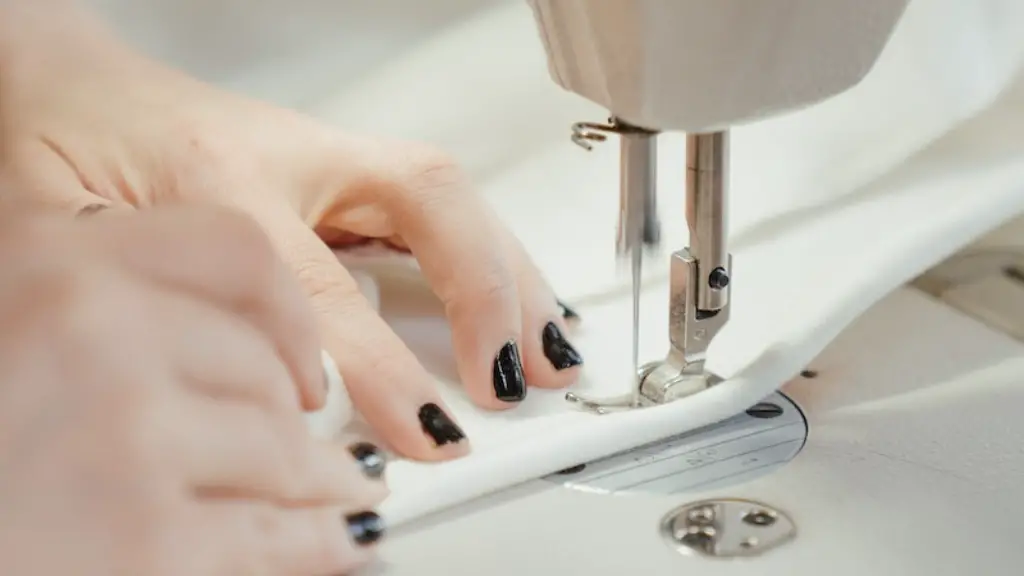
Once the shorts have been prepared, it’s best to thread your machine with a polyester or poly-cotton thread, as this will provide the strongest and most durable stitch. Secure the thread at the start of the hemline, by backstitching and when sewing the hemline ensure slow and precise movements to ensure accuracy and accuracy. Shortens can also be stitched by hand, however, this is a slower process.
When it comes to stitching the hem, there are many avenues to explore. An overlocker is a great, more professional looking method of hemming with a machine, as it prevents fraying and makes the hem more durable for frequent wear. To achieve a neat, uniform hemline using an overlocker, position the hem under the needle and lastly fold the hem down to achieve a neat finish. For those who have access to a serger, using a serger to hem shorts is also a great option, as it provides a strong stitch on both the outside and inside, without the risk of fraying.
When stitching by hand, the same principle applies as stitching with a sewing machine. Start by preparing the hemline, turn up the hem, then tailor’s chalk or mark the length and press the hem. Once the hem has been prepared and pressed, stitch the hem by hand using an even, basic back stitch or slip stitch to provide a neat and professional look.
The importance of finishing the hem can’t be stressed enough. If the hem is not finished off properly it can look messy and it can also lead to fraying and that is why it is important to ensure the hem is neat and secure. To finish the hem use a turn-up hem for a neat and tidy finish, or top stitch the hem down to achieve a more contemporary look.
Tips for Hemming Shorts
When hemming shorts, it is important to consider the fabric, as different fabrics will require different approaches. For example, lightweight fabrics such as cotton and linen should be hemmed using an overlocker or serger, whereas thicker fabrics such as denim can be sewn by hand or with a sewing machine.
Always remember to double check the measurements and the length of the hem before committing to cutting and stitching the hemline, as small mistakes can be difficult to fix.
Finally, when hemming shorts with a sewing machine, use a shorter stitch length to ensure the garment can withstand the tension of being pulled up and down and provide a neat, durable stitch.
Attaching Patches and Embellishments
Attaching patches and embellishments to shorts with a sewing machine can be a fun and creative way to customize your wardrobe. Before attaching any embellishments, consider the location, as some patches can be very bulky and are best suited in discreet locations.
Next, take into account the materials the embellishments are made of, as this will determine the type of thread and setting required on your machine. For example, patches made from denim should be sewn with a tougher thread, such as polyester or poly-cotton, and a longer stitch length.
When attaching the patch or embellishment, always use a zig zag stitch, as this prevents the material from fraying. If a decorative hem is desired, a satin fix or blanket stitch can be used. When applying any embellishments, always ensure the patches are secure and won’t slip off.
Repairing a Torn Hem
If the hem of your shorts become torn, it’s surprisingly easy to repair this with a sewing machine. First, press the ripped portion flat to make sure it is even and re-sew the seam. If the hem has been completely torn off, re-hem the shorts from the start, by folding over the raw edge, pressing it in place and then stitching it down.
If a patch is needed, attach the patch to the right side of the shorts, as this will ensure the patch is in the correct position once the shorts are worn. Then, stitch the patch around the torn area with a narrow, decorative stitch. This will reinforce the patch and help to keep the hem in place.
Always remember to pay close attention to the tension on the sewing machine and replace the needles when they become dull, to avoid any skipped stitches or damage to the fabric.
Making Alterations
Making alterations to a pair of shorts can give them a unique and customised look which may just enhance your wardrobe. Alterations such as adding pockets, beading and tassels, or adding tongue and button detailing, can all make an ordinary pair of shorts more unique and personal.
When making these alterations, bear in mind that the fabric of the shorts may need to be interfaced to provide extra support and structure. It is also important to consider the notion of balance, as the additions created should complement the existing look of the shorts.
When making alterations to shorts with a sewing machine, use a stronger thread, such as polyester or poly-cotton to ensure strength and durability. The length of the stitch can also vary depending on the fabric and the length of the seam.
To add extra embellishments and detail, such as pearls, tassels and beads, use a narrow stitch length, as this will ensure the embellishments stay secure.
Gyrating with Shorts
Gyrating with shorts can really take your shorts to the next level. Whether shaking them on stage or in the street, gyrating with shorts can add an extra dimension to shorts and can provide more movement when gyrating.
Gyrating with shorts often involves adding length to the shorts, therefore the fabric needs to be highly durable to withstand the added pressure from the gyrating motions. It is also important to take into account the fabric of the shorts, as some fabrics, such as denim, can be too thick for gyrating.
When gyrating with a pair of shorts, it is important to ensure the fabric is flexible, as this will allow for more movement and better quality gyrating. Also, make sure to choose a heavier weight thread to reinforce the seams and give them extra strength.
The seams should be sewn with a strong, basic back stitch or slip stitch and the hemline should be double-stitched to provide a long lasting finish. Use a longer stitch length to make sure the fabric can breathe and move freely.
