Basic Sewing Instructions
Sewing sleeves can be a daunting task for even an experienced seamstress. However, with the right tools and techniques, hemming sleeves can be a surprisingly simple project, even using a sewing machine. The following steps will guide you through the necessary equipment and steps for hemming sleeves.
Equipment
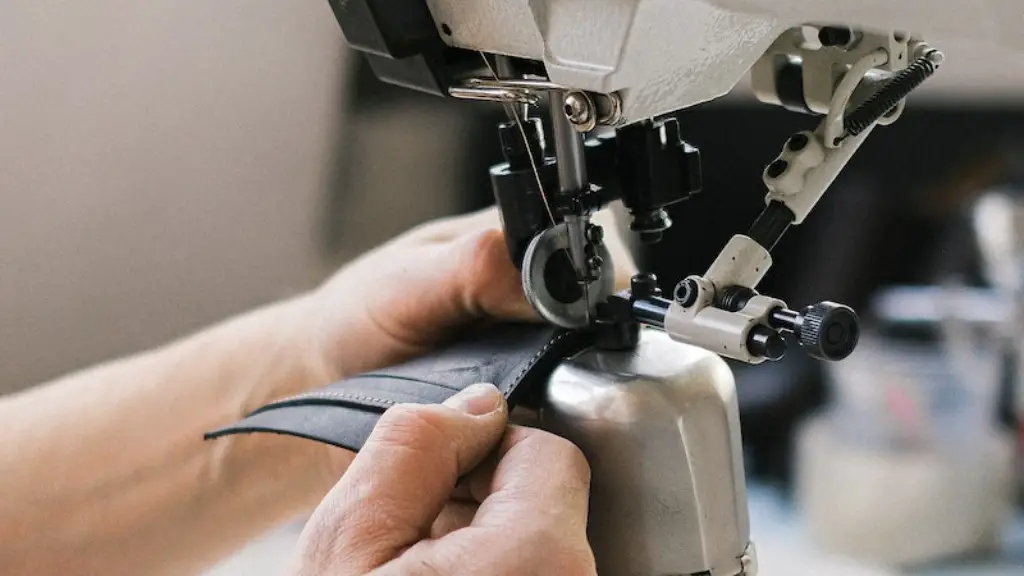
Before beginning to hem a sleeve, make sure to prepare the correct equipment. First, the most important piece of equipment is a sewing machine. Any sewing machine should be suitable for the job; however, some machines may have particular features which make hems easier, such as a blind hem stitch. Additionally, you’ll also need trimming scissors, a tape measure, pins, and matching thread. If desired, fusible webbing can also be used alongside the thread to create a stronger bond between the fabric and the hem.
Preparation
Once the necessary equipment has been gathered, the next step is to measure and mark the hemline. The hem should be at least twice the desired length; in other words, if the hem should be 4 inches, the measurement should be 8 inches. Mark the desired length with a pin or chalk, and then fold the fabric at that point. After the desired length is folds, pin the hem to hold in place.
Sewing
When sewing the hem, use a straight stitch or a blind hem stitch such as a zigzag stitch or a narrow satin stitch. Whilst using the straight stitch, start at the top and move downwards towards the bottom of the sleeve. When using the blind hem stitch, start from the back of the fabric and stitch in an outward motion and around each corner of the hem allowance. For extra durability, consider using a double row of stitching.
Finishing the Hem
Once the hem is sewn, cut off the excess fabric. With sharp, pointed scissors, trim close to the seam to make the hem less visible. If necessary, press the hem with an iron. Once the fabric has cooled from the iron, move on to the next sleeve.
Advanced Ironing Techniques
Ironing is a crucial step in hemming a sleeve. Prepare the iron with the correct amount of steam and then lay the sleeve on the flat surface. From there, simply run the iron along the hemline until it is slightly damp. This will make it easier to press the hem in place. If desired, use a tailor’s ham or clapper to obtain a crisper finish; when working with thicker fabrics, an ironing board may also be necessary.
Staying Stitch Technique
The stay stitch technique is one of the most reliable methods for hemming a sleeve. To begin, first use pins to secure the sleeve hem in place. Then, use a stay stitch along the entire length of the folded edge. This technique will make it easier to maneuver the fabric when using a blind stitch. Additionally, when using a stay stitch, you can easily test the hem with a heat gun before beginning the blind stitching process.
Sewing Machine Troubleshooting
To avoid any issues, it’s important to watch out for tension and power issues when hemming a sleeve. Make sure the tension settings are correct, as too much pressure can cause the fabric to fold or pucker. Additionally, keep an eye out for any snags or loose threads. If a snag is detected, turn the fabric over and snip the laundry thread carefully with a pair of scissors.
Presser Foot Techniques
Using the right presser foot technique is another important consideration when hemming a sleeve. By substituting the standard presser foot on the sewing machine with a blind hem foot, it can make the job of hemming much easier. Furthermore, blind hem feet can help to produce cleaner results and reduce the amount of time spent sewing.
Safety Tips
When working with a sewing machine, it’s important to take the necessary safety precautions. Make sure to read the manual for the machine and adhere to any necessary safety protocols. Additionally, wear comfortable clothes and keep loose clothing and jewellery away from the sewing machine. Finally, never leave the machine unattended when it’s in use.
Preventing Needle Breakages
Apart from safety, breaking needles is another common issue when hemming a sleeve. To avoid breaking needles, use the correct needle size and type. Additionally, make sure to use high-quality thread and check the machine’s settings before beginning. For example, some settings may cause the machine’s needle to move too quickly and break the needle.
Extending the Hem
Sometimes, you may need to extend the hem beyond its initial length. To do this, you can fold an extra 2 or 3-inch length of fabric above the original hemline and then stitch across this section. It’s important to take extra care to ensure that the stitching is even. To achieve a cleaner look, use a stitch in the ditch technique.
Seams and Hems
When hemming a sleeve, it’s important to consider the existing seams and hems. If there are any existing seams, make sure to leave them alone as they may be required for a reinforced hem. Furthermore, it’s best to use a zigzag stitch for any exposed seams to reduce the risk of fraying. If a hem is already present, make sure to gently remove it before starting the new hem.


