Bringing a torn item of clothing back to life through sewing is a skill everyone should possess. Hem stitching is a basic repair technique used to turn up the bottom edge of fabric, often times used for jeans, dresses and skirts, on a sewing machine. It ensures that your fabrics and materials stay in top shape and can also be used to add a decorative and creative element to your pieces. Learning this craft doesn’t have to be overwhelming. All it takes is some patience. This article aims to equip you with the knowledge of exactly how to hem stitch on a sewing machine so you can become a pro yourself!
Things you’ll need
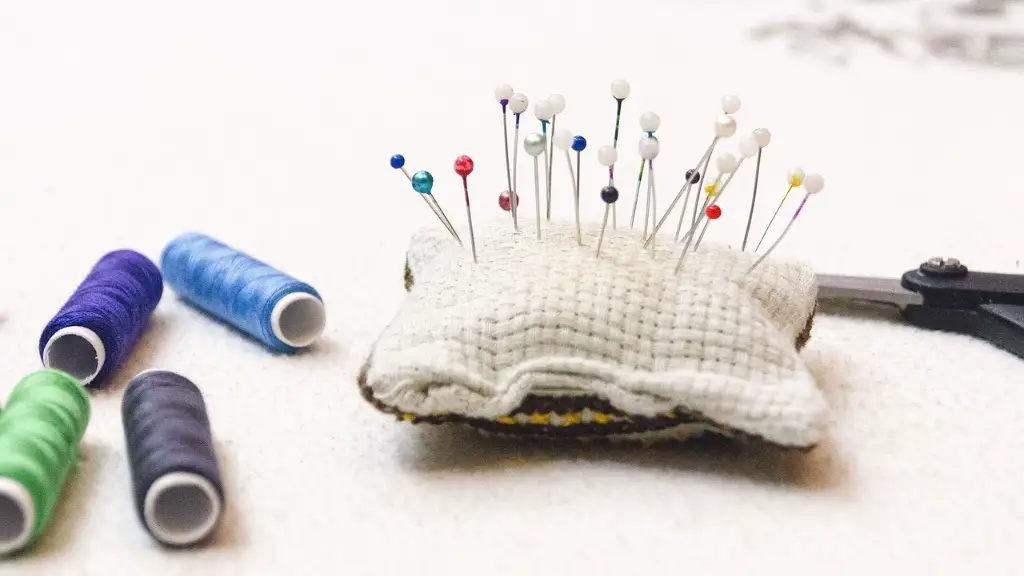
Before you start, make sure you have the following materials at your side: a sewing machine, thread, lightweight fabric or an item of clothing that you want to work on, scissors, tape measure, a straight edge, pins, marking chalk and an iron.
Preparing the sewing machine
Set up your machine for a “straight stitch.” This means that you need to make sure the first dial on the left side of the machine (“stitch pattern select”) should be pointing to the number “1”. Check the second dial (“stitch length”) to determine the size of your stitch. Anywhere from 1 to 3 should work – in most cases, the “2” setting is ideal. Finally, adjust the third dial (“needle position”) to the far left.
Hemming the fabric
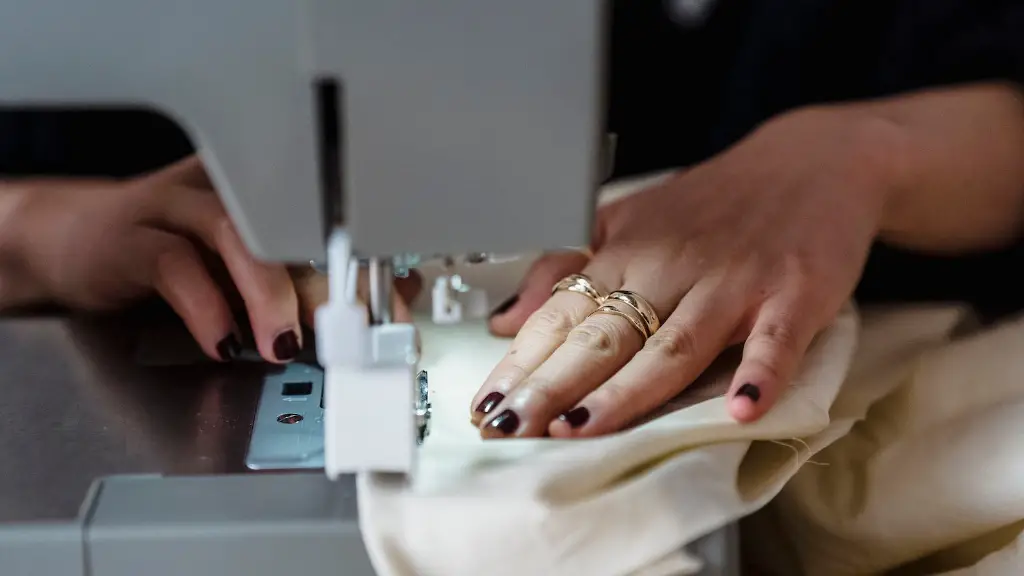
Start by folding the fabric inwards so that the wrong side of the fabric is facing outward. Use the straight edge and pins to make sure that the folds stay deep and even. Take your measuring tape and measure the sewn hem according to how wide you want it. On the wrong side of the fabric, mark the length of the fold using a marking chalk. Take the fabric over to your machine, paying special attention to the direction of the fold. Line the raw edge up with the presser foot on your sewing machine and begin stitching.
Pressing the fabric
After you have finished hemming the fabric, you’ll need to press the fabric to make sure that all of your stitches are as neat and even as possible. Carefully move your iron over the area you have just sewn, starting at the top and slowly moving it down. If you feel the fabric pulling, don’t press down too hard – this could cause the stitching to come undone.
Using top stitching
Top stitching – sewing another line of stitches closer to the edge of the garment – can be used to make your hemming look more professional. Take your metal straight edge and measure out how wide you want your top-stitching to be from the folded edge of the fabric. Mark out the measurements with marking chalk, and line up the raw edge with the presser foot of your machine as you did before. Start stitching, making sure that your stitches are as straight and even as possible.
Using contrasting fabric and thread
Using both contrasting fabric and thread can give a creative and unique effect to your hemming. Make sure that the fabric is similar in weight to the material you are working on, and that the thread you choose is the same color as the contrast fabric. Stitch the fabric to the garment, making sure that the edges are straight and even. Experiment with different fabrics and threads to see what unique looks you can create!
Keeping your stitches even
The key to successful hemming is keeping your stitches as even as possible along the entire length of the hem. This means that you need to use consistent pressure on the presser foot of your machine, as well as making sure that the machine is not moving too fast or too slow. To test that your stitches are even, check the stitches from the front and backside of the garment. If any stitches look out of place, go back and make adjustments until the entire piece is perfect.
Keeping your thread tension even
Thread tension can have a huge effect on the quality of your hem. To keep the tension even all around, use the thread tension knob on your machine, found on the top of the machine underneath the bobbin cover. Generally, a good starting point is “4”, but if your stitches are still pulling, you might need to adjust the tension to “3” until the stitches look even and lay flat.
Experimenting with decorative stitches
You can also use a variety of decorative stitches to create some really interesting effects on your clothing. These stitches can range from simple zigzag to more complex patterns. Take some time to experiment with different stitch patterns and get a feel for the type of looks you can create. Keep in mind, however, that decorative stitches tend to be slightly more challenging to sew than regular straight stitching, so don’t be discouraged if it doesn’t look perfect the first time around.
Finishing up
Finally, once you’re done hemming your fabric, go over the stitching with a steaming iron to make sure the stitches stay in place. Make sure to pay attention to the edges of the fabric, as well as any areas that might have been missed. With a little bit of practice and patience, you’ll be an expert at hem stitching on a sewing machine in no time!
Picking the right needle
Using the right type of needle for your machine is an essential element in hem stitching. Different needles come in different types and sizes and the one that you choose will greatly depend on the weight of the fabric you are working with. For lighter fabrics, use a universal needle with a size between 8-11. For heavier fabrics, choose a thicker needle such as a denim or stretch needle, with a size between 10-14. If you’re not sure which type to use, ask a professional or check the instruction manual that came with your machine.
Testing out different stitches
How you choose to stitch your hem will entirely depend upon your own personal style as well as the theme of the project. While a straight stitch makes for a classic hem finish, there are lots of other options available. For instance, if you’re looking for something a bit more decorative, you can try an overlock stitch or even an elastic stitch. Make sure to take some time to play around with different stitches and decide which one suits your project the best.
Using fabrics of different weights
Being able to work with fabrics of different weights is a necessary skill when hem stitching. Different fabrics require different types of needles and thread, as well as different settings on the sewing machine. For instance, lighter fabrics like silk and chiffon may require a small stitch length but heavier fabrics such as denim may require a longer stitch length. Make sure to adjust your machine accordingly and read the instruction manual before starting any project.
Using an edge foot
For those times when you want your hem stitching to be as close to perfect as possible, using an edge foot can be a game-changer. Edge feet are designed to help you keep your fabric from shifting or slipping as you sew and make it much easier to achieve neat and even hems. Unlike regular presser feet, edge feet have a small guide on the front which helps you to keep the fabric accurately lined up with the needle.


