If you are looking to learn how to hem with a sewing machine, then you have come to the right place. Hemming is the process of turning back the raw or cut edge of fabric and either tucking it in or otherwise binding it. It is mainly used to prevent fraying or edge distortion, as well as to give a finished look to the edge of a garment. Hemming with a sewing machine is a great way to hem garments quickly and efficiently.
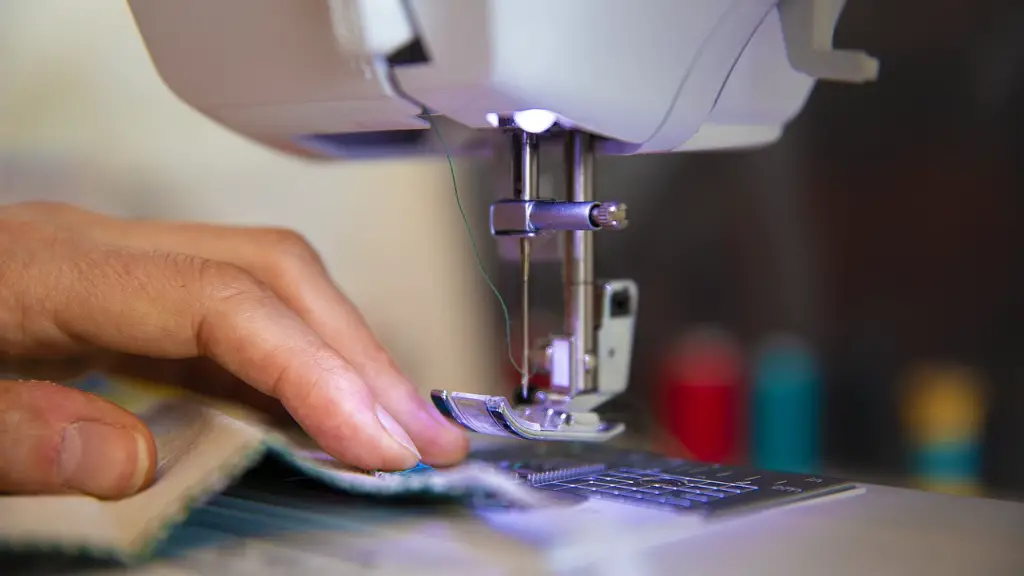
When hemming with a sewing machine, it is important to use the correct foot and needle. A blind stitch foot is ideal for stitching on hems, as it produces a well-concealed stitch on folds that are too thick for the regular zigzag foot to handle. It is also recommended to use a hemstitch needle for hemming. Hemstitch needles have a very narrow eye, making them perfect for small stitches that are difficult to see.
To get started, use a steam iron or spray bottles filled with water to dampen the fabric before starting a hem. This will help remove any wrinkles and stabilize the hems to make them easier to sew. Mark the hem with tailor’s chalk. This can be any kind of marking tool useful for laying out and measuring fabrics, such as tailor’s tape, a ruler, or a straight edge. The mark should be slightly longer than the desired length of the hem.
Once the fabric is marked and ready, it can be time to start sewing. Begin at the mark and sew down the line. When sewing a fold, start from the wrong side, before turning the fabric over to the right side and continue stitching. A wide and tight zigzag stitch is suggested for hemming. The zigzag stitch will hold the folded fabric securely and give a neat, finished look. The looseness of the stitch should depend on the weight of the fabric. For light weight fabrics, use a regular zigzag and for heavier fabrics, use a wide zigzag width.
To finish, sew off the end of the hem at an angle. Take out any pins as you sew, so they don’t get caught in the needle. Trim away any excess fabric or threads, and press the hem with a hot iron. This will help to create a neat and tidy look, as well as reduce any bulk.
Hemming with a sewing machine is a great way to create professional looking hems. Although it may seem daunting at first, following the above tips and tricks will help make the process simpler, as well as more efficient.
Turning a Blind Hem
A blind hem is an invisible stitch which can be used to great effect when finishing a garment or item of clothing. A blind hem consists of two threads, the needle thread and the bobbin thread. The needle thread is visible and can be seen on the right side of the garment, while the bobbin thread passes through the fold of the hem, only visible from the wrong side. As the two threads interlock with each other, they create an invisible stitch
To create a blind hem, start by marking the fold line. This ensures the fold of the hem is straight and even. After the fold is marked, press and steam the hemline with an iron. This will allow the fold to become more permanent and pressing the fabric gives the stitch something to keep hold of.
Once the fabric is pressed and ready, it’s time to start sewing. A blind stitch foot is used to sew a blind hem. Attach the foot to the machine, and set the stitch selector to the blind stitch. Begin by stitching the hem at the foldline marked. Stop before the fold, raise the needle and lower the presser foot. With the needle still raised, lift the presser foot and slide the fold of the fabric in under the presser foot and lower. With the fold tucked in, continue stitching until the end of the hem. Make sure to backstitch at the start and finish of each seam.
Once the seam is complete, press the hem with an iron to help the fold lay flat and give a neater hemline. Trim any excess threads or fabric, and the blind hem is complete. Blind hems are a great way to finish a garment and give a professional look.
Hand Sewn Hem
Hand sewing a hem is perfect for delicate fabrics and tends to be more accurate than machine stitching. Begin by pressing and ironing the hem to remove wrinkles and stabilize the fabric. After pressing the hem, use tailor’s chalk to mark the fold line. This helps hold the fold in place and keeps the hem even.
Once the fabric is pressed, it is time to begin sewing. There are many different types of hand sewing stitches that can be used to hem a garment. The two most popular stitches are the slip stitch and the blind stitch. The slip stitch is the simplest of the two and is used to create a neat and invisible hem on lightweight fabrics. To create the stitch, tuck the thread under the edge and draw it through the fabric. Then tuck the needle back through and repeat. The blind stitch is similar, but slightly more complex, as it requires a few extra steps. The stitch is created by looping the thread through the fold of the hem and drawing it through the fabric. This creates a stitch that is invisible and secure.
Once the hem is finished, press the fabric with an iron to ensure the stitches lie flat against the garment. The result should be a neat and tidy hemline with no visible stitching. Hand sewing is a great way to finish a delicate fabric and can create a beautiful hemline.
Self-fabric Hem Binding
Self-fabric hem binding is a great way to finish a hemline and add a unique look to a garment. This technique uses bias tape, made from the same fabric as the garment, to cover the hems and give a neater finish. Begin by pressing the fabric and marking the fold line with tailor’s chalk. Cut bias strips 2-3x the width of the hemline and make sure they are exactly on the bias. Press the strips in half and pin them to the wrong side of the fabric.
Begin to stitch the bias tape, starting at the wrong side of the fabric. Start at one end, and match the edges of the bias tape and the fabric. Continue to stitch around the curve or corner of the hem and when the raw edges meet, overlap them slightly. Stitch around the circumference of the hem, until the ends meet. Trim any excess fabric, and the hem is now finished.
Self-fabric hem binding is a great way to finish a hemline. Not only is it easy to do, but it also looks great and can add character to the garment.
Attaching Lace Trims
Attaching lace trim is a great way to add a decorative touch to a garment. To begin, measure the length of the trim and mark the fabric with tailor’s chalk for the desired length. Cut the lace trim to the desired length and press the fabric with an iron. This will get rid of any excess creases and make it easier to attach the trim.
Pin the lace trim to the wrong side of the fabric, making sure the raw edges are aligned. Begin sewing from the wrong side, starting and ending at the same point. Use a regular zigzag stitch and keep the edges of the lace and the fabric lined up as you sew. Once the trim is stitched to the fabric, press the finished Hemline with an iron to help the trim lay flat.
Attaching lace trim is a great way to add a touch of elegance to a garment. Make sure to use a narrow zigzag stitch and slightly stretch the trim as you sew to help the trim lay flat.
Tips and Tricks
Hemming a garment or item of clothing can seem daunting at first, however following the above tips and tricks will help make the process easier and more efficient.
When hemming with a sewing machine, use the correct needle and foot. A hemstitch needle is ideal for small and invisible stitches, while a blind stitch foot helps create a well-concealed stitch. It is important to also follow the manufacturer’s instructions for the sewing machine when adjusting the tension, foot pressure, and changing the stitch width.
Marking the hemline with tailor’s chalk, pressing and steaming the fabric will help stabilize the fabric and make it easier to sew. When sewing the hem stitch, remember to loosen the stitch length for light-weight fabrics and use a wide zigzag stitch for heavier fabrics.
Hand sewing and attaching lace trims are great way to add a decorative touch to a garment. For hand sewing, slip stitch and blind stitch are great stitches to use to create neat and tidy hems. Attaching lace trims is a fun way to add a touch of elegance to a garment. Use bias tape cut on the bias to cover hems and give a neat and polished look.
Hemming can seem daunting at first, but follow the above tips and tricks and the process of hemming with a sewing machine will become simple and straightforward.


