Step One – Turning On the Machine
Before you can insert the bobbin into your Janome sewing machine, you must first plug it in and turn the power switch to on. Once the power is on, press the bobbin winder button located on the side of the machine, to enable the bobbin winder. Place the spool of thread onto the spool pin situated on the top of the machine, and thread it through the thread guides as indicated in the user manual. Pull the thread to the bobbin winding area, and place the empty bobbin onto the bobbin winder’s pin. Press the bobbin winder stop button located on the side of the machine.
Step Two – Wrapping the Thread
Hold the end of the thread firmly with one hand and slowly rotate the hand wheel with your other hand. As the thread is wound onto the bobbin, the bobbin should slowly rotate as well. Continue winding the thread onto the bobbin until it is no longer in danger of slipping out from the winder shaft. Before releasing the thread, ensure that the bobbin winding thread tension is tight enough for the thread to not unravel or fluff.
Step Three – Take Out the Bobbin
Once you are finished winding the bobbin, press the bobbin winder stop button again to turn off the bobbin winder. Carefully take out the bobbin from the bobbin winder, ensuring that the thread is not tangled. If the bobbin has too much thread wound on, carefully cut off the excess area with a pair of scissors.
Step Four – Insert the Bobbin
Open the bobbin case of your Janome sewing machine by pulling the latch located at the top of the machine and lifting it up. Place the filled bobbin into the bobbin slot and pull the thread between the spring and slot at the front of the case, ensuring that your thread is going in the correct direction. Securely close the bobbin casing.
Step Five – Pulling the Thread
Next, pull the bobbin thread up through the needle plate, and make sure there are at least four centimeters of thread above the needle plate. This is known as the bobbin thread take-up. If no thread is pulled from the bobbin, you will have to open the bobbin casing and re-thread the bobbin, as detailed in steps one to three.
Step Six – Setting Up the Bobbin Tension
The tension of the bobbin thread is crucial to making a neat and even stitch. Too little tension will cause sloppy and irregular stitches, whereas too much tension can cause tangled thread and puckering. You can adjust the tension of the bobbin thread by turning the screw counter-clockwise for increased tension or clockwise for decreased tension. Expert sewers recommend testing the tension before starting to stitch.
How to install presser feet
Presser feet are an essential part of your Janome sewing machine as they give it the ability to create various decorative stitches and hems. To install a presser foot, lower the lever on the side of the machine until the presser foot is at its lowest point. Attach the presser foot to the shank at the back of the machine and raise the lever to secure it. Make sure that the presser foot is firmly in place, then start looking through the stitch selector to find the best stitch for the job.
How to thread the needle
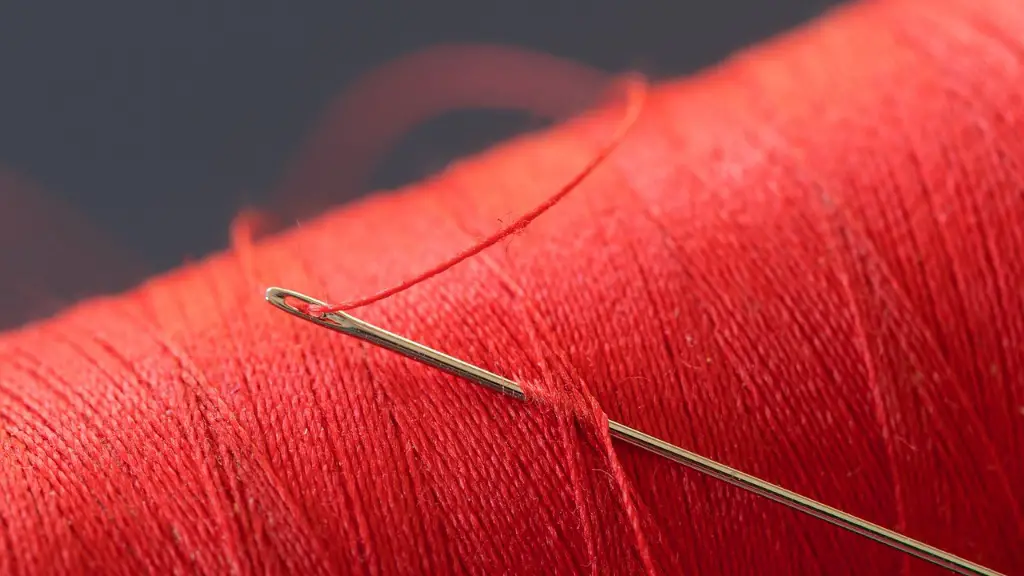
Threading the needle is one of the most basic tasks in sewing and needs to be done with precision. The first thing you need to do is to detach the presser foot from the shank. Undo the needle clamp and remove the existing needle from the machine. Locate the thread guide on top of the machine and feed the thread through it, then carefully thread it through the needle from front to back. Pull the thread taut and reattach the presser foot to the shank before lowering the lever to its lowest point.
Buttonholes are another useful stitch which can be used on your Janome sewing machine. Firstly, chose the desired buttonhole stitch according to the type of material you are using and the size of the button. Place the button on the buttonhole foot and slide it so that the button is in the right position. Make sure to allow at least two millimeters of thread width between the two sides of the button. Attach the buttonhole foot to the shank and tighten the screw. Finally, position the fabric correctly and start stitching, once you are finished, start snipping the hole with a pair of scissors.
Understanding different fabrics
Before you start stitching, it is important to choose fabric which is appropriate for the job. Different fabrics have different degrees of stretch and stability, these properties will determine the kind of stitch you should use. Heavy fabrics such as canvas and denim require long and wide stitches whereas lightweight fabrics, such as silk and chiffon, require small and tight stitches. Always check the care label attached to the fabric and select your stitch accordingly.
Understanding needle and thread selection
The choice of the correct needle and thread is another crucial factor in creating a successful stitch. Needles come in various types, including universal, stretch, denim and leather needles. Make sure to select the right type of needle according to the fabric. Similarly, each type of fabric has a corresponding thread weight and colour. Always choose thread which is strong and weight appropriate for the job, as thin threads can break easily.
Essential stitch settings
Stitch length and width are important factors in setting up a Janome sewing machine. Generally, a stitch length of two to four millimetres is home dec sewing standard and a width of five to six millimetres with a wide zigzag stitch setting is recommended for decorative stitches. However, it is recommended to refer to the user manual and experiment with different settings to find the optimal setting for your project.


