Preparing The Needle
Preparing a needle for use in a sewing machine can take some time but with a few simple steps the process can be made less complicated. Firstly, be sure to use the correct needle for your sewing machine type. If you are not sure which one is required, refer to your sewing machine’s manual. Now, hold the needle with the flat side of the needle toward you, which is usually the back of the needle. With the other hand, insert the needle’s shank (or the long stem) into the hole of the sewing machine near the tension disc. Then, gently push the needle down until it clicks into place.
Threading the Needle
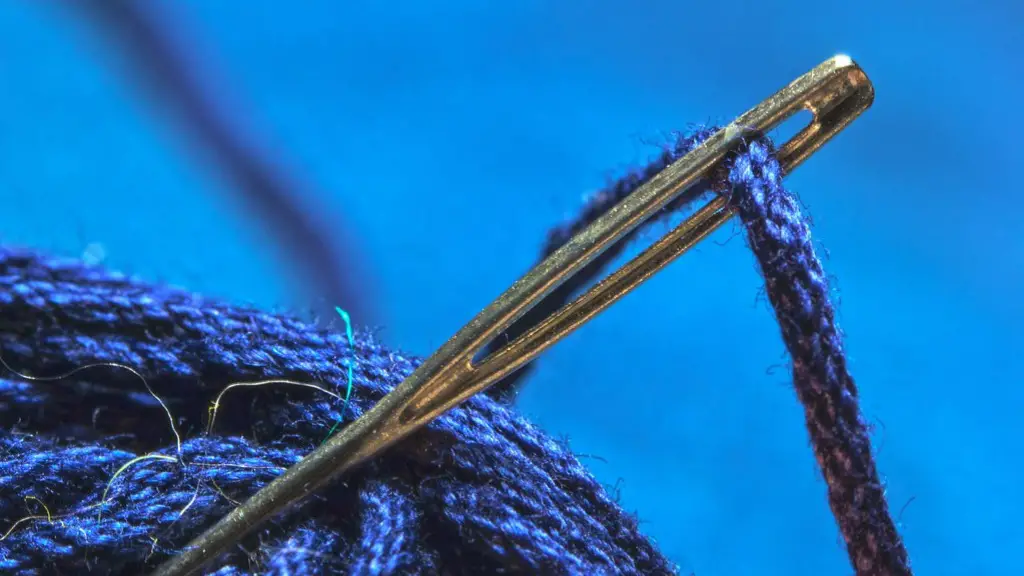
Now that the needle is securely attached to the sewing machine, it is time to thread it. Start by placing the thread spool onto the sewing machine spool pin. Then, bring the end of the thread down to the machine’s thread guide and then down to the take-up lever. Now, pull the thread up through the thread hole in the needle, which is the hole on top of the needle. Gently tug on the thread to make sure it is secure and there won’t be any issue with the needle stitching later on.
Tension Settings
The next step to properly thread a needle on a sewing machine is to adjust the tension settings. This is done by adjusting the tension disc so that it fits the tension of the thread attached to the needle. To do this, turn the small disk near the needle on the left side until the needle is at a 90-degree angle. Make sure the tension is just right. Tightening the tension too much may cause the thread to break and loosening it too much may result in looping.
Check Your Work
Once you have finished adjusting the tension, make sure to check your work. Run a short stitch or two and observe how the thread is moving. If you notice any looping or broken threads, adjust the tension accordingly until it sews correctly. Once you feel confident that the thread is correctly implemented, you can proceed to sew your desired project.
Replace The Needles
It is important to replace your needle regularly as after a few projects, the needle will become blunt and could potentially break off. Ensuring that the needles are changed regularly will greatly reduce any disruption to your sewing projects. Replacing a needle is a simple process and requires little effort. First, turn the machine off and pull the needle out of the machine. Insert the new needle into the machine and turn the hand wheel to ensure it is correctly placed.
Oiling Your Machine
Without regular oiling, a sewing machine can start to develop issues. Oiling your sewing machine will keep it running smoothly, ensure good stitch quality and prevent any further damage. To oil your sewing machine, start by identifying the oil points, which can be found in the manual. Place a few drops of oil onto the identified points, being careful not to over-oil as this can lead to further problems.
Cleaning The Machine
Your sewing machine should be cleaned every now and again. Cleaning your sewing machine will not only help with the longevity but will also help prevent any further problems occurring over time. To clean the machine, use a small brush to brush away any lint or dirt which has settled inside the machine. Also, use a vacuum to remove any dirt and dust which could affect the performance.
Maintaining The Thread Path
Not all needle and thread paths are the same, so consult the machine manual for the correct path. To maintain a clear thread path, keep the thread path free from any lint or dust which can build up over time. You should also replace your bobbin or bobbin case if it has been worn down. Lastly, check the tension periodically to ensure the thread is not too tight or too, as this could result in undesired stitches.
Lower Threading
When threading a sewing machine, it is important to remember that there is a lower thread, as well as an upper thread. The lower thread needs to be spooled into the bobbin and then placed into the bobbin case. With the bobbin case in place, thread the bobbin using the same process you used to thread the needle.
Adjusting The Feed Dog
The feed dog is located under the presser foot and needs to be adjusted in order to create evenly spaced straight lines. If the feed dog is set too high, this can cause an overfeeding of the fabric and will result in uneven lines. To avoid this, use a screwdriver to adjust the feed dog to the level it needs to be and be sure to check that it is properly aligned.
Switching Threads
When changing threads, always make sure to check the tension settings with a few test stitches. It is important to keep tension settings consistent when switching threads as this will ensure uniform stitching for your project. It can also help to try out different thread sizes to see which one works best for the particular project.
Stitching in Reverse
Stitching in reverse can be useful for anchoring a seam before moving on to the next stitch. To do this, your sewing machine should have the capability to hold threads under the presser foot while the needle is in reverse motion. Most machines will have a designated button on the machine to help with thread placement and a few will even provide a reverse feeding mechanism.
Stitch Length Adjustment
To adjust the stitch length, most machines will have a stitch-length dial on the front of the machine. The stitch length will influence the look of the stitches and can also make a project easier or harder to sew together. Learn the ideal stitch length to use with different fabric types, as this can make the main difference when it comes to achieving the desired outcomes.
Choosing the Right Needles
Anything that comes into contact with the fabric must be selected with care, and when it comes to needles this is even more important. The wrong needles can leave unwanted marks on the fabric, create uneven stitches and even cause damage to the fabric itself. Educate yourself on the types of needles available and the fabrics that pair best with them. It’s recommended to carry a few different types of needles to hand in case of emergency or to quickly swap out if stitching is presenting a challenge.
Troubleshooting
Sometimes, despite doing everything right, the needle just doesn’t seem to cooperate. In this situation, start by checking the tension settings and adjusting the thread until it is just right. If this doesn’t fix the problem, try using a different type of needle or switching to a thicker thread. If all else fails, consider cleaning the machine and replacing any parts which may be worn down.


