Determine the Appropriate Type of Needle
Before attempting to insert the sewing machine needle, it is essential to identify what type of needle must be inserted. Different sewing machines require different types of needles, so be sure to identify the correct needle for the sewing machine. There are many types of needles available, such as ballpoint, standard point, universal, denim and stretch.
Ballpoint needles are recommended for use with knitted fabrics. They are designed with a rounded point to allow the needle to slip between the fibers, preventing tears and snags in the fabric. Standard point needles should be used with woven fabrics since the sharp point will pass easily through fabric threads. Universal needles are designed for use with both knitted and woven fabrics. Denim needles are specially designed for use with mending thicker fabrics such as denim and other heavy materials. Stretch needles are designed with a slight ballpoint and a thin, sharp blade that makes very short perforations as it penetrates fabric threads, therefore allowing the fabric to retain its strength and elasticity.
Check the Needle Condition
Prior to inserting the sewing machine needle, it is important to check its condition and make sure it is not bent or damaged. Additionally, it is important to ensure the needle is the proper size. A few ways to determine the needle’s size is by looking at the manufacturer’s label and the sewing machine model number, or by measuring the needle’s height and diameter using a needle gauge. When using a needle gauge, measure the needle from the blunt side of the shank to the tip of the needle.
The most common sizes range from 10 and 18, with a number 8 being larger than a number 18. It is essential that the selection of the appropriate needle size for the material and the stitch be given a great deal of attention.
Installing the Needle
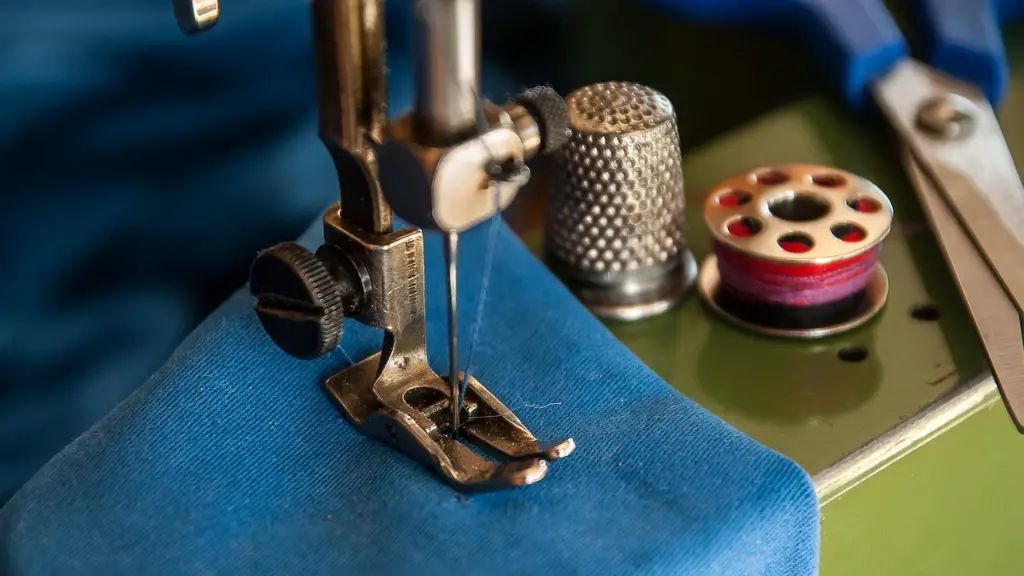
Before installing a needle into a sewing machine, ensure that the power is turned off and the machine is unplugged. Carefully unscrew the screw next to the needle and pull the needle clamp towards you. Now insert the needle shank into the needle bar with the flat side of the needle facing towards the back of the machine. Push down to free the needle clamp, which is connected to a metal holder.
If the needle has two flat sides, be sure to check that the long groove of the needle is facing right. Make sure the needle has been securely inserted by pulling the needle slightly upward. When inserting a machine needle, the universal or the ditch up side should always be in position so that the eye of the needle is facing up.
Securely Fasten the Needle
To ensure the needle is securely fastened, tighten the needle screw by using both hands. It is not recommended to over tighten the needle, as it may cause the needle to break. After the needle is secured in the machine, push the needle clamp back and gently press the needle so that it is firmly held in its original position.
When a sewing machine needle has been secured and tightened, it may be necessary to use the hand wheel to lower the needle bar several times to ensure the needle is not interfering with the mechanism of the machine or the bobbin case. A needle should always move freely when the hand wheel is online.
Test the Needle
Once the sewing machine needle has been installed and activated, it is important to test the needle on a scrap piece of fabric to make sure it is working properly. With the presser foot raised and the needle engaged, push the hand wheel to make sure the needle is going up and down correctly. Additionally, the fabric should not be caught between the needle and the needle plate.
If there is a clicking sound when the hand wheel is turned towards the back of the machine, the needle may need to be adjusted. If the needle continues to make a clicking noise, it is time to replace the needle as soon as possible.
Replacing the Needle
In some cases, it may be necessary to replace the old needle with a new one. To do this, turn off and unplug the machine, and use the screwdriver to remove the needle pin clamps. Now remove the needle by pulling the needle clamp towards you. Place the new needle into the needle clamp, and make sure it is securely fastened. With the presser foot up and the needle engaged, push the hand wheel to ensure the needle is moving up and down correctly. Lastly, check the sewing machine needle size to ensure the proper size has been installed.
Maintaining the Needle
In order to prolong the lifespan of a sewing machine needle, it is important to maintain the needle with regular sharpening or replacing. If the needle is not sharpened or replaced regularly, it can cause damage to the fabric, resulting in irregular and skipped stitches.
If possible, stop using the needle if it seems to be dull, as this can also cause problems. Additionally, if the needle becomes bent or cracked, it should be replaced immediately and disposed of properly to avoid accidental injury.
Storing the Needle
To ensure the utmost care and effectiveness of a sewing machine needle, it is important to store it properly. Ideally, the needle should be stored in a lightweight container that has a cushion and lid to keep the needle from being exposed to dust and humidity. Make sure the needle is stored away from direct sunlight, as this can cause unpleasant odors. For an added layer of protection, separate the needles with a bubble wrap or soft fabric.
If required, label the needle with their size and type to make it easier to identify when needed. Additionally, if the needle has been used for embroidery, some recommend to dip the needle in oil before storing it away in order to prevent rust.
Checking the Accuracy
Once the sewing machine needle has been inserted and tested, it is important to double-check its accuracy. Professional sewers may use a micrometer to measure the needle size and shaft, as well as its points, to make sure it is the right size, shape and sharpness. This helps to ensure that it is going to work correctly on any material.
When measuring the needle on a micrometer, always start by checking the length of the needle, followed by its diameter. Once the measurements are completed, compare the readings to the manufacturer’s specifications to make sure it is the right size.
Understanding Thread Tension
When it comes to sewing, thread tension plays a major role in the success of a project. The thread tension should be balanced, meaning that the needle and bobbin thread should be pulling the same amount of tension. If the thread tension is too tight, the fabric may be pulled or gathering, and if it is too loose, the stitch may become loose. When adjusting the thread tension, it is important to make sure the thread is not being pulled too hard or too loose.
When threading a sewing machine, if the tension disc is set too high, the needle thread may become easily tangled and knotted. If the disc is set too low, the needle and bobbin thread may not feed properly. It is recommended to start with a medium thread tension and increase or decrease it depending on the fabric and the project.
Adjusting the Needle
At times, it may be necessary to adjust the needle in a sewing machine. If the needle is not inserted correctly, or it is not positioned in the right direction, the sewing machine may not work properly and the fabric may become damaged. To adjust the needle, first turn off and unplug the machine. Screw the needles holder into position, and make sure the needle is pointing up. Using a felt pen, draw a horizontal line on the needle plate to use as a reference for needle placement.
Now use the needle adjuster to move the needle up and down. When the needle is in the correct position, make sure the needle clamp has a good grip on the needle and tighten the needle screw. To ensure the needle has been correctly adjusted, turn the hand wheel to make sure the needle is moving up and down without catching on the material.
