Section 1: Basic Tools and Materials Needed
Installing a walking foot on a sewing machine is a simple, yet effective way of improving the quality of stitches and accuracy of your projects. The walking foot is especially helpful when it comes to working with fabrics that slip or stretch when sewing. Before you begin installing the walking foot, make sure you have the right tools and materials on hand. You’ll need the walking foot itself and a few simple tools, such as a Phillips screwdriver, a flathead screwdriver, and needle-nose pliers.
Section 2: Understanding the Basics
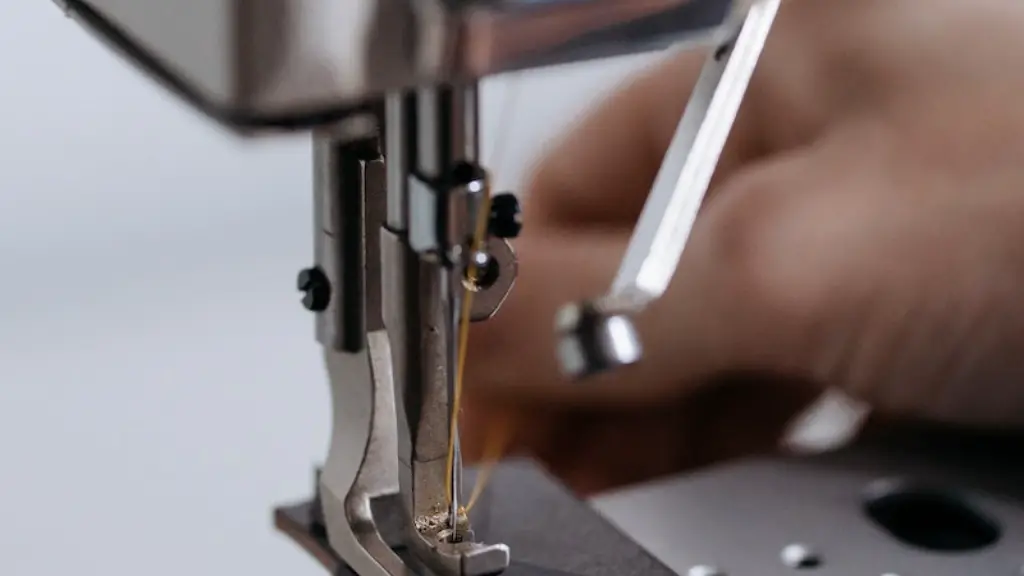
Before you begin installing the foot, you should understand the basics of how it works. The walking foot is a device that clips to the machine’s presser foot bar and holds fabric in place as it moves past the needle. It also has a set of feed teeth on the underside that grabs and moves fabric along as it is sewing, allowing for more accurate and consistent stitching.
Section 3: Removing the Existing Presser Foot
Before you install the walking foot, you’ll need to remove the existing presser foot from your sewing machine. To do this, unclip the presser foot from the bar and detach the spring from the back of the presser foot. You may also need to remove a small screw from the presser foot as well. Once the presser foot is removed, you can move on to the next step.
Section 4: Installing the Walking Foot
Now that you’ve removed the existing presser foot, you’re ready to install the walking foot. Start by sliding the two metal clips onto the presser foot bar and securing them with a screwdriver. Then, attach the walking foot to the clips by sliding it onto the clips and screwing it in place. If your walking foot has a spring, make sure to attach it to the back of the walking foot.
Section 5: Adjusting the Top and Bottom Feed Dogs
After you’ve attached the walking foot to the presser bar, you’ll need to adjust the top and bottom feed dogs. To do this, use a flathead screwdriver to adjust the screws located on the bottom and top of the walking foot. You’ll want to ensure that the teeth of the top and bottom feed dogs are lined up and pressing firmly against the fabric.
Section 6: Testing the Walking Foot
Now that you’ve installed the walking foot and adjusted the feed dogs, you can test the walking foot to make sure it is working properly. To do this, place a scrap of fabric between the walking foot and the presser foot and slide the foot across the fabric. If the feed dogs are correctly adjusted, the fabric should move along smoothly and evenly as the walking foot moves.
Section 7: Maintenance and Care
To ensure that your walking foot is functioning properly and that it lasts for a long time, you’ll need to perform some basic maintenance and care. After each use, make sure to gently clean the walking foot with a damp cloth and remove any lint or dust which may have accumulated on the foot. Additionally, check the screws periodically to make sure they’re securely fastened and that the feed dogs are still in good condition.
Section 8: Particular Fabric Considerations
Although the walking foot is great for general sewing projects, it’s especially helpful when it comes to working with fabrics that stretch or slip easily. When working with such fabrics, it’s important to make sure that you set the top and bottom feed dogs properly and that the fabric is firmly held between the walking foot and the presser foot. This will help ensure that your stitches remain accurate and consistent.
Section 9: Benefits of Installing a Walking Foot
Installing a walking foot on your sewing machine can bring a variety of benefits to your projects. Not only does it make it easier to work with fabrics that stretch or slip, but it can also help improve the accuracy and consistency of your stitches. Additionally, installing a walking foot can reduce strain on your hands and arms, making it easier to complete big projects.
Section 10: Troubleshooting Common Issues
When it comes to installing a walking foot, there are a few common issues that you may run into. One of the most common issues is an uneven or inaccurate stitching. If this happens, the first thing to check is to make sure that the top and bottom feed dogs are lined up properly and that the fabric is firmly held between the walking foot and the presser foot. If these adjustments don’t help, it may be time to take your machine to a professional for further inspection.


