Installing a Bobbin Case on a Sewing Machine
The bobbin case is one of the most important but overlooked parts of the sewing machine. Without it, the thread becomes tangled and the sewing machine won’t sew properly. Installing a bobbin case correctly is essential for any sewist.
It’s important to make sure you have the right bobbin case for your sewing machine. Different sewing machines have different bobbin cases. Some machines require a specific bobbin case or an adapter to fit a certain type of bobbin. Consult the manual for your machine to determine which bobbin is right for it.
Once you have the right bobbin case, you’re ready to install it into your sewing machine. Make sure to unplug the machine before installing the bobbin case. Take off the throat plate to expose the bobbin case, then raise the needle. This will give you enough room to remove the old bobbin case.
Grab the old bobbin case with your right hand and the bobbin with your left, and pull them out of the machine. Place the bobbin case and the bobbin aside, and grab the new bobbin case.
Take the bobbin out of the new bobbin case, and place it inside the machine. Hold the bobbin case in your left hand, and push it inside of the machine. You’ll want to make sure the bobbin is securely seated in the bobbin case. Once it’s in place, slide the bobbin case up until it clicks into its locked position.
It’s always a good idea to check your work. Place a new piece of thread into the bobbin case and turn the hand wheel toward you to make sure the thread moves smoothly. Be sure to remove the thread before you replace the throat plate. The bobbin case should now be securely installed.
Threading a Bobbin Case
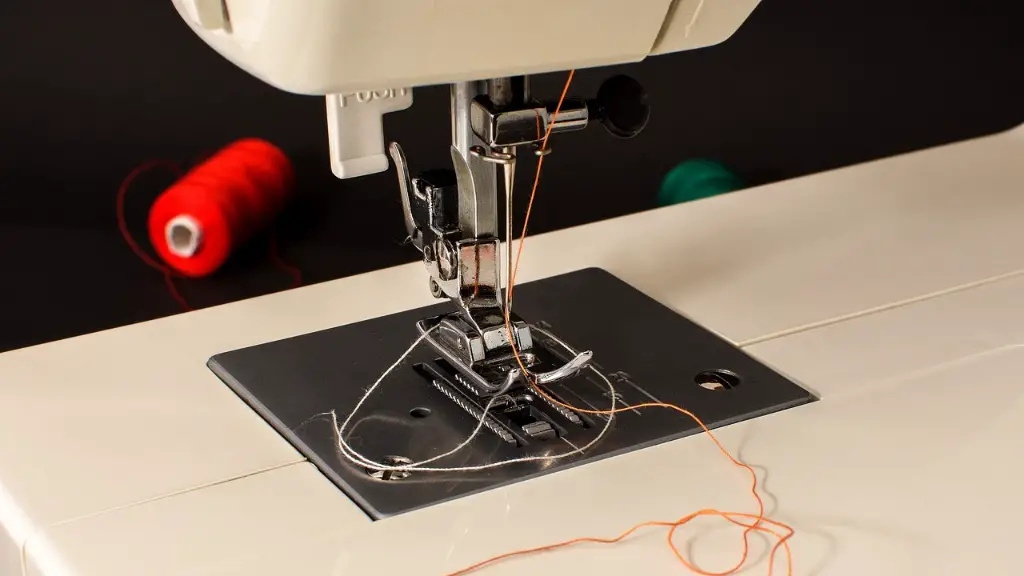
Once the bobbin case is installed in the machine, the next step is threading it. Start by raising the take-up lever, then thread the needle from its left side to its right. Now, pull the thread back and thread it through the needle plate. The thread should go through hole A, then hole B, and underneath the hook.
Now it’s time to thread the bobbin case. Move the hand wheel in a clockwise direction until the hook points up. Then gently pull the thread until it is taut. Next, thread the bobbin case through the left horizontal opening, then thread it through the right opening. The thread should be wrapped around the hook. Finally, thread the bobbin case with the thread between the tension discs, going through the slot and the take-up lever.
It’s important to make sure the bobbin case is correctly threaded. If the thread isn’t coming up in the right place, the bobbin case isn’t threaded correctly. A correctly threaded bobbin case will cause the needle thread to come up at the needle plate.
Checking Bobbin Tension
Once the bobbin case is threaded, it’s time to check the bobbin tension. Gently pull the thread to make sure it’s taut. If it’s too tight, the thread won’t feed correctly. You can adjust the tension by turning the adjuster screw on the top of the bobbin case counter-clockwise, then testing it again with the thread.
If the thread is too loose, it won’t feed correctly either. In this case, you’ll want to turn the adjuster screw on the top of the bobbin case clockwise. Again, test it with the thread until the tension is just right.
It’s important to note that the bobbin tension needs to be adjusted for each project. Heavy fabrics, such as denim, may require a tighter tension, while lightweight fabrics may require a looser tension.
Spooling the Bobbin
Once the bobbin tension is adjusted, it’s time to spool the bobbin. Place the spool of thread onto the thread spool pin. Then, thread the thread through hole A and hole B, and underneath the hook. Take the thread from the spool of thread and put it over the hook. Now, secure the thread to the hook by placing it underneath the hook.
Once the thread is securely in place, it’s time to wind the bobbin. Place the bobbin onto the bobbin spindle and move the hand wheel toward you until the hook catches the thread. Then, pull the thread taut and start winding the thread onto the bobbin. It’s important to keep tension on the thread while you’re winding the bobbin to ensure that the thread doesn’t become tangled.
When you’re finished winding the bobbin, cut the thread and secure it to the bobbin. Place the bobbin back into the bobbin case, and test it out. Be sure to keep an eye on the bobbin as you sew, to make sure it’s not running out of thread.
Maintaining the Bobbin Case
Once the bobbin case has been installed and threaded, it’s important to maintain it in order to keep it in good condition. To keep your bobbin case in good condition, it’s important to clean it on a regular basis. Use a brush or a small piece of cotton cloth to remove any lint or thread that may have accumulated on or around the bobbin case.
It’s also important to lubricate the bobbin case on a regular basis. Use a light oil and use a small brush or Q-tip to apply the oil to the bobbin case and thread paths. After lubricating the bobbin case, it’s a good idea to run the machine for a few minutes to distribute the oil throughout the machine.
Finally, check the bobbin case periodically for any signs of wear or damage. If you notice any cracks, scratches, or bent parts, replace the bobbin case immediately to prevent further damage to the machine.
Keep Spare Bobbins Handy
Whenever you’re working on a project, it’s always helpful to have some spare bobbins on hand. Having an extra bobbin can be especially helpful when working with multiple colors of thread. If you’re switching between colors, you can save time by having bobbins ready with the different colors of thread.
Having a few extra bobbins also helps if you’re working on a project with multiple layers of fabric. When you’re working with multiple layers of fabric, the extra bobbins will help significantly reduce your sewing time.
It’s also important to keep spare bobbins in case of any problems. If the bobbin case or the bobbin itself is damaged, you can easily replace it with a spare one and get back to work.
Conclusion
Installing a bobbin case, threading it and checking the bobbin tension is essential for setting up a sewing machine correctly. Having spare bobbins handy is also essential for any sewist. With a correctly installed bobbin case, and correctly spooled bobbins, you’ll be ready to start sewing in no time.
