1. Sewing Machine Needles
When it comes to sewing, needles have a significant impact on the way the fabric behaves, and on the overall look of your finished project. Choosing the right needle is essential, and knowing how to properly install it is also important. In this article, you’ll learn about different types of sewing machine needles and how to safely and easily install them.
2. Different Types of Sewing Machine Needles
There are countless types of sewing machine needles, and each type is specially built to handle a certain task. To choose the best needle for a job, consider the kind of material you’ll be sewing with. For example, if you’re sewing with lighter fabrics, such as cotton, a universal needle should work just fine. But if you’re using a thicker or more durable material, like denim or leather, you’ll need a stronger needle equipped with a larger eye.
In addition to size, you’ll also need to decide which point your needle should have. Universal needles have a slight rounded point, while sharp needles have a sharper and more defined tip designed for hard fabrics.
3. Preparing the Needle
Before you insert the needle, you’ll need to lubricate it. This will help to reduce friction between the needle and the material and ensure that the needle slides in and out with ease. Use a quality lubricant such as sewing machine oil or a light-weight sewing machine grease.
4. Inserting the Needle
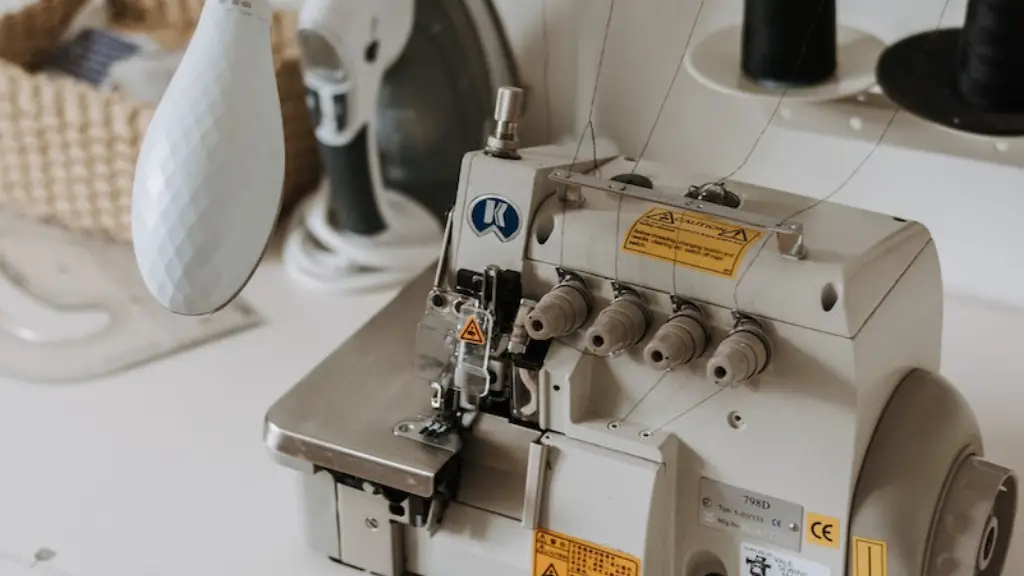
Before you insert the needle, make sure the bobbin is in the correct position for sewing. Once that is done, you can start to insert the needle. Carefully slide the needle all the way up into the needle bar until it is snugly in place. Make sure the flat side of the needle is facing the back of the machine and that the needle’s long groove is facing the front.
5. Setting the Needle
Once the needle is in place, you’ll need to set it properly. If you have a top-loading bobbin, you’ll need to loosen the needle bar and set the needle as far down as possible using the needle set screw. If you have a front-loading bobbin, you’ll need to adjust the needle height so it’s set at the optimum level for sewing.
6. Testing the Needle
Once the needle is in place, you’ll need to check that it is properly secured. Start by raising and lowering the presser foot to make sure the needle doesn’t move up or down. Then, turn the hand wheel clockwise and watch for any shaking or vibration in the needle. If there is no shaking or vibration, the needle is properly set.
7. Changing the Needle
In order to keep your projects looking great, it’s important to change the needle regularly. The needle will start to wear out over time, making it less effective at piercing the fabric and creating uneven stitches. It’s best to change the needle after every 10-15 hours of sewing or when you change fabrics.
8. Safety Tips
When you’re using a sewing machine, it’s important to remember that a needle can cause serious injury if it is not handled correctly. Make sure to keep your hands clear of the needle when sewing, and always unplug the machine before removing the needle. If you are ever in doubt about how to install or handle a needle, consult the manual or seek professional help.
9. Using the Right Needles for the Job
Choosing the right needle for the job will help ensure that your stitches are strong and even. Start by selecting a needle that is appropriate for the material you’ll be sewing with. Generally, lighter fabrics require a universal needle, while tougher fabrics require a sharper or reinforced needle. Be sure to also select a needle with the right eye size for the thread you will be using.
10. Tips for Buying Needles
When shopping for needles, make sure to buy quality needles from a reputable source. Low-quality needles can break easily, leading to unsafe sewing conditions and poor results. Online stores are a great source for needles, but make sure to read the customer reviews before you buy.
11. Cleaning and Maintaining Your Needles
Keeping your needles clean is essential for both safety and longevity. After each use, wipe the needle with a cloth dipped in rubbing alcohol to remove buildup and lint. If there is any rust on the needle, use a nail file to gently remove it. Then, apply a light coating of machine oil or grease to the needle and let it sit for a few minutes before reinserting it.
12. Finding Support When Needed
If you ever run into a problem while working with your needles, don’t be afraid to reach out for help. Your local sewing store or online sewing community are great resources for troubleshooting and getting advice.
13. Final Thoughts
Installing and maintaining your sewing machine needles properly is essential for ensuring safe, successful projects. With the right needle and relevant knowledge, you’ll be able to create beautiful and durable garments, accessories and more!


