Have you ever tried to sew a perfectly straight line on your sewing machine? It can be remarkably tricky and discouraging if you don’t have a sharp eye or know what to look out for. Keeping a straight line on the sewing machine only requires knowledge and practice. Following these tips can help you create a straight line and make your sewing projects look professional.
The first and most important factor in keeping a straight line is the fabric and its grain. If the fabric is cut on the bias, it is much harder to sew a straight line than one along the grain. Before you start sewing, make sure your fabric is cut so that the directional lines of the pattern or fabric run in the same direction as the direction of the stitching line. You may have to pin or tape the pattern or fabric onto the fabric to keep it in line while sewing.
Next, thread your sewing machine in the manner that is recommended by the instructions. Type and tension, among other things, will impact the straightness of the line. If your tension isn’t set right, it can cause the stitches to slip and the line to go off course. Additionally, the right tread will result in the strongest and most durable stitch.
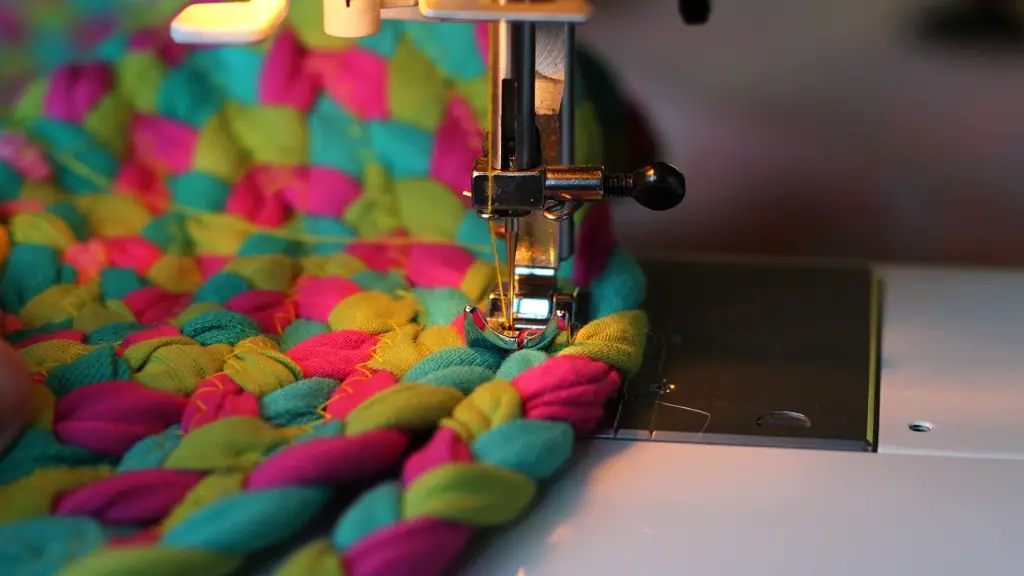
Presser foot pressure is also contentedly to having a straight line while sewing. A presser foot is a metal piece that holds the fabric down while it is being stitched. On most machines, it is adjustable and should be set according to the type of fabric and stitch length. Too much or too little pressure can affect the straightness of the seam.
Another key element to keeping the line straight is to keep an even distance between the presser foot and the needle. Set the needle position to the correct side of the presser foot and make sure it stays there. You also need to ensure that your fabric also remains the same distance from the presser foot. Moving forward and back before the needle is lifted can help keep the fabric in line, as well as keeping a steady speed while sewing.
Finally, when you’re done sewing a line, take the time to inspect it. Check the line at different angles, and if it is not straight, you may need to unpick a few stitches to adjust it. Keeping a steady hand while unpicking helps to preserve the fabric and also keeps the straightness of the line.
Using a Guide
A great way to make sure you’re keeping a straight line is to use a guide. This is especially helpful if you’re sewing a long line. You can use a ruler or other straight edge to follow along as you sew. It provides a visual reminder of what the straight line should look like and can help to prevent mistakes.
Another type of guide is a “stitch guide” built into the sewing machine. Most modern machines come with a built-in guide that helps keep the line straight. To use this feature, simply set the guide to the desired length of the stitch line, and then follow the guide as you sew. This feature can be very helpful in ensuring the line is straight, especially when sewing curved lines.
Marking Lines
If you’re sewing a difficult or intricate line, sometimes it is better to mark the line before you begin. This can be done with a piece of chalk, tailor’s chalk, or a permanent marker. The marking should be made on the back side of the fabric so that it will not be seen from the front. You can draw a straight line and then use it as a guide as you sew.
If you’re working with a fabric that won’t take the marking, you can use a piece of pin-dot fabric marking paper. This is an adhesive paper that is placed over the fabric, which can then be drawn on and then peeled away. The paper even comes in several different colors, so you can easily see the line and follow it while sewing.
Special Attachments
Many machines come with optional attachments to make sewing a straight line even easier. With them, you can stitch exactly to the ruler’s edge, allowing you to keep a perfect spacing. There are quilting attachments that can be used to keep the quilt layers even and in line. Some machines have quilting feet and even rulers that attach to the machine to add an extra dimension to the project.
These attachments can also help prevent stretching or pushed fabric. The presser foot holds the fabric in place and the machine does the rest. Not only does it make sewing a straight line much easier, it also makes for a more professional looking stitch line.
Checking the Line
Before you start stitching, it’s important to check your stitching line. Take a few minutes and sew a short test line to check. This allows you to adjust the settings of the machine and fabric before you start the main project. After you’ve sewn a few lines and practiced, it’s much easier to keep a straight line when you’re sewing.
Once the line is complete, it’s important to inspect it. Make sure you inspect the line at different angles and make any necessary adjustments. This can be done with chalk or a marker, or you may need to unpick a few stitches. Either way, it’s important to make sure the line is straight to make sure the project looks its best.
Other Tips
Another tip when sewing a straight line is to keep the needle in the up position when moving or pivoting the fabric. This helps to keep the fabric from stretching or bunching up, which can cause the line to become crooked or distorted.
If possible, it’s a good idea to use the same type of fabric for consecutive lines. This will ensure that the fabric’s natural stretching tendencies are always in the same direction. This can help keep the line straight, and it also keeps the fabric looking neat and orderly.
Finally, make sure to use an appropriate needle and thread. The needle’s size should match the weight and thickness of the fabric, while the thread should be able to handle the fabric’s strength and flexibility. Choosing the right needle and thread helps ensure that the stitches are strong, and that the line is straight and even.
Putting it All Together
In short, keeping the fabric grain, tension, and presser foot pressure in check can all help to ensure a straight line when you’re sewing. The use of a guide, marking lines, and specialized attachments can also give you the advantage of sewing a perfect line. Finally, checking the line and using the right needle and thread are also key to stitching a straight line.
By following these tips and practicing, you will soon develop a knack for keeping the line straight on your sewing machine. It’s a skill that can help you make professional-looking projects and will come in handy time and time again.
