Having a crochet bag that stands the test of time requires a few steps to add a lining. Here is a step-by-step guide on how to line a crochet bag with a sewing machine, from start to finish. It’s an easy, straightforward project that anyone with basic sewing skills can do.
Firstly, you need to find the right fabric for your project. A lightweight, malleable fabric like cotton works best when lining a crochet. You can get creative too, layering several different fabrics together or even using recycled or vintage fabrics to make a lining with a vintage appeal. It’s a good idea to pre-wash your fabrics to make sure of shrinkage.
Next, decide how deep you want the lining to be. Measure from the top edge of your crochet bag and mark – keeping in mind that the edges will roll down and make the lining shallower. Cut the fabric to the desired length and width, leaving a few inches on each side for seam allowance. If you’re adding in a zipper, make sure you leave an additional two inches for the zipper on the side.
Thirdly, pin the fabric onto the crochet bag. Lay the fabric over the crochet and make sure that the side you want to be seen is facing out. Pin the fabric in place and make sure it is even by moving the pins around. If you’re adding a zipper, place it at the top and increase the seam allowance if needed to make room for the zipper.
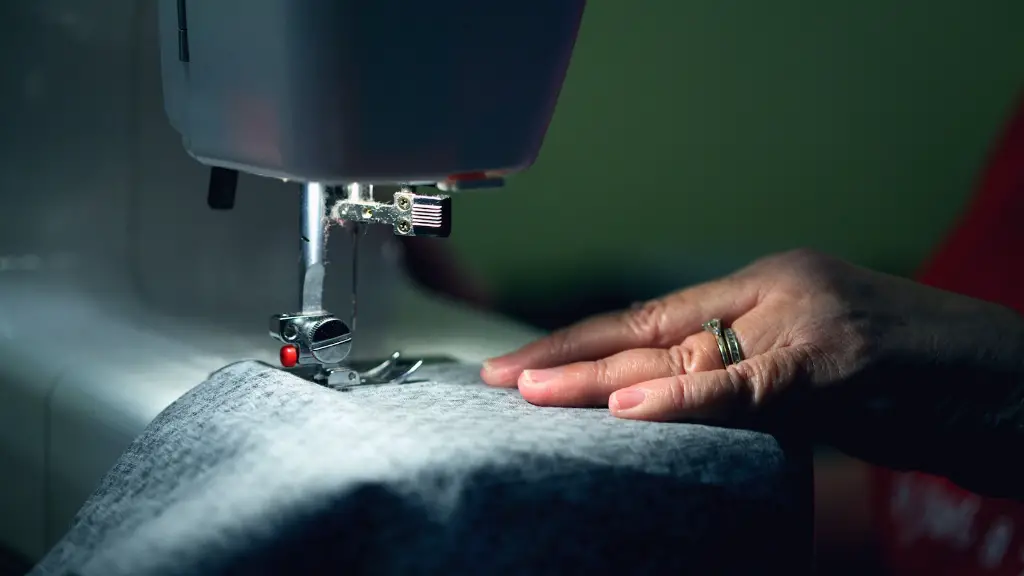
Once the fabric is pinned in place, you can start to sew it together. Start with one side and get it straight using a straight stitch on the sewing machine. Make sure you back stitch at the beginning and end to secure the seam. If you’re adding a zipper, sew it in at this point, making sure you measure twice so that it is even. Once the side is done, sew the other two sides of the fabric together.
When all of the sides are sewn together and the zipper is in place, you now need to finish the edges. Make sure that all the seams and edges are even and trimmed. To finish the edges, go around the entire fabric and use a zigzag stitch to add a secure edge.
Lastly, turn the lining inside out and insert it into the crochet bag. Smooth out the lining and fabric. When you insert the lining, make sure that the seams, edges and zipper are facing the inside of the bag and aren’t visible. Carefully pin the top of the lining and crochet together and sew them together using a straight stitch.
Finishing Touches
The last steps are to add some finishing touches that will make the bag look really polished. Firstly, you can hand sew a lining tape at the top of the lining and crochet together to give a neater finish. You can also add a pocket to the lining or add a magnetic clasp closure.
To add a pocket, buy a lightweight interfacing and cut it to match the fabric for the bag. Place it on the wrong side of the fabric, making sure it is lined up evenly. Use a straight stitch to sew it in place and then turn it inside out. Make sure to leave an opening at the top, where you can then insert buttons, snaps or velcro.
Having a magnetic clasp is an easy way to keep your crochet bag closed. To install it, firstly measure the width of the bag and then the diameter of the clasp. Sew two loops onto either side of the bag, making sure that the magnetic clasp fit between the two loops. Place the magnetic clasp in between and hand sew the loops together.
Extras
Lastly, you can also use decorative stitches, drawstrings and ribbons to make a unique crochet bag. To add decorative stitches, it’s best to use a zigzag stitch. You can use this stitch to add color or texture to the bag and make it interesting. If you are using a drawstring, make sure to use a reinforced stitch to make sure it stays in place. You can also use ribbons to add a decorative flourish or to make the bag look more finished.
Care and Maintenance
It is important to take care of your crochet bag to make sure it lasts for many years. To keep it clean, you can use a damp cloth and gentle detergent. As for the lining, you can remove it and machine wash it on a delicate cycle. If you have any special fabric, do not machine wash it but instead spot clean it.
You should also take care not to overstuff your crochet bag, as it could stretch the lining and cause it to become misshapen. When not using the bag, it’s best to store it in a dry, odor-free spot.
Alternatives
If you don’t have a sewing machine or don’t feel comfortable using one, don’t worry. There are plenty of other options for adding a lining to a crochet bag. You can hand sew the lining, use a hot glue gun or use fusible webbing to affix the lining. All of these techniques are easy to use and will give you a neat, professional looking lining.
Perhaps the easiest way to add a lining to a crochet bag is to use fusible webbing. It’s a material that has an adhesive on one side that can be activated by heat. All you have to do is cut fabric to the desired measurements and place the fusible webbing sheet on the wrong side of the fabric. Iron it to activate the adhesive and it will adhere to the fabric. Then simply place the lining inside the crochet bag and you’re done.
Safety Considerations
It’s important to keep safety in mind when adding a lining to a crochet bag. To avoid any accidents, make sure that your sewing machine is working properly and that you are familiar with how it works. It’s also important to use the right type of fabric for the lining and to pre-wash it before lining the bag. Lastly, keep an eye on the breakable parts of the bag, such as the strap, handle and zipper.
Troubleshooting
If you’re having trouble adding a lining to a crochet bag, don’t worry – there are a few tricks you can use to make the process easier. Firstly, make sure you use the right size of fabric. The fabric should be slightly smaller than the crochet bag to avoid too much bulk. If the fabric is a little too big, you can trim it down using scissors.
Next, when sewing the fabric together, make sure you use a longer length of stitches than you normally would. This will make it easier to insert the lining and will also create a stronger seam. Lastly, if you’re having trouble getting the lining to stay in place, use fabric glue or press studs to help hold it in place.


