Overview
Sewing machines are incredibly useful tools for any hobby seamstress or avid sewer. If you own, or are thinking about purchasing, a sewing machine, it is essential you understand how to correctly load the machine and thread it correctly. This article aims to provide a clear overview of the loading process, and guide you through the steps required to get your sewing machine ready for use.
Set Up For Use
Before connecting the machine, it is important to ensure it is set up correctly. Start by properly setting the machinebase on a sturdy and level surface. If the machine vibrates when turned on after being placed on an unstable surface, it is likely to damage the interior of the machine. Once the machine is stable and level, it is time to connect the machine to the power and plug it in the socket. On some machines the power control is on the side, and in some cases, it is integrated into the foot pedal.
Loading and Threading the Bobbin
Loading and correctly threading the bobbin is one of the most important aspects when preparing the machine for use. Begin by taking the empty bobbin, ensuring any loose threads have been removed. Place it in the bobbin casing and make sure it is correctly aligned and tensions are correctly set. Next, thread the top of the bobbin, around the tension-spring, and the shuttle race. Once this is completed, thread the needle bar with the threader and the top thread should pull the bobbin thread.
Threading the Needle
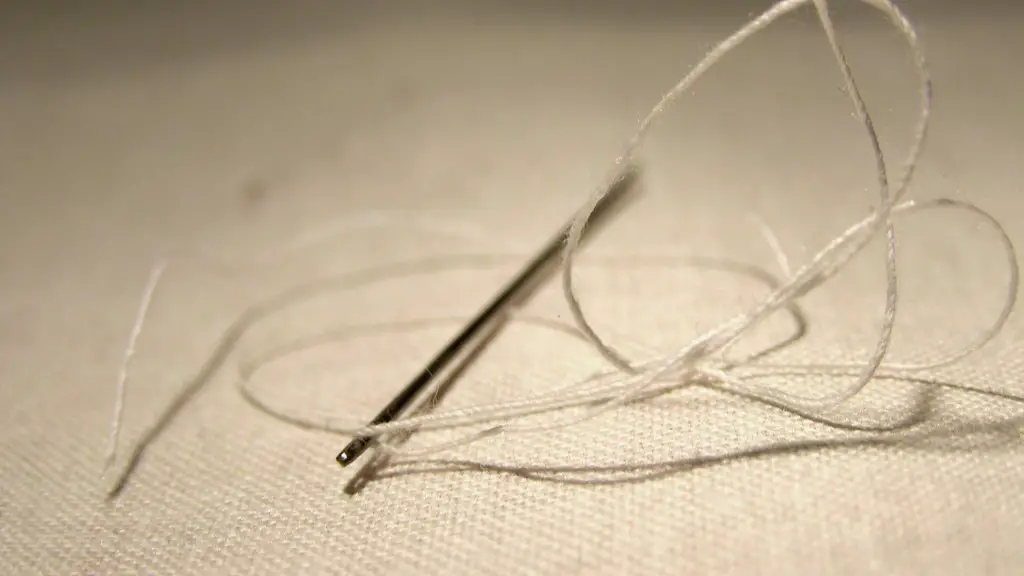
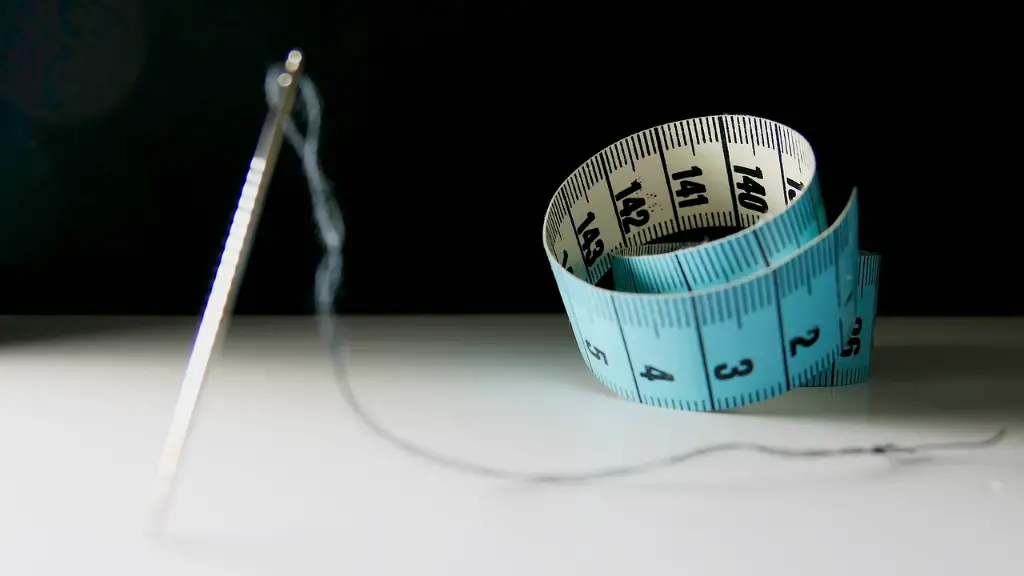
Once the bobbin is correctly loaded, it is important to thread the needle correctly, as this determines the quality of your work. To do this, locate the needle threader, which should be located at the back of the machine. With the needle threader in hand, pull the needle up to its highest position. Pass the thread through the needle eye and make sure to loop the thread around the threader, then pull both the threader and the thread back through the needle eye. Unwind the thread from the threader, and the needle should now be correctly threaded.
Tension and Stitch Length Controls
A really important step when setting up the machine is to ensure that you have adjusted the tension and stitch length controls to the correct levels. To adjust the tension, locate the tension knob and rotate it accordingly, until the tension level is appropriate. To adjust the stitch length, locate the plate with the hand wheel and rotate it until the desired length is attained.
Tips and Troubleshooting
When loading a sewing machine it is important to ensure the right combination of thread and needle size, as the wrong combination can cause problems. If you are ever stuck with thread tension or looping threads, it is likely that the needle is not correctly threaded.
Finally, an important tip is to ensure the machine is oiled correctly, as this is essential for proper operation.
Testing and Practice
Once you have correctly loaded and threaded your machine you are ready to start sewing. However, before starting on any important projects, it is recommended to practice on some fabric scraps to test the machine and make sure it is functioning correctly. Practice is essential, if you are a beginner sewist, to become familiar with the different functions on the sewing machine. It is also important for experienced sewists to keep up with practice, in order to ensure your machine works at its best.
Types of Fabric
Before loading your machine, it is also important to bear in mind the type of fabric you will be sewing. Different fabrics require different needles and threads and therefore, it is essential to choose the right types. If you are planning on working with thick fabrics such as denim or leather, you will require a stronger needle than if you are working on thin, lightweight fabrics such as silk.
Attachments and Presser Feet
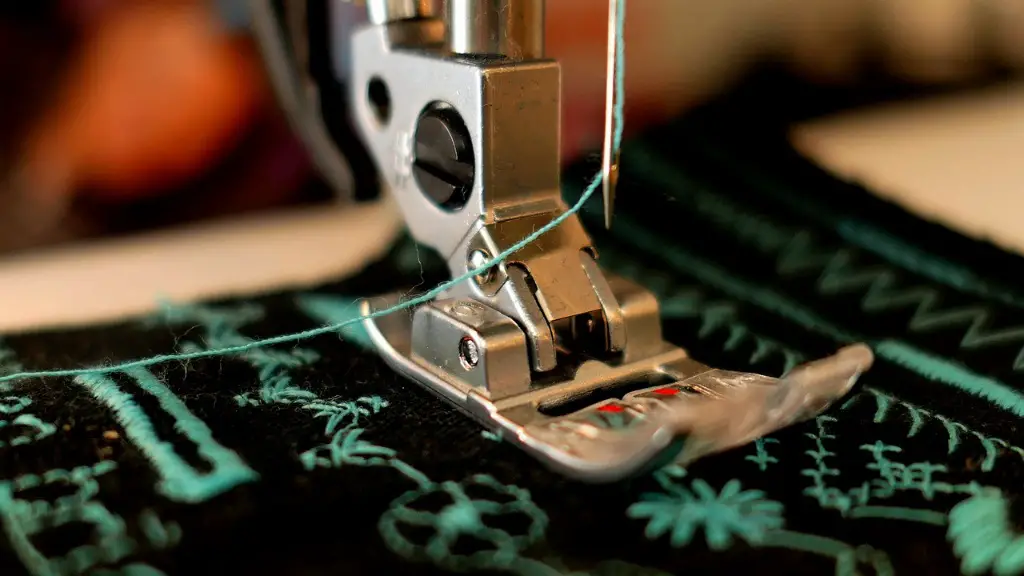
On the sewing machine, there are various presser feet and attachments which can help you to complete different types of projects. For example, when you need to sew in a zipper, or attach two layers of fabric together, you will need to use a zig zag foot or a straight stitch foot. The type of foot required will depend on the job, so it is important to do your research, and if necessary consult the machine’s manual in order to gain a better understanding of what the different feet can be used for.
Tips for Beginners
If you are a beginner sewist, it can be intimidating to work with a sewing machine. However, with the right guidance, loading and threading a sewing machine can become a straightforward process. Firstly, it is important to remember to take your time – learning how to use a sewing machine is a process and it is important to not rush through the process. Also, always make sure to refer to the machine’s manual when in doubt, as the manual should contain further information and assistance.
Maintenance
In order to benefit from a good quality sewing machine, it is important to do regular maintenance and cleaning, as this will ensure the machine operates at its best and will help prolong its lifespan. Here are some tips: keep the machine clean from dust, change the needle regularly to avoid fabric damage, and oil the machine if necessary. If the machine is not functioning correctly, contact a professional for help.
Storing the Machine
When you have completed your sewing project, you will need to tidy up and put away your machine safely. Before storing the machine, make sure all the pieces of fabric are removed. Additionally, unplug the machine and make sure the foot pedal is disconnected, as this will prevent any accidental sewing. Finally, clean the machine from dust, oils and threads and store in a safe, stable and dry place.


