Thread a Sewing Machine
Making perfect stitches is an essential part of quilting, clothing and other fabric projects. Many sewers start with a basic machine and are ready for an upgrade. One of the first tasks with a new machine is loading a thread. This process allows you to access the range of stitches available in a machine and secure the fabric along the way. Knowing how to load a machine and thread the bobbin helps make the entire sewing process easier and faster.
To start loading a sewing machine, first check the instruction manual for the right type of thread. Different machines require different sizes and types of thread, so it is important to read the manual and understand the requirements. It is also important to keep the tension balanced, so thread the machine with the recommended thread.
Now, it is time to load the machine. Begin by placing a spool of thread onto the spool pin, then draw the thread over and up towards the thread guide. Next, draw the thread down the right side into the take-up lever and across the presser foot. Now draw the thread down the left side of the machine, through the tension disc and around the bobbin winder. Before threading the bobbin, it is important to make sure the end of the thread is free of knots. Make sure it is smooth and free from fraying.
Once you’ve threaded the machine and bobbin, it is time to test the tension. Test the tension by threading the machine and stitching onto scrap fabric. Check the back of the fabric for the thread tension. It will tell you if the tension was too tight or too loose. Adjust the tension on the thread and test again until it is right.
Finally, secure the thread in place. Wrap the thread around the spool pin in several loops and secure it with a spool cap. This will ensure that the thread stays in place as you sew. Once finished, test the machine to make sure the stitches look good and that the tension is balanced. If everything is working correctly, you can begin sewing.
Tips for Troubleshooting
Threading the machine correctly is essential for great-looking stitches. If you’re having trouble threading the bobbin correctly, try these tips:
1. Use the right weight and width of thread for your machine.
2. Make sure the thread is free of knots and fraying.
3. Check the instruction manual for the correct thread path.
4. Make sure the tension is balanced.
5. Secure the thread with the spool cap.
If you’re still having trouble threading the machine, consult the instruction manual or take the machine to a local sewing shop. An experienced technician can help you thread the machine correctly so you can start sewing.
Storing Threads
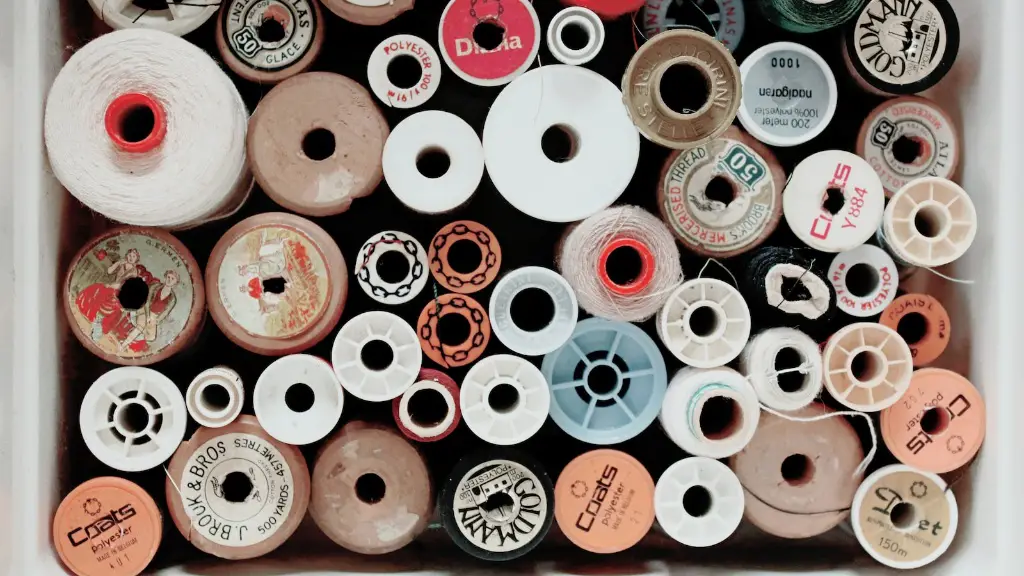
When not in use, it is important to store the thread correctly to avoid damaging the threads. Good storage keeps the threads in good condition and ready to use again. Store threads away from the light and avoid situations in which moisture and heat can cause the thread to break down. Also, it is best to put threads in plastic bags so they stay clean and tangle-free.
The type of thread also matters when it comes to storage. Natural fibers, such as cotton and wool, are more fragile than synthetic fibers, like polyester and nylon. Natural fibers should be stored separately from synthetic fibers and stored in a dry, dark area.
Having the right threads for your project is essential for good results. Storing them properly keeps them in good condition and ready to use when you need them.
Preparing Threads
Before putting a thread onto a bobbin or spool, it is important to prepare the thread. Start by cutting the end of the thread with a scissors. Cutting the end at an angle will help remove any fuzz from the thread. This is especially important for natural fibers, like cotton and silk, but can also be done for synthetic threads.
And for extra protection, you can also use a thread sealant. This is especially helpful for threads made of natural fibers. You can also use this for synthetic threads, but be sure to use a sealant that won’t damage the thread. Follow the instructions on the sealant and apply it to any thread you’re using.
The more you prepare the thread, the better it will look and the longer it will last. Taking the time to prepare the thread makes the sewing process easier and keeps the stitches looking great.
Practice Exercises
Threading the sewing machine correctly is not something that comes naturally. It takes practice to become comfortable with threading it correctly. Take your time to get used to the machine and how it threads. Take a few practice sessions to familiarize yourself with the process.
In order to practice, start by threading the machine and bobbin with different colors of thread. It is always helpful to use different colors of thread for the bobbin and spool. Now, practice the stitch a few times. Stitch a straight line and make sure the tension is balanced. If the tension isn’t correct, adjust it by turning the tension dial. Make sure the stitches look good and even.
It is always helpful to practice on scrap fabric. This way, you get to practice the threading and stitching and make adjustments if needed. Practice makes perfect, and the more you practice threading the machine and sewing the stitches, the faster and easier the process will become.
Upgrading your Sewing Machine
Many beginner sewers start with a basic machine that only has the basic stitches and features. As you get more proficient in sewing, you may want to upgrade to a more advanced machine. An advanced machine can provide access to more stitches and make the sewing process easier.
When looking for a new machine, consider what type of fabric you’ll be sewing and how often you’ll be using it. Look for a machine that has the features you need, such as a choice of presser foot pressure, adjustable speed, and a wide range of stitch length. Make sure to check the instruction manual for proper threading instructions for the new machine.
Before upgrading, make sure to test out the machine. Many stores have machines for rent or demo. Try the machine and make sure it is comfortable to use. Look for a machine that is easy to use and has the features you need. Be sure to practice loading and threading the bobbin before purchasing the machine.
Thread Cleaning and Maintenance
Cleaning and maintaining the thread on a sewing machine is an important part of caring for the machine. This includes cleaning excess thread, examining the bobbin case, cleaning lint and thread buildup, and oiling the machine.
Be sure to always use the right type of oil on the machine. Before oiling the machine, refer to the instruction manual for the right type and amount to use. Once the oil is applied, it is important to wipe away any excess oil that may have spilled. It’s also important to clean lint and thread buildup from the machine. Use a soft brush or cloth to clean excess threads and lint.
Storing the machine in a cool, dry place is important to prevent rusting and other damage. It’s also important to clean and oil the machine frequently. Taking the time to clean and maintain your machine will help keep it in good condition for years to come.
Tips for a Better Sewing Experience
Having the right tools and tools is essential for sewing success. Here are some tips for a better sewing experience:
1. Always use the right type and width of thread.
2. Cut the end of the thread at an angle to remove any fuzz.
3. Use a thread sealant to protect the thread.
4. Store the thread in a clean and dry area.
5. Practice threading the machine and stitches.
6. Clean and maintain the machine regularly.
Following these tips will help you get the most out of your sewing experience. Practice and preparation are key for successful sewing. Having the right thread, machines and tools makes the process easier and more enjoyable.
