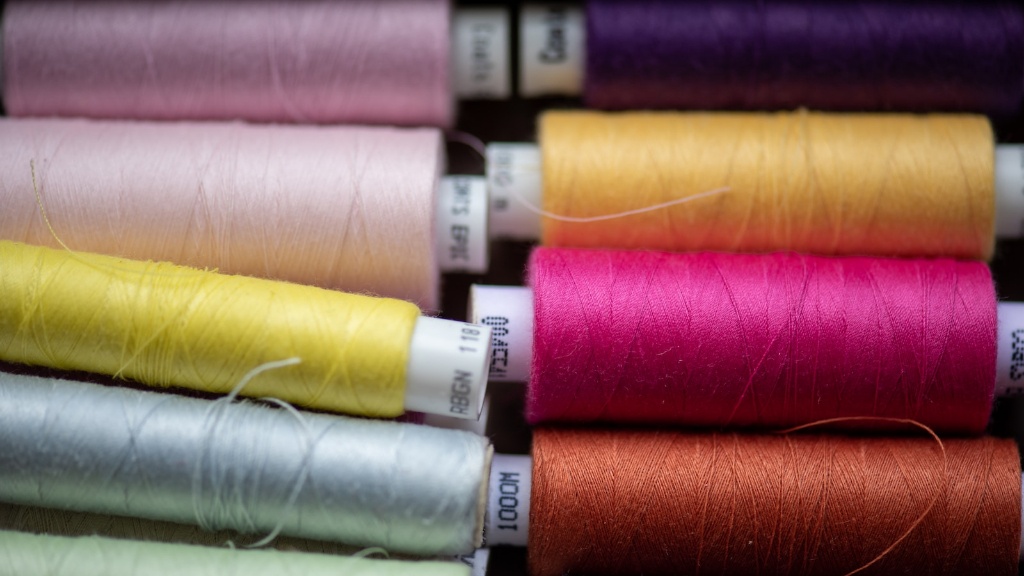
Part 1: Loading the Bobbin on a Singer Sewing Machine
Singer sewing machines have served creative minds for generations. From hand-held machines to the larger and more advanced models, learning how to use a sewing machine has been a steady companion. For those new to sewing, loading the bobbin can be overwhelming at first, but with practice and basic knowledge it can be a breeze. Here’s an insightful guide into loading the bobbin on a Singer sewing machine.
Knowing the Machine
Before diving into the process of loading the bobbin it’s important to know the machine. Singer machines come in a variety of models and many of them contain top-loading or side-loading bobbins. The machine should have instructions which will indicate clearly which model it is, but it’s also helpful to take a look at the back or side of the machine and compare the shape and size of the bobbin varieties. Singer models also come with an automatic needle threader, so one doesn’t need to thread the needle manually. Knowing what features the sewing machine has is essential in properly loading the bobbin.
Preparatory Steps
It’s always important to make sure that the area is clean and clutter-free. This includes the sewing machine, the fabric to be used, and the bobbin holder. Once the area is clean and tidy, one can move onto the next step. This would involve lifting the machine’s presser foot, to make the bobbin case visible. This can be done manually or by pressing the presser foot thumb lever. With the presser foot up, locate the bobbin case and remove it.
Loading the Bobbin
Now, the bobbin can be adequately threaded with the upper thread. It should be noted that the order of threading the upper thread and bobbin is important. Singer sewing machines come with a diagram as to where the threads should go as each machine has different requirements. A guide should indicate the exact steps, but in general one should first guide the thread around the bobbin case and thread it clockwise around the little groove of the bobbin case before securing it with the tension disc. After the bobbin is threaded, it can be placed in the machine’s bobbin case. The bobbin should be placed with its thread running away from the machine, and the notch in the bobbin should fit the bobbin case snugly.
Closing the Bobbin Case
After the bobbin is placed in the appropriate bobbin case, the bobbin is ready for closing. Depending on the model, this can involve snapping the bobbin case in, to tighten the bobbin, or it can involve a screw closure. If the model contains a snap closure then it should be snapped firmly in place. If it contains a screw, turn it until it is tight and secure in place.
Bobbin Thread Tension
Each sewing machine features a tension disc which controls the pressure on the bobbin thread. This disc should be tested after loading the bobbin, since too much or too little tension on the thread can cause the machine to jam or stop. To test the tension, press the bobbin against the tension disc until it clicks and then disengage. After that, hold both the upper and lower threads in the left hand and pull gently. If both the threads pull with the same tension, then the bobbin is properly and adequately threaded. If the bobbin thread pulls with more tension than the upper thread, then the tension disc needs to be tightened by turning it clockwise. If the bobbin thread pulls with less tension than the upper thread, then the tension disc needs to be loosened by turning it anti-clockwise.
Bobbin Case Final Check
Once the bobbin case has been closed and the tension has been tested and adjusted, it’s a good idea to take a look at the bobbin case for any obstructions that may have made their way in. If the bobbin case looks clear, then the bobbin is ready for use. But if there are any obstructions, then it’s important to carefully remove them with a brush before they interfere with the machine’s functions.
Part 2: Needles and Threads
Once the bobbin has been successfully loaded into the Singer sewing machine, one needs to carry out the process of threading the needle and machine. Generally, the guidelines ensure that one should begin threading the needle before the bobbin. The Singer’s manual should provide guidelines as to the exact steps according to the model. After the threading of the needle, the machine should be threaded by guiding the thread from the spool holder, to the tension discs and finally the needle. It’s essential to make sure that the end of the thread is securely tucked away after all this.
Thread Tension
Once the machine has been threaded, it’s important to teach the tension discs. These should be tested in the same manner as the bobbin thread tension. Basically, after pressing the tension discs and feeling it click, hold onto the upper thread whilst pulling it. It should feel firm and steady. Once the tension is correctly adjusted, the machine is ready for use.
Replacing the Needle
It’s important to keep in mind that the needle should be replaced after every 8-10 hours of sewing. Singer needles come in a variety of models with the most common being a universal needle. Universal needles are designed to handle most kinds of fabrics and threads and can work with a variety of thicknesses. It’s possible to choose the right needle size and type for specific projects, depending on the fabric and thread being used.
Understanding Fabrics
Knowing the fabrics is equally as important in terms of choosing the right needle size. There is a wide variety of fabrics available, each with its own specific needs and requirements. For example, if someone is using a heavier fabric like denim or canvas, they should be using at least a size 14 or 16 needle as they overlock better than lighter fabrics. Conversely, if one is using organza or chiffon, it’s beneficial to use size 70 or 80 needles.
Threads to the Needle
Singer threads come in a wide variety of colours and types. Knowing which thread is best suited for certain fabrics and needle sizes is essential in successful sewing. For lighter fabrics and needles, gutermann threads are recommended as they are strong and lightweight. For heavier fabrics and needles, heavier threads such as cotton should be used.
Part 3: Maintenance and Care
Singer sewing machines are reliable and durable, if cared for properly. It’s important to keep the machine clean, especially after every use. Make sure to use a clean brush, canned air or a hand-held vacuum to remove all lint, especially around the hook area. This can seriously affect the machine’s performance. Regular oiling is also important in keeping the machine’s inner mechanisms in good condition.
Safe and Secure Usage
Another thing to remember is to unplug the machine before cleaning as electricity and water do not mix. While cleaning, make sure to press down on the bobbin case with caution as it is delicate and can easily break. Also make sure to replace any worn, cracked or chipped piping. It’s also wise to check the cord, switch and pedal to make sure that they are functioning correctly. If any of the above signs of wear and tear happen, it’s important to replace them immediately.
Singer Adjustments
Singer machines come with many optional features, such as changing the stitch size and length, as well as setting the exact type and size of stitch desired. Knowing how to use these features is beneficial, especially when working on larger projects. Additionally, knowing how to adjust needle pressure and the correct mending technique can make all the difference in the quality of the finished product.
General Care and Maintenance
In order to ensure the long-term functioning of the Singer sewing machine, regular maintenance and care is essential. This may involve having it serviced as soon as possible if any problems occur or having the parts thoroughly inspected once in a while. Singer machines are also known to have a longer life if they have been serviced in the past, as modern machines come with advanced maintenance features. It’s also recommended to keep the machine stocked with appropriate supplies and materials, as the quality of sewing projects depends on the quality of the materials used.
Part 4: Troubleshooting
With Singer sewing machines, it’s inevitable to experience a problem or two. This may involve something simple like a needle breaking or thread catching on fabric. It’s important to know how to properly fix these problems, as this can help to prevent it from happening again.
Needle Problems
When it comes to needle problems, it’s important to know which type and size of needle is being used, as well as the type and weight of fabric. If the needle is consistently breaking, one should go up a size or two, as this could be a sign that the needle is too small for the fabric being used. Additionally, if the needle is constantly skipping stitches, then it may be dull or bent. Replacing the needle can help to solve this problem.
Thread Problems
Threading problems may involve the thread slipping, not feeding at all, or the thread catching. In the first case, it’s important to make sure that the thread is properly threaded and secured. As for the second case, make sure that the power source is working properly and if it is, try increasing the tension. If the thread is slipping, then it’s a sign that the thread is either too thick or too bulky for the fabric being used. In the third case, one must make sure that the bobbin is not over-filled, as this can lead to the thread catching or bunching up. Additionally, if the upper thread tension is too tight, then the thread won’t feed properly.
Fabric Problems
Most common fabric problems occur when the fabric is not properly cut or laid out for sewing. This is why it’s essential to confirm that the fabric is laid out properly before sewing. Additionally, the drop feed should be checked to make sure the fabric is being fed evenly. If the drop feed is not working properly, then
