Introduction
Creating a custom dog bandana is a great way to add some unique flair to your pup’s wardrobe. If you’ve ever wanted to make your pup a bandana of their own, a sewing machine is an invaluable tool. Though the idea of using a sewing machine may seem intimidating at first, it’s a relatively simple process that only requires a few materials and tools. In this article, we outline the steps you need to take to use a sewing machine to make a dog bandana.
Choosing a Material
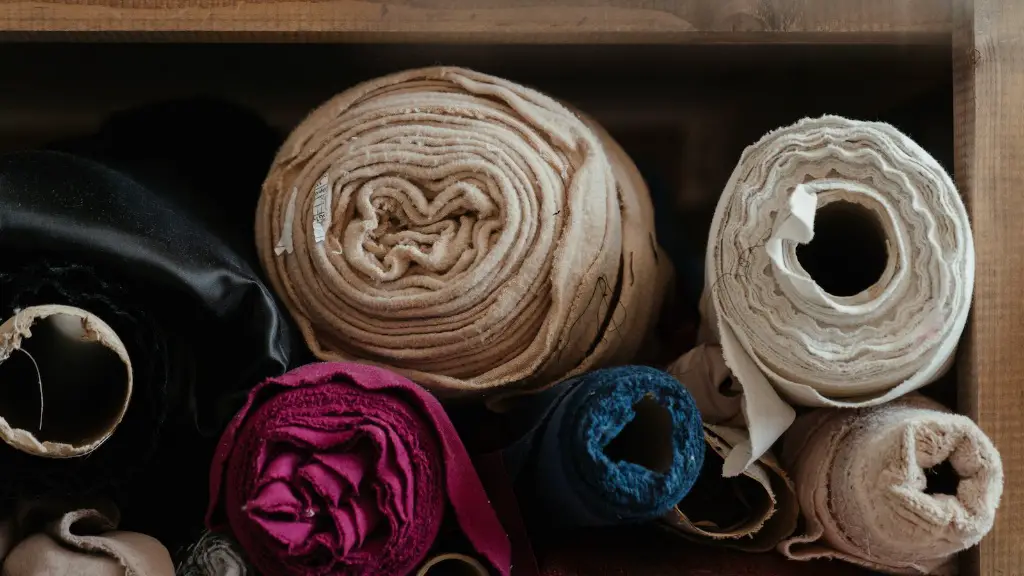
The type of fabric you choose is integral to the success of your bandana. When selecting a material, look for something lightweight but durable — lightweight fabrics are easier to work with, while more resilient materials make for a longer-lasting bandana. Cotton, suede, jersey, and felt are all excellent options for making a custom bandana.
When shopping for your fabric, look for materials with interesting colors and patterns — animal prints, solid colors, and bright floral patterns are always popular among pet parents. If your pup really loves a specific color, you may also want to keep this in mind while shopping. The most important thing when selecting a fabric is to ensure that your pup’s bandana is comfortable and attractive.
Measuring and Cutting
Once you’ve selected your fabric, it’s time to measure and cut. Most dog bandana patterns are triangular in shape and measure anywhere from 22 to 28 inches long. Use a measuring tape to measure the length you want your finished bandana to be and mark the fabric before cutting. To make a triangular pattern, use a ruler and a circular object — like a dinner plate — to help you draw a straight line across the bottom of the fabric.
When cutting your fabric, remember to always use scissors designed for fabric — kitchen scissors can damage the material. Once you’ve cut the fabric, you’re ready for the sewing stage.
Setting Up the Sewing Machine
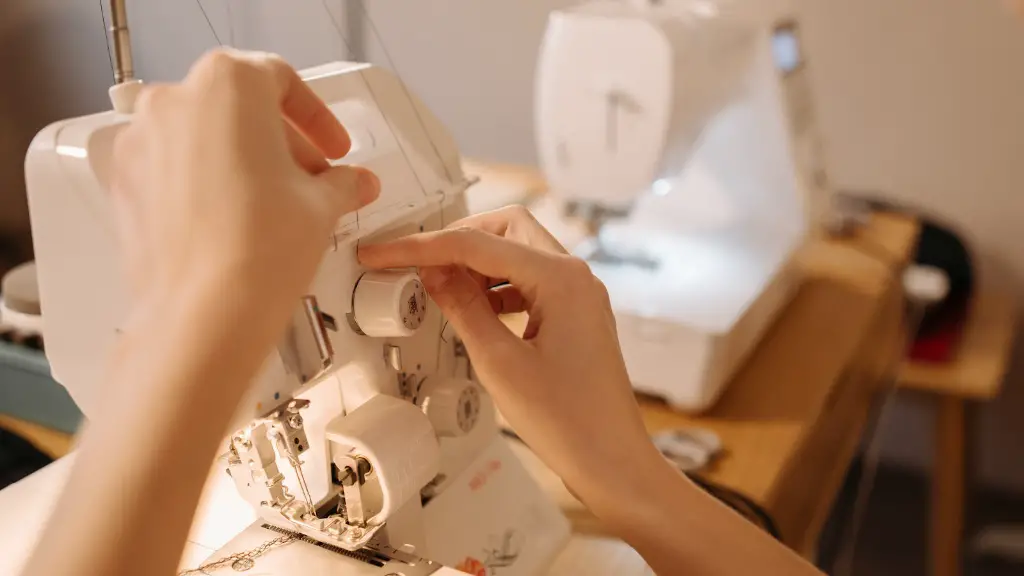
This is arguably the most intimidating part of the entire process — setting up the sewing machine. Before you begin, make sure that you have all of the necessary accessories, including a zipper foot, a thread spool, and a needle. Most sewing machines come with a manual that should have step-by-step directions for setting up your machine and adjusting it to the right settings.
Once the machine is set up, it’s time to thread the needle and spool. This can be a tricky part of the process, so take your time and make sure to follow the instructions. You may also want to refer to the manual if you have questions.
Start Sewing
Now that your machine is all set up, it’s time to start sewing. Start by placing the fabric wrong side up, with the shorter side at the top of the triangle. To keep it in place, use pins or fabric clips. Once the fabric is secured, attach the zipper foot to the machine and start stitching.
Baste the edges first to keep everything in place and then sew the side seam along the bottom. If you have an overlocker, this can be a great time to use it and give the bandana a professional finish. Once the sides are complete, turn the bandana right side out and press it with an iron.
Adding the Neck Tie
Now that the sewing is complete, it’s time to add the neck tie. Cut two strips of fabric that measure approximately 8 to 10 inches in length and 1 to 2 inches in width. Place the two pieces of fabric wrong sides together and pin them in place.
Start sewing about halfway down the fabric, backstitching at both the beginning and end. Trim off the excess fabric and turn the neck tie right side out before pressing it with an iron. Once the neck tie is complete, attach it to the bandana and you’re done!
Making an Alternative Design
If you’d like to create a more unique style, you can make a few small modifications to the basic pattern we’ve discussed so far. For instance, you could make the neck tie adjustable by adding a button or a closure of your choice. You could also make a bandana with a pocket — simply place the pocket piece of fabric right side down, on top of the other two pieces of fabric, before fusing them together.
Altering the shape and size of the bandana is another way to create an alternative design. You could easily make a square, rectangle, or circular bandana for your pup. The possibilities are truly endless!
Finishing Suggestions
Once you’ve created the perfect bandana for your pup, there are a few finishing touches you can add. If you’d like your pup to stand out from the crowd, why not add some fun embellishments to their bandana? Iron-on patches, ribbons, rhinestones, and other decorative elements can look amazing and really enhance your pup’s bandana.
You could also make a matching collar or leash to go along with their bandana. This is a great way to really tie the look together. When adding accessories, keep your pup’s safety and comfort in mind — make sure the embellishments are secure and not too heavy.
Conclusion
Using a sewing machine to make a dog bandana may seem daunting at first, but it’s actually a lot easier than you might think. All it takes is a few basic materials and tools and your pup will have a unique and stylish bandana of their own.
So, if you’re looking for a fun project for yourself or for a furry friend, consider making a custom dog bandana! We hope our article gave you some helpful tips and useful information to get started.


