What materials are needed?
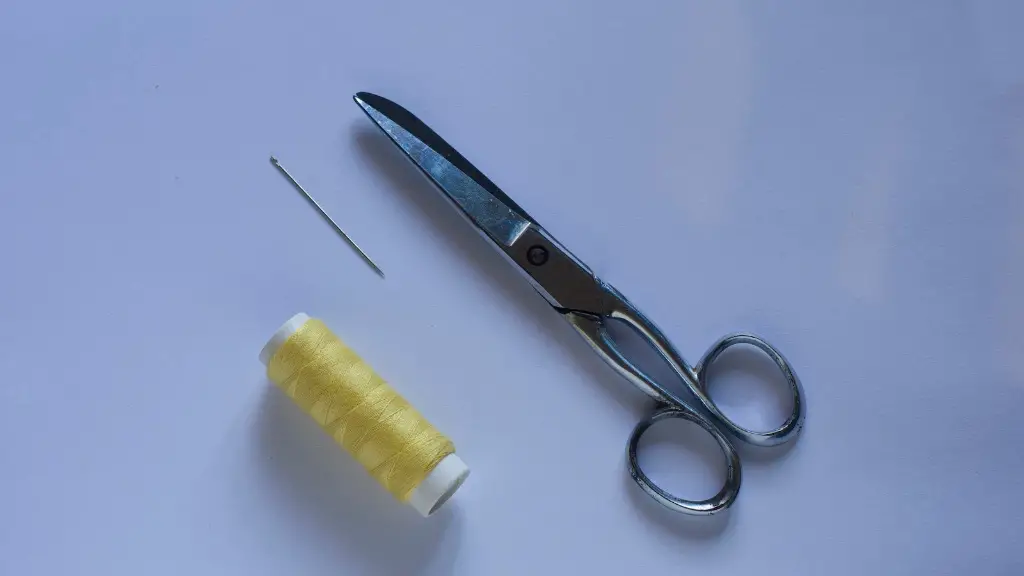
Making a dress shorter without a sewing machine is an easy and inexpensive do-it-yourself project. The necessary supplies for the job include fabric scissors, a measuring tape, straight pins, a needle and thread, a tailor’s chalk, and an iron. The tailor’s chalk is used to make sure all the hemlines are the same length, while the straight pins are used to attach and hold the fabric together while you sew it up. All of these supplies can be easily bought from a local craft store.
Having all the necessary supplies is very important if you want your dress to look nice. If you don’t have them, you can always borrow things from family or friends. Additionally, you may need to purchase additional fabric to even out the hemlines or add more length to the dress. Fabric can be found at any fabric, craft, or sewing store.
Preparing the Dress
Once you have all the supplies, you are ready to get started. Begin by laying out the dress on a clean, flat surface. Make sure the fabric is laid out flat and is not wrinkled. Measure the length of the dress from the armpit to the desired length. Use the tailor’s chalk to mark off the desired length. Make sure the lines that you draw are straight and even.
Next, cut off any excess fabric along the lines using the fabric scissors. Make sure to leave room for seam allowances so that the dress fits perfectly when it is finished. Once the excess fabric has been cut off, use the iron to smooth out any wrinkles and creases.
Pin the Fabric
Once the fabric is laid out smoothly and all the edges are even, it is time to begin pinning the fabric together. Place the straight pins along the edges of the fabric and make sure to double check the length of the dress as you pin it together. Make sure all the fabric is lined up neatly before moving onto the next step.
Sew the Sewing
Take out the needle and thread and start sewing the fabric together. Make sure to leave a few inches of fabric from the pinned edges so you can finish up the dress. Start sewing from one end of the fabric and work your way to the other end. Make sure the needle is going in the same direction and the stitches are close together.
When finished, make sure all the fabric is lined up and the ends are even. Then, use the iron to press the seams. This will make sure the seams are held together securely and look neat. Once the seams have been pressed, you can remove the straight pins.
Finishing touches
To give the dress a polished look, you can add decorative trims or other accessories. This is optional, but it can help give the dress an extra touch of style. You can also fray the edges of the dress to give it a raw, unfinished look. Once you are satisfied with the look of the dress, you can say goodbye to your sewing machine.
Alternatives
If you don’t want to take on the task of shortening a dress without a sewing machine, there are other alternatives. For instance, you can always hire a professional tailor to do the job for you. This is a good option if you have a more complicated dress or if you don’t have the time. Prices will vary depending on the complexity of the job, but it can be worth it.
Stitching Short Tutorial
For those who do not want to spend extra money on a tailor, another option is to stitch the dress shorter. This requires less materials and is much easier than sewing from scratch. Start by ironing the dress and laying it on a flat surface. Measure the desired length and use a tailor’s chalk to mark off the hemline. Make sure the lines are straight and even.
Next, fold the hemline up twice and use straight pins to hold the fabric into place. Take out the needle and thread and start hand-stitching the fabric together. Make sure the stitches are close together and move from one end to the other. Once finished, press the seams and remove any excess fabric threads. Your dress is now ready.
Pressing Clips
The last option for shortening a dress without a sewing machine is using pressing clips. This is a great option for delicate fabrics that can’t be pinned together or stitched together. Start by laying the dress on a flat, clean surface. Measure the desired length and use the tailor’s chalk to mark off the hemlines. Make sure the lines are straight and even.
Next, take out the pressing clips and attach them along the hemlines, making sure the fabric is lined up and even. Once the fabric is secured, use an iron to press the seam. This will help make sure the seam is securely held into place. When finished, remove the pressing clips and give the dress a final press.
Pros and Cons
Shortening a dress without a sewing machine can be a great alternative for those who are short on supplies or funds. It can also help those who are new to sewing and want to learn the basics before investing in a sewing machine. However, keep in mind that this method can be time-consuming and require more attention to detail. Additionally, it is important to make sure the fabric is secure so that it doesn’t come apart when worn.
Conclusion
Shortening a dress without a sewing machine can be a great way to alter a dress in a pinch. Whether it’s due to lack of supplies, budget constraints, or inexperience in sewing, this method can come in handy. Make sure to prepare the dress and have all the necessary supplies before beginning. Additionally, there are several alternatives such as having a tailor do the job, stitching it shorter, or using pressing clips. Shortening a dress without a sewing machine can save time and money, and is a great way to learn basic sewing skills.


