Materials
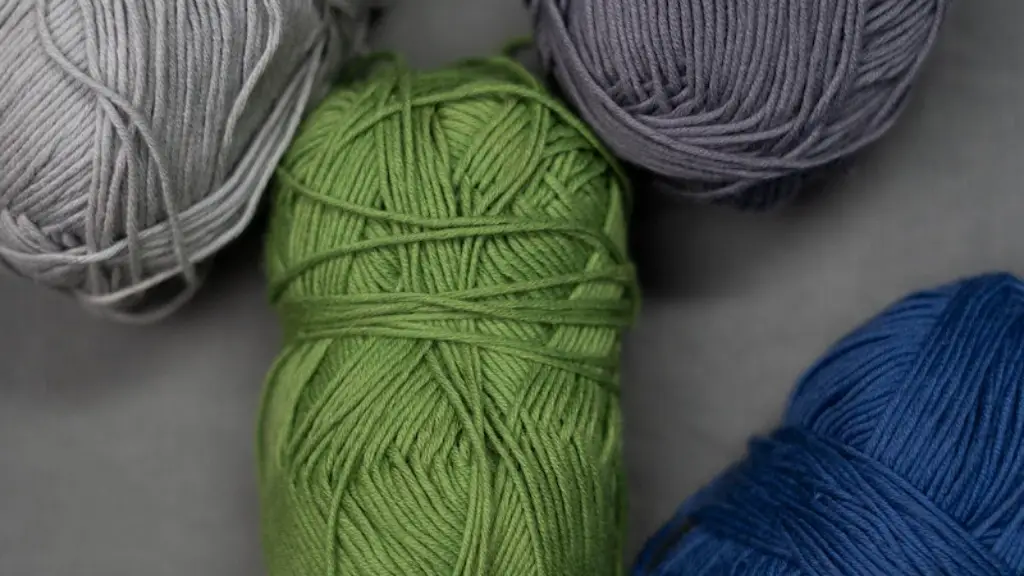
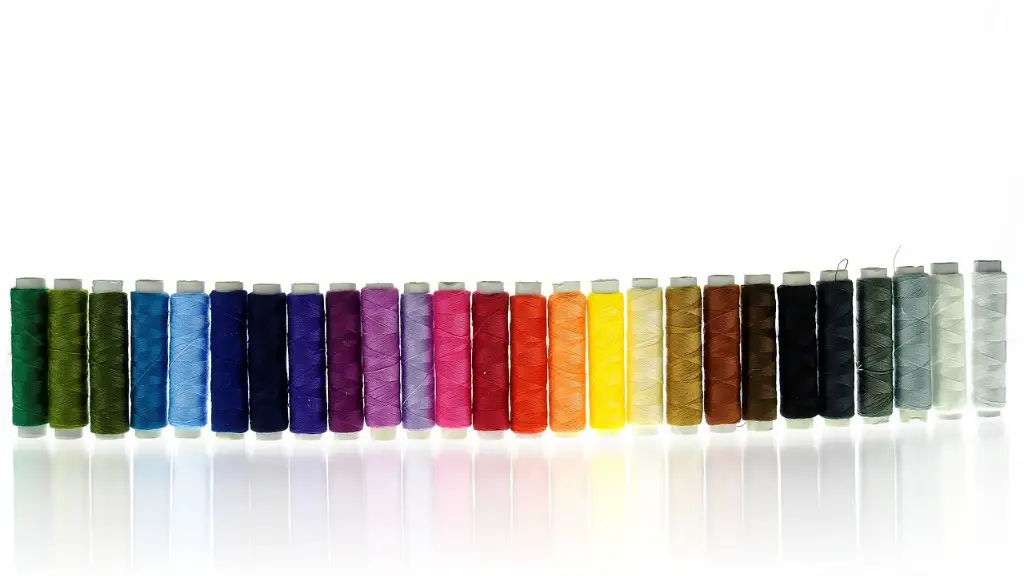
A fabric sewing machine cover is an essential accessory for protecting the machine from dust, dirt, and scratches. The materials required for this project are inexpensive and widely available. Basic materials include a good quality fabric, such as quilting cotton, an upholstery thread, an invisible zipper, sewing machine needles, and pattern paper. Other materials may include fabric adhesive, bias tape, and other decorations such as buttons, rickrack, and ribbon.
Choosing the Fabric
The first step in making a fabric sewing machine cover is to choose the right fabric. A good quality, medium-weight fabric with a tight weave such as quilting cotton or upholstery fabric is ideal. Avoid fabrics that are too thin or delicate, as they may fray or tear easily. Consider the color and pattern of the fabric, as this will add a decorative touch to the finished sewing machine cover.
Creating a Pattern
Next, create a pattern for the cover. A pattern can be purchased, or it can be created by tracing and copying the shape of the machine itself on pattern paper. When tracing, it is important to make sure the seams leave enough fabric around the edges of the machine for the cover to fit comfortably. If the cover is being made for a special machine, make sure the pattern takes this into account.
Cutting the Fabric
After the pattern has been created, it is time to cut the fabric. Be sure to fold the fabric in half with the right sides together and pin the edges before cutting. This will ensure that the pattern pieces are cut in exactly the same shape and size. If using a pattern, be sure to add the seam allowances and any other notches or markings.
Sewing the Pieces
Once the pieces have been cut out, they can be sewn together. Begin by pinning the sides and bottom together and stitching them together with a straight stitch. Then, sew the top and bottom edges together. Use an invisible zipper to enclose the top edge of the cover. This will allow the machine to be easily removed from the cover.
Finishing Touches
Once the basic shape of the fabric sewing machine cover has been created, it can be finished with a variety of decorative touches. Bias tape, rickrack, buttons, or ribbon can be added around the edges of the cover. These finishing touches will give the cover a unique and personalized look.
Stitching the Hem
Once the decorative touches have been added, it is time to stitch the hem. The hem should be at least an inch wide and should be sewn with a double-stitch for durability. Stitch along the top, bottom, and sides of the hem. Trim any excess fabric and, if desired, add a bias tape around the bottom edges to give the cover a more finished look.
Attaching Hooks
Once the hem has been stitched, attach a few hooks or buttons on the inside of the cover. These will allow the cover to be secured in place when not in use. If using a fabric adhesive to attach the buttons or hooks, be sure to attach them securely so they will not come loose.
Care and Maintenance
Regular cleaning is essential for maintaining the fabric sewing machine cover in good condition. Vacuum the cover frequently to remove dust and dirt, and spot-clean any dirt or stains with a mild detergent. Be sure to let the cover dry completely before storing it away.
Sinking Stitches
Sinking stitches are a great way to create a professional finish for the fabric sewing machine cover. A sinking stitch is a long, vertical stitch sewn through the two layers of fabric that hides the seam from view. Sinking stitches add structure to the cover and will help keep it looking neat and tidy in the long run.
Aligning the Seams
A fabric sewing machine cover should fit snugly around the machine, so be sure to take the time to align the seams before sewing the pieces together. Use pins to temporarily hold the seams in place, and be sure to double-check that the edges are lined up evenly before starting to sew.
Including Padding
If desired, a layer of padding can be added between the cover and the sewing machine itself. This will help protect the machine from dust and provide a layer of cushioning. Quilt batting or other types of cushioning can be used for this purpose.
Adding Labels and Patches
Polish off the fabric sewing machine cover by adding labels and embellishments. Custom labels, fabric patches, and embroidery can be used to add a personal touch to the cover. This will make the cover truly unique and show that the finished product is a labor of love.
From Scratch
Making a fabric sewing machine cover from scratch is a creative and rewarding process. Consider choosing a fabric that reflects your personality and style. With a little bit of time and effort, the cover will be ready to use and will protect the sewing machine for years to come.
Using a Pattern
If making the cover from scratch seems too challenging, consider using a pattern. There are a variety of patterns available for all different makes and sizes of sewing machines. Patterns will provide step-by-step instructions and helpful diagrams for making the cover.
Upcycling an Old Garment
Rather than buying fabric, consider upcycling an old garment. This is a great way to add a personal touch to the finished product and it is also a great way to repurpose an old piece of clothing.
Stitching Decorative Details
Create custom touches to the fabric sewing machine cover with decorative stitching. Consider using a zigzag stitch around the edges of the cover, or a decorative top-stitching to outline the shape of the machine.
Making a Drawstring Bag
In addition to making a fabric sewing machine cover, consider creating a drawstring bag for carrying small accessories and supplies. To make the bag, cut two pieces of fabric for the bottom and sides, and two pieces for the top and sides. Stitch the top and bottom pieces together, and then sew the side pieces to the bottom and top of the bag. Next, add drawstrings for the opening and hem the edges.
Creating Accent Pieces
Accent pieces such as pockets, fun patches, and other decorations can be added to the cover. These pieces can be sewn directly onto the cover or attached with fabric adhesive. Accent pieces add an extra touch of style and creativity to the finished product.
Using Decorative Fabrics
For a truly customized look, consider using several different fabric prints or patterns to make the fabric sewing machine cover. Combining a variety of different prints and textures will make the cover unique and truly representative of your personal style.
