Materials Needed
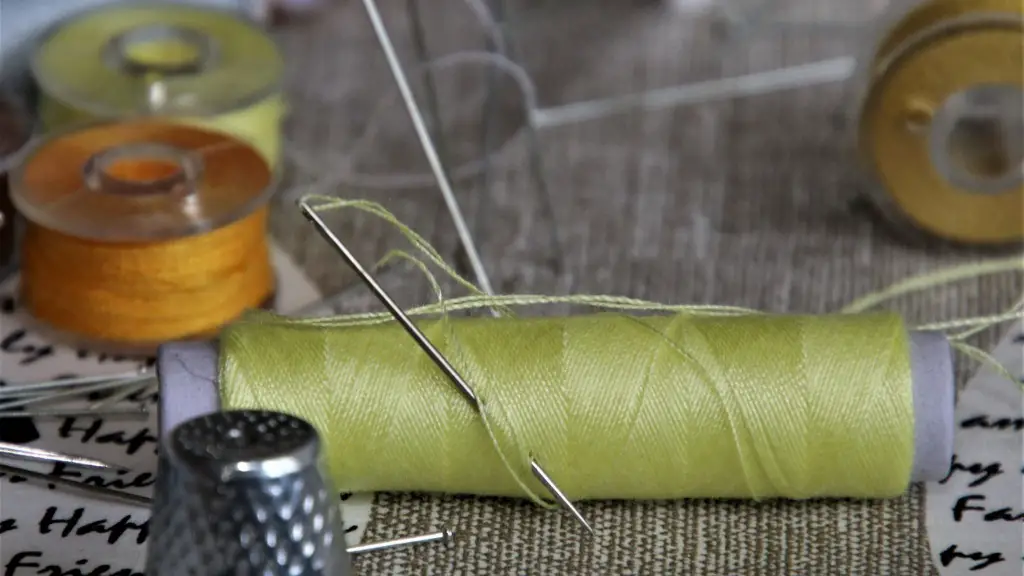
Making a pincushion with a sewing machine requires certain supplies. Such as a scrap piece of fabric, a scrap piece of batting that is puffy, a scrap piece of heavy applique or canvas to stabilize, quilting pins, sewing pins, and a sewing machine. To make the cushion even softer, feel free to use a light batting like cotton between the fabric layers. It is important to have the right type and amount of supplies to ensure the perfect pincushion.
Preparing the Materials
Before beginning the process, it is important to prepare the materials. Cutting the fabric, batting and stabilizer into two squares that are the same size is a good starting point. Next, lightly press each of the squares with an iron. It is important to not press too hard to avoid the fabric from becoming stretched. After the fabric is slightly pressed and cooled down, pin the pieces together, right sides together and the batting on top.
Stitch and Finish
Now that the materials are prepared and ready to go, the next step is to stitch them. The stitch should be about a quarter inch from the edge and then back stitch at each corner. Once the stitching is done, trim the edges with scissors, leaving about a quarter inch of seam allowance. Carefully cut the corners of the fabric squares, making sure not to cut into the stitching because this may cause the fabric to fray. Finally, turn the fabric inside out so that the right sides are on the outside.
Create Holes
Using a sharp tool, such as a seam ripper, create two holes in the top of the fabric to thread the pompom ties through. The edges of these holes should be very carefully trimmed so that the fray is minimize. Now that the holes have been created, the pincushion can be stuffed.
Stuff the Pincushion
Using the batting scraps, stuff the pincushion until it is full and firm. Once it is properly stuffed, some may want to bolster the corners for a better look. A light batting can be used for this step, but beware of cotton balls as they may not adhere as well. After bolstering the corners, the pincushion can be closed up.
Secure the Edges
To close the pincushion, the excess fabric from the edges must be tucked into the casing. Next, use a sewing machine to securely close the edges. Make sure to back stitch at the edges to ensure that the fabric does not shift or pull. When the edges are securely closed, the pincushion should be ready to use.
Attach the Pompom
The last step to creating a pincushion with a sewing machine is to attach the pompom. This can be doneby threading the pompom ties through the two holes and once through, tie a tight knot. Make sure that the pompom is firmly attached to the pincushion before using it. If a pompom is not desired, there are lots of different ways to customize the pincushion. From hand stitching designs to gluing on ribbons and fabric scraps.
Making the Casing
Before sewing the pieces together, it is important to make the casing for the pins.This can be done by simply folding the edges of the fabric and batting over each other, before pinning them together to keep them secure. This will create a slightly thicker edge, which will help hold the pins in place while sewing. Be sure to pin the pieces in place with quilting pins, as this will keep them secure while sewing.
Choosing the Right Fabric
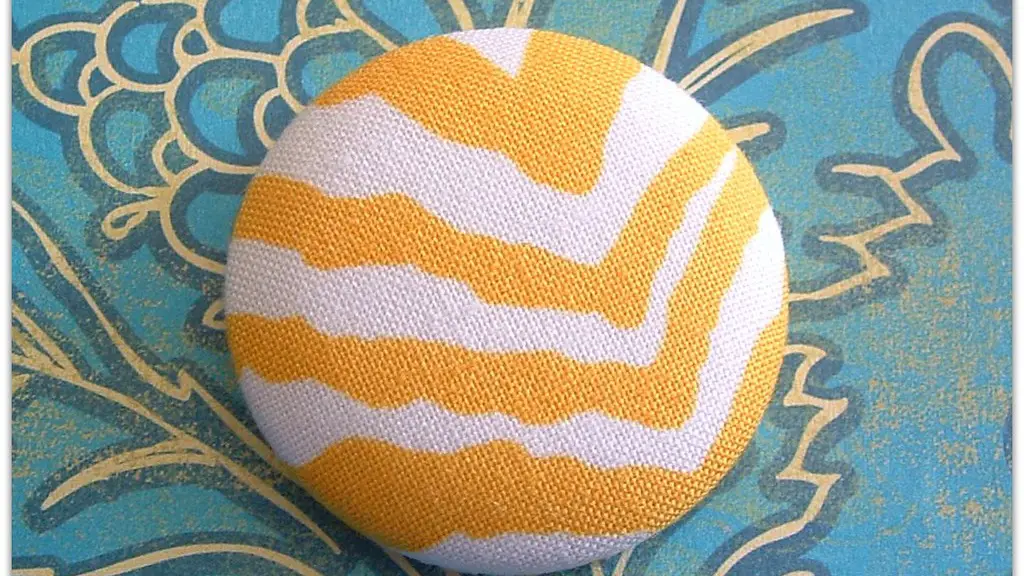
When choosing the fabric for a pincushion, it is important to select something that will be comfortable to the touch and hold up to use. It is also important to choose a fabric that is not too thin or too thick so that pins can easily be inserted and removed. Also, fabrics with patterns are not advisable as the pattern may distort when stitching, making it harder to create the desired look.
Variety of Filling Options
To make the pincushion even softer and prettier, there are several other filling options. Some people choose to fill the cushion with lavender, rice, or polyester stuffing. Others opt for dried flowers, scented beads, or even bar soap to fill the center of their cushion. Experiment with different materials to figure out which one provides the best cushion that is perfect for your needs.
Additional Stabilization
For an extra bit of stabilization, some may choose to insert a piece of heavy fabric or canvas inside the cushion. For example, a piece of denim or canvas can be inserted before stuffing, making the cushion sturdier and longer-lasting. This extra layer will help keep the shape of the cushion, and make it sturdier for those who tend to use pins on a daily basis.


