How To Make a Quilt Label With a Sewing Machine
Making a quilt label is an important way for quilters to commemorate their work of art. Doing it with a sewing machine will give it that extra unique special touch. Although it may seem like a difficult task, this step-by-step guide will have you up and running in no time.
First of all, it’s important to choose the right fabrics for your quilt label. If your quilt is made of mostly cotton fabrics, then a cotton fabric would be the best option for your quilt label. If your quilt uses both cotton and wool fabrics, then you could use a fabric with a blend of both fabrics. For this guide, we used a Kona cotton fabric.
Next, you’ll need to decide on the size of the quilt label. You can pick a size that’s the same size as your quilt’s finished size, or you can choose a smaller size depending on how you want the label to look. We chose to make a 5” x 7” quilt label.
Once you’ve chosen the size, you need to mark the fabric so you can draw your quilt label. You can use a fabric pen, pencil, or fabric markers to do this. We chose to use a white fabric pen and draw a simple label shape onto the fabric.
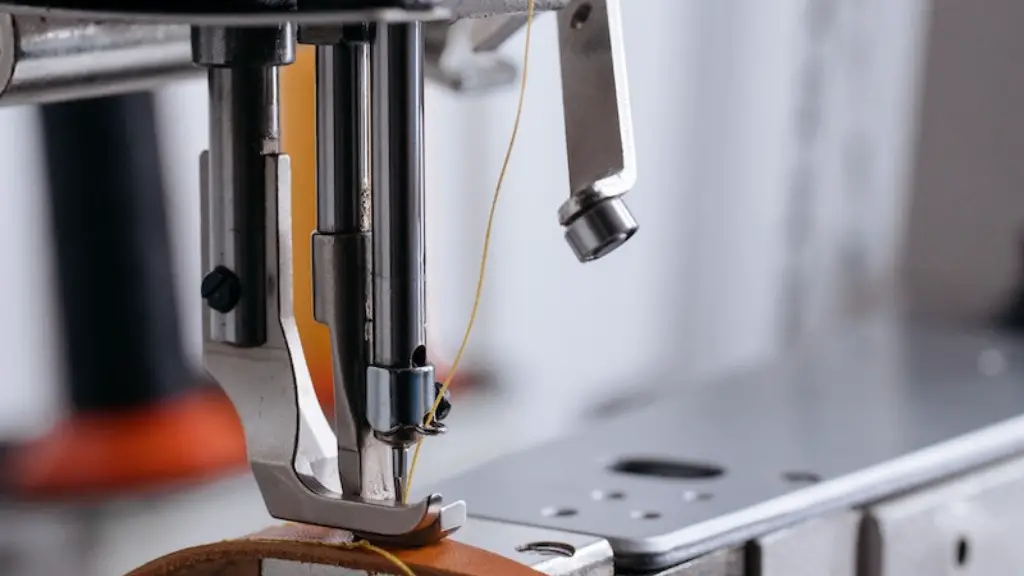
Now you can get to the sewing machine. With a basic straight-stitch machine and a standard needle, you can get started on creating your quilt label. If you’re feeling adventurous, you can also use more complicated stitch patterns for your label. For this guide, we used a simple straight-stitch setting.
You’ll need to start by sewing around the shape you drew on the fabric. You can use a contrasting color thread, or the same color thread as the fabric. We chose to use a black thread so the stitch would be more noticeable. Make sure that you use a longer stitch length and a tenser tension so that it will be easier to unstitch later if needed.
Once you’re done sewing, it’s time to fill in the quilt label. You can use fabric markers, permanent markers, paint, or embroidery floss. We chose to use a permanent marker to fill in the quilt label.
Finally, you can add a date or other info to the label with a pen or fabric marker. If you are making a quilt as a gift and don’t want to write the date on the label, you can use a fabric marker to just write a name or message instead.
With this guide, you now have all the basics to help you make a quilt label with a sewing machine. Just be creative with your designs and have fun with it!
Transferring the Design to the Fabric
Once you’ve chosen the fabric and design for your quilt label, it’s time to transfer it to the fabric. A great way to do this is to use a stencil and transfer it to the fabric by lightly tracing the shape with a fabric pen or pencil. You have to be careful not to press too hard and make an indention in the fabric. This can happen if you press too hard, so be sure to press lightly and don’t use too much pressure.
If you’re feeling even more creative, you can use iron-on transfer paper. All you need to do is print out the design you want to make onto the paper, iron it onto the fabric, and then trace the design with a fabric pen or pencil.
No matter which transfer method you use, it’s important to make sure that the lines are as clear and straight as possible. You don’t want to make any uneven lines or inconsistent shapes on your quilt label. After tracing the shape, it’s best to use a ruler and an iron to make sure everything looks neat and tidy.
How to Stabilize the Fabric for the Sewing Machine
Before you start sewing your quilt label, it’s important to take the necessary steps to stabilize the fabric. This will make the quilt label easier to handle and will help ensure smooth stitching and neat corners.
The first step is to use a spray adhesive to bond the two layers of the fabric. You can also use a fabric glue pen or tape to hold the two layers together. Another option is to use an adhesive stabilizer. This will help the fabric keep its shape and will make it easier to work with.
Once the fabric is stabilized, you can use either a walking foot or a free-motion presser foot to help keep the fabric steady while you’re sewing. A walking foot is great for quilting projects and it will help keep the fabric from shifting. A free-motion presser foot is best for sewing curves, so if your quilt label has any curved edges, this is your best option.
Alternative Sewing Methods
Besides a sewing machine, you can also use alternative sewing methods to make your quilt label. Hand sewing, machine embroidery, or iron-on letters are all viable options. Hand sewing is great if you want to add a few of your own touches to the label. You can use a thread of your choice and stitch small decorative details onto the label. Machine embroidery is great if you want to use ready-made designs with lots of detail in the label, such as quilt blocks or intricate patterns.
Using iron-on letters or shapes is another great way to make a quilt label. You can choose from ready-made lettering or free-motion your own design with fabric markers or paint. This is a great option if you want to create a fun, whimsical quilt label.
Storage and Care for the Quilt Label
It’s important to take proper care of the quilt label once you’ve finished it. This way, it will stay looking fresh and new for many years to come. To store the quilt label, wrap it in tissue paper or other protective materials. Be sure to keep the quilt label away from direct sunlight and any other damaging elements.
For quilt labels made of fabric and thread, it’s best to use a gentle detergent when washing. Hand-wash the quilt label to preserve its shape and colors. Avoid using too much detergent, as this can strip away the fabric’s color. Once washed, air dry the quilt label and store in a cool, dry place.
Quilt Label Design Ideas
There is truly no end to the creative possibilities when it comes to making a quilt label. The possibilities are endless when it comes to what you can put on the label. From fonts to shapes, the quilt label can be a fun and unique way to commemorate a quilt.
If you don’t have any ideas for your quilt label, there are plenty of resources online for inspiration. Sites such as Pinterest and Etsy have countless quilt labels for inspiration. Or, you can look at quilt labels from antique quilts for inspiration on how to make yours.
You can also choose to use a combination of fabrics, threads, and embellishments to create a quilt label that is truly one-of-a-kind. Mix and match threads, mix different fabrics, and add motifs and emblems to your quilt label to create something that’s totally unique.
Important Tips to Remember
Making a quilt label with a sewing machine is a fun and creative process. Here are some important tips to remember when making a quilt label:
- Always use the right fabrics and threads.
- Be mindful of the tension and stitch length of the sewing machine.
- Make sure the design is accurate and neat.
- Be sure to stabilize the fabric before sewing.
- Consider using alternative sewing methods for added flair.
- Take proper care of the quilt label once it’s finished.
- Have fun with it and be creative!
Conclusion
Making a quilt label with a sewing machine may seem daunting, but it’s actually quite simple. With this guide, you now have the basics of creating a quilt label with a sewing machine. Remember to use the right fabrics and threads, stabilize the fabric, and don’t forget to have fun with it!
