Materials and Tools
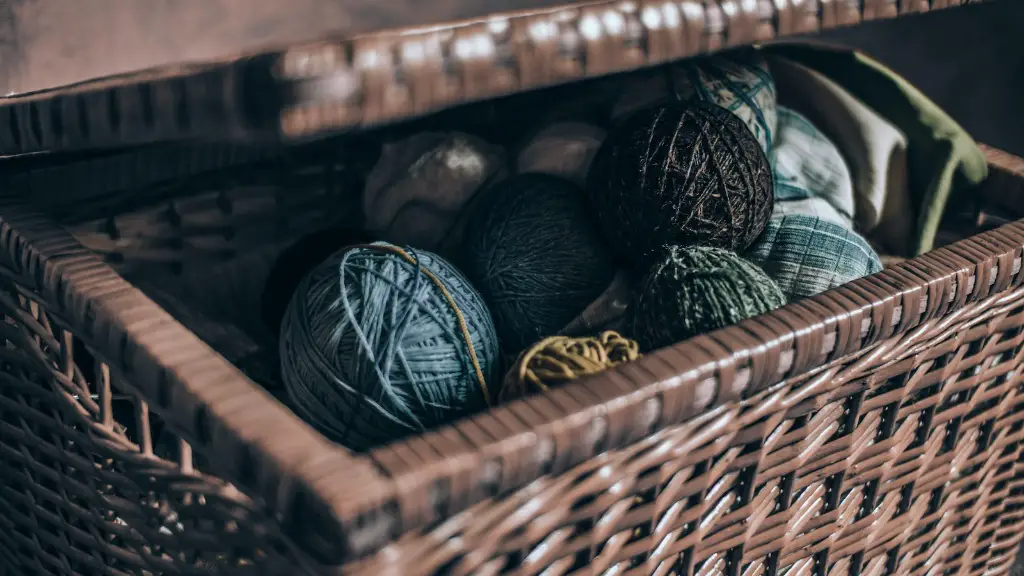
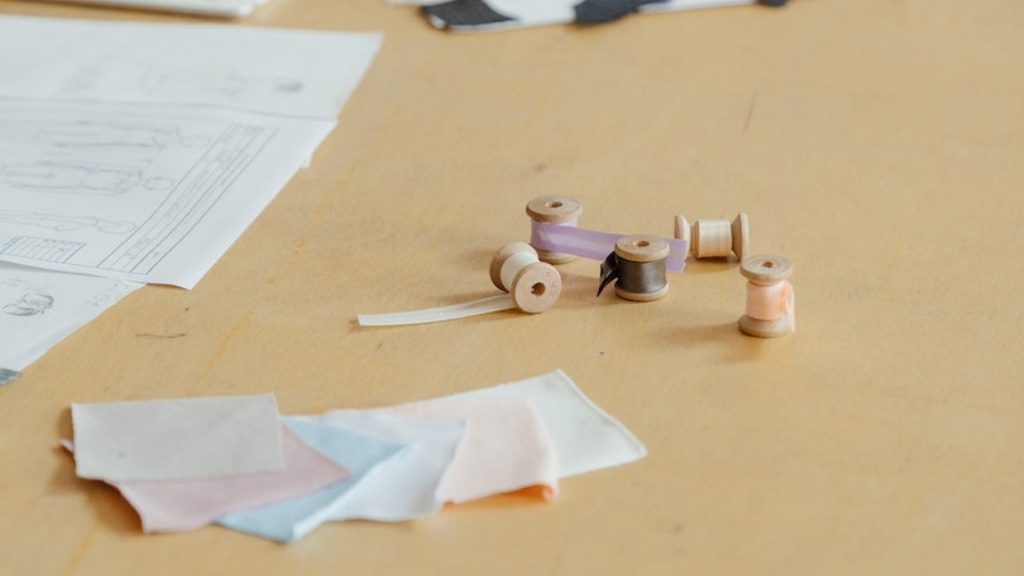
Making a quilt with a sewing machine is a unique and fun project. Knowing how to use the right materials and tools is essential. To get started, buy fabric, batting, thread, and other sewing supplies. Depending on the design and size of the quilt, you may need needles, rotary cutters, marking tools, and other speciality quilting tools. Remember to use good quality fabric and batting for the best results. Choose a color scheme or theme for the quilt and select fabric that matches the desired look. Make sure to have the batting and thread selected before starting the project.
Prepping the Squares
Depending on the size of the quilt and the complexity of the design, the number of squares needed will vary. Choose the design and size then draw the pattern on graph paper. Cut out the required number of squares needed for the quilt. Use the rotary cutter to create accurately sized squares and use an iron to remove any wrinkles. Be creative and express yourself with the design of the quilt whilst keeping the squares uniform.
Layering the Fabrics
Start by laying the fabric on a flat surface and layer it in the same way you would stack the quilt. Place the batting in the middle, followed by a layer of fabric, then another layer of batting, and finally the third layer of fabric. Use pins to keep the layers in place and make sure every layer is aligned properly. Now it’s time to start sewing the squares together.
Sewing the Squares Together
Set up the sewing machine and make sure the fabric rolls are in the correct position. Use a basic straight stitch or a zig-zag stitch to secure the squares together. If the quilt design is complex, use additional threads to create intricate patterns. Be as creative as possible and make sure to secure the stitching with a knot or by back stitching at the end of each line. Tie the knots securely so that they won’t come undone.
Assembling the Quilt
Begin assembling the quilt by sewing the squares together in a row. Sew the rows together carefully to form a large quilt top. Cover the quilt top with the batting and backing fabric. Measure and cut the batting and backing fabric to the required size and start sewing the layers together. Use a seam ripper to remove any excess fabric or stitches. Once the quilt top is assembled, cover everything with a stabilizing layer of interfacings.
Quilting the Top
Use the quilting pattern to create the design on the quilt top. Select a thread color that works best with the fabric and the design. Be creative and explore the different types of patterns that can be created; from straight lines to intricate patterns, the possibilities are endless. Sew the layers together, making sure to keep the quilting lines parallel as you go. Mark the quilt top with a quilting stitch to make it easier to keep track of where you are.
Binding the Edges
The binding is the edge of the quilt that will hold the layers together. Use a binding technique of your choice, such as mitering the corners, to make sure the ends match. Cut the binding strips according to the length of the quilt and attach them to the edges of the quilt. Sew the binding to the quilt top and fold over the edges. If desired, add additional embellishments like ribbons or buttons to the edges of the quilt.
Finishing Up
When the binding has been sewn, turn the quilt over and press the seams with an iron. Sew the binding in place and either hand stitch or use a machine to secure the binding all around the quilt. Now it’s time to embellish the quilt with embroidery and quilting stitches to your liking. When finished, turn the quilt right side out and admire your handiwork.
Correcting Mistakes
When quilting on a sewing machine, mistakes can be made. Take note of any mistakes and make corrections as needed. Use a seam ripper to remove any unwanted stitches or patch up any holes. For added safety, it is important to check the quilt for any loose threads and secure them with a knot. Regularly check the machine to make sure everything is in working order and replace any broken parts as needed.
Cleaning and Preservation
To ensure the quilt lasts for years, cleaning is important. Vacuum the quilt to remove any dust and dirt, and spot clean with a mild detergent as needed. Be careful not to use too much detergent as it can damage the fabrics. Hang the quilt up to dry and use a low heat setting when ironing. Allow the quilt to air out regularly to keep it fresh. For longer lasting quilts, use fabrics and batting that are colorfast and resistant to fading.
Storage
Properly storing your quilt is essential for its preservation. Keep the quilt in a clean and dry area, away from direct sunlight and any other sources of heat. Store the quilt in a cotton storage bag or a quilt box that is lined with acid-free paper. The quilt should remain undisturbed and be checked periodically for any signs of damage. With the right materials and tools, and a little bit of patience, anyone can create a beautiful quilt with a sewing machine.


