Steps to Making a Sewing Machine Case
Creating a sewing machine case is a great way to protect your sewing machine while on the go. Whether you want to take it to a class or just want to store it, this tutorial will provide the steps to making the perfect case.
For starters, you’ll need some basic materials. Depending on the size of your sewing machine, you’ll need around a metre of fabric, two metres of binding tape, four heavy duty zippers and a few fastener clips. For an optimum fit, measure the size of your machine before heading to the fabric store.
Once you have your materials ready, you’ll start by measuring your fabric so that it fits your sewing machine. Cut your fabric in two, a large piece and a smaller one. Sew both pieces together, leaving a few inches so that you can insert the zipper later. Make sure that it follows the shape of your sewing machine and leaves extra inches for the zipper.
Your second step is to attach one half of the zipper to the fabric, ensuring that it fits snugly around your machine. You can use the zipper clips to secure the zipper. Then, you can attach the other half to the previously sewn piece of fabric.
After attaching the two pieces of fabric together, sew binding tape on the finished fabric. The tape helps the fabric to remain stiff and is strengthened when used. Accurately measure out two metres of the binding tape and start attaching it to ensure the fabric doesn’t lose its shape.
After the fabric is completely sewn and attached, you can unfold the fabric and insert the second zipper. Attach the zipper to each end of the fabric using the remaining zipper clips. Once this is done, now you have the main part of the cover finished.
Now, it’s time to attach another well-measured piece of fabric onto the bottom of the case. Start by measuring the length and width of the bottom of the case and cut the extra piece of fabric accordingly. Attach it to the bottom of the case and reinforce it with binding tape. Finish off with a few sewing clips to make sure it doesn’t move.
You’re almost there! Now that the bottom and top are connected, you’ll need to cut some sides for your case. Measure the length of the sides and cut the excess fabric. Attach the sides to the top and bottom, making sure to reinforce them with binding tape. Finally, cover the edges with binding tape for a finished case.
Lining the Sewing Machine Case
If you want to add a more personal touch to your sewing machine case, you can line the interior. Measure out the interior pieces and cut out a large piece of fabric. It should be at least an inch wider than the seam allowance of your case. You can use the same techniques that you used for the exterior to attach the fabric. Then, finish the edges with binding tape.
Adding a padding layer is also a great way to make your case more comfortable. You can get foam padding in fabric stores or online. Measure the right amount of foam and cut it. Then, fit the foam into the corners of the case and bind it so that it doesn’t move.
Nowadays, you can find a variety of materials like cotton and even leather for the exterior of your case. These materials look more luxurious and polished than regular fabric. However, these materials are more difficult to work with and may require more skill. It’s important to keep in mind that these materials will require special care when cleaning and storing.
Tools of the Trade
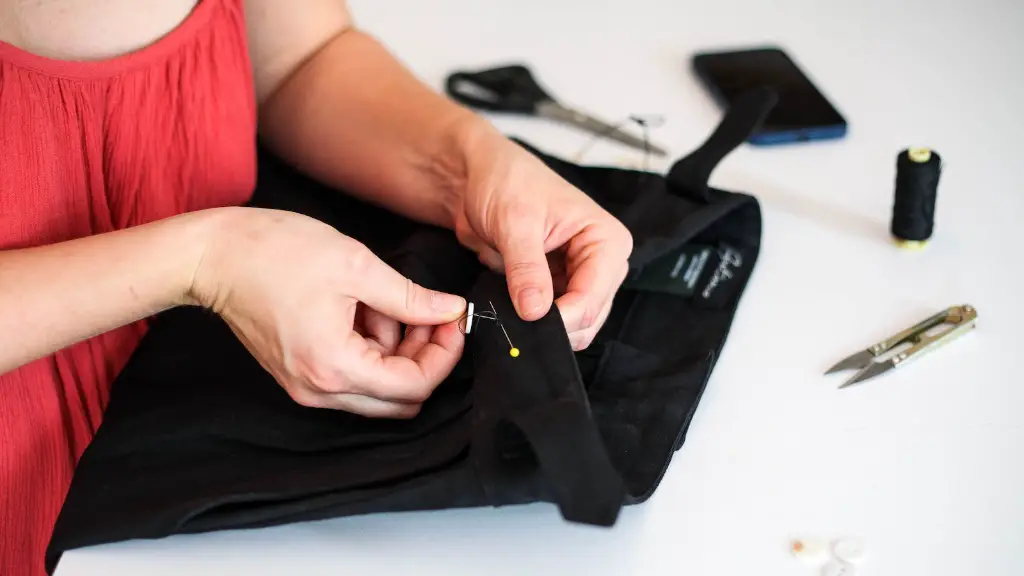
Sewing a cover for your sewing machine case will require a few tools and materials. For your sewing kit, you’ll need good quality scissors, a measuring tape, sharp pins and a needle and thread. You’ll also need a good quality sewing machine and the right needles to fit the fabric you’ve chosen. If you’re working with multiple layers, you’ll need to switch needles frequently.
Finally, there are a few excellent tools available at fabric stores that can help with your project. Patterns are especially helpful for lining your sewing machine case. You’ll also find curved scissors, which can make cutting fabric easier. You can also find rulers that can help you measure and cut fabric accurately.
Once you have all the tools, try to practice on a scrap piece of fabric before beginning. This way, you’ll get a feel for the tools and materials and be better prepared for your project.
Finishing Touches
Once you’re done, you can add your own touches to really make your case unique. Embellishments, like ribbons and stitching, are a great way to give your case a more personal touch. You can also add labels to the exterior of the case, like your initials or the name of the project.
You can find a variety of adornments and decorations at any craft store. There are also plenty of creative ways to personalize and decorate your case, like adding rhinestones or studs. The possibilities are only limited by your imagination.
Finally, you can give your case a professional finish. To make sure everything looks neat and well done, you can use a steam iron to flatten any seams or wrinkles. This will give your case a polished, professional look. Even the most experienced craftsmen may not achieve this step.
Care and Maintenance Tips
Once your sewing machine case is finished, follow a few guidelines for proper care and maintenance. Firstly, try not to store your sewing machine for long periods of time, as this may damage the case and the machine itself. If your case gets dirty, machine wash it on a gentle cycle and let it air dry.
To keep your case looking its best, store it in a cool, dry place away from direct sunlight. For heavier items, use a strong case that can stand up to wear and tear. It’s also a good idea to check the seams regularly to make sure they don’t come apart or get damaged. Finally, you should regularly oil and clean the machine per manufacturer’s specifications.
Alternative Materials for Sewing Machine Cases
There are loads of alternative materials you can use for making a sewing machine case. Some popular options include canvas and oilcloth, which are more durable than regular fabric. Both materials are water-resistant, which is perfect if you want to store your machine in a damp environment.
Leather is another great option for your sewing machine case. It’s stylish and durable, and will last for many years. The downside is that it can be quite expensive. If you’re working with a limited budget, you can always opt for faux leather instead.
For a more modern look, vinyl is a great choice. It’s light and waterproof, and there are loads of trendy colours and prints available. It can also be easily wiped down in case it gets a bit dirty. However, keep in mind that it’s not as strong as canvas or leather, so it’s not the best choice for heavier items.
Making It Your Own
With a few simple steps, you can make a beautiful, custom sewing machine case that’s perfect for your needs. With the right materials and the right tools, you can make any case you have in mind. Whether you’re just starting out or a seasoned pro, you can make a unique case for your sewing machine.
If you decide to follow this tutorial or take on a different project, remember to have fun and make it your own. Adding your own creative touches and enjoying the creative process are key to making your sewing machine case just right.
