Tools Needed
Sewing a sewing-machine mat with pockets requires a few specialized tools. You will need a sewing machine, fabric scissors, upholstery thread, a ruler, and a seam ripper. You will also need fabric, batting, and bias tape. To ensure a perfect fit, it is important to measure the dimensions of your sewing machine before you begin.
Pre-Cut Fabrics and Batting
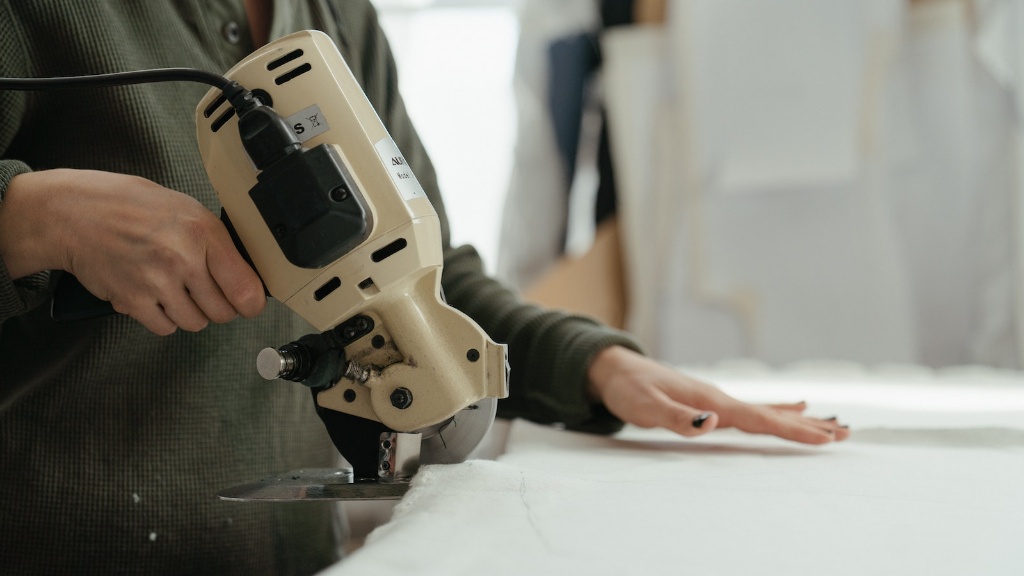
Next, cut the fabric and batting according to the dimensions of your sewing machine. Before cutting the fabric, measure twice and cut once to ensure a perfect fit. If you are using upholstery fabric, be sure to use fabric scissors to prevent fraying and other damage during the cutting process. Cut the batting so that it’s slightly larger than the dimensions of the fabric to ensure a snug fit. For an extra cushiony and comfortable mat, use multiple layers of batting.
Construct the Pockets and Attach to Mat
Once the fabric and batting are cut, it’s time to add the pockets. First, cut two pieces of fabric for the pockets. Choose the same fabric as the mat, or select a contrasting fabric for a unique look. When measuring the pocket fabric, be sure to allow for adequate seam allowances. Use a sewing machine to stitch the pocket fabric together, followed by some top-stitching at the edges. Use an optional accent thread in a color that matches or draws attention to the pocket fabric.
Next, pin the pockets to the mat and stitch them securely in place, carefully removing the pins as you go. Be sure to reinforce the pockets with extra stitches at the corners and inner seams.
Skirt and Facing
Now that the pockets are attached, it’s time to construct the skirt portion of the mat. Start by cutting two fabric panels for the skirt. Measure twice and cut once, allowing for important seam allowances. Use a sewing machine to stitch the panels together. Then, attach the skirt to the mat using a blind hem stitch.
To finish the mat, cut two facing pieces for the top and bottom of the mat for extra cushion and protection. Attach the facing pieces with a sewing machine and use a zig zag stitch to prevent fraying. The final step is to finish off the seam with a binding made from bias tape. This will ensure a professional look and reduce fraying.
Safety Precautions
When sewing a sewing-machine mat with pockets, be sure to take safety precautions. Never leave scissors, pins, or other sharp objects near the sewing machine. Secure all loose fabric and batting before turning on the machine. Wear protective eyewear, gloves, and a face mask when working with heavy fabric and batting. Avoid wearing loose clothing that could get caught in the sewing machine.
Storage and Maintenance
To ensure your sewing-machine mat lasts for years to come, store it in a safe, dry location away from moisture and direct sunlight. If the mat gets dirty, spot clean it with a damp cloth and mild detergent. If the fabric of the mat starts to fray, use a seam ripper to re-sew any loose seams or edges.
Finishing Touches
To ensure a professional-looking mat, add a few extra touches. Line the pockets with contrasting fabric for a colorful finish. Or, embroider a unique pattern onto the mat for a personal touch. Adding tassels, lace, or ruffles can also provide an elegant look.
Certified Sewing Machines
When investing in a sewing machine mat with pockets, be sure to use a certified sewing machine. Certified sewing machines are designed to withstand the rigors of regular use. They also have added safety features to prevent injuries. Always read and follow the instructions provided by the manufacturer when using a certified sewing machine.
Quality Fabrics
When selecting fabric for a sewing-machine mat, quality matters. Invest in high-quality fabrics that won’t wear easily and fray over time. Heavyweight fabrics are best for crafting a durable mat that can stand up to hours of use. Consider using fabrics like canvas, upholstery, or denim for a long-lasting mat.
Adhesive Tapes, Glues and Fusible Interfacing
Along with fabrics, use adhesive tapes, glues, and fusible interfacing to give your mat an extra boost of durability. Adhesive tapes and glues can provide temporary adhesive solutions that keep pockets and batting securely in place. Fusible interfacing can also be used to reinforce fabric and make it stiffer. This can help reduce fraying and extend the life of your mat.
Pre-Wash Fabrics
To ensure a wrinkle-free sewing session, pre-wash your fabrics before making the mat. This will also help to shrink any fabric that may be prone to shrinkage. In addition, pre-wash fabrics can help reduce fraying and make the seam allowance easier to work with.
Finished Product
Once all the pieces of the mat are securely in place, it’s time to decide on the finishing touches. Choose buttons, embellishments, and other decorative elements to give the mat an extra pop of color and texture. Finally, admire your creation and take pride in knowing that you crafted a custom sewing-machine mat with your own two hands.


