Preparing the Fabrics
Making a shirt without a sewing machine is not daunting and can be made with your hand alone. But the key to success is to have a thorough process that is accurately followed. The first step is to find the fabric that you wish to use for the shirt. Cotton is most ideal for summer wear as the material is soft, airy and light; however, wool can be used as well in colder temperatures. Carefully select a fabric that best suits the shirt design, allowing a bit of extra material in case it shrinks after washing. Once chosen, measure the fabric according to your size and cut it into two pieces, leaving a half inch of space before cutting.
Gathering the Shirt
The next task is to gather the neck and the sleeves of the shirt. Hand sewing is preferred here as it is the most accurate way to get symmetrical arcs. Start by folding the fabric over in batches of five cms and pinning them with a few stitches in each inch. Depending on your desired type of neck, the level of gathering can be changed as you make progress. It is also worth considering adding a buttonhole piece at this stage as it will provide support and structure for the neckline.
Attaching the Shoulders
Once you have gathered the neck and sleeve ends, sew the shoulder seams together. A little patience and accuracy is essential at this stage as the stitch needs to be even and secure, so that the garment does not come apart after a few washes. A hand stitch pattern can be used as it produces a flexible stitch line that moves and bends easily. Seams should be pressed with an iron to make them flat and crisp.
Decorative Details
To make the shirt look more professional, adding decorative details is important. Button bands or sheath tapes are the most common additions. To add button bands to the garment, start by marking the line in the fabric with chalk and cutting two straps according to the line. To make the hem curves, chalk mark and cut around half an inch. Button holes and buttons can then be added.
Adding the Sleeves
To add the sleeves, place the sleeve into the armhole and pin the sleeve with the upper shirt fabric. Make sure that the edges of the fabric match. Make sure that the sleeve length is as desired and if not you can adjust it by taking an inch off and folding or further cutting the sleeve. Start sewing the sleeve; make sure that it is even and secure. Remember to turn the garment inside out periodically to check the sleeves and remove pins.
Creating the Hemline
The last step is to create the hemline of the shirt. Start by measuring the length of the shirt from the shoulder to the desired level of your hemline. Creating a large fold, pin and mark the hemline by folding it twice. This will provide a secure fold, and then stitch the edge with a small overlock. Secure the fold with a small tack and make sure that it falls in a straight line.
Stitching the Final Details
Finally, add the last stitches to complete the resemblance of a shirt. Start by making sure that all holes in the fabric are securely closed. You could use ladder stitches to secure button bands, collars, and necklines. Ladder stitches are most commonly used on thin and light weight fabrics, and you can work two rows of stitching to secure the areas firmly. Button bands and collars can become firm and neat with just a series of back and forth stitches. Press the garment after finishing the last stitch to help set it.
Finishing the Shirt
After all the above steps have been completed, your shirt is almost ready to wear. Carefully press it with a warm iron, paying more attention to collar, sleeve and the button bands area. Also, it is recommended to use steam on the fabric. Test the fabric with the threaded needle to make sure that it is duly pressed. Finished with a fully made shirt without the use of a sewing machine. Now hold your shirt with pride and enjoy wearing it.
Line-up the Edges
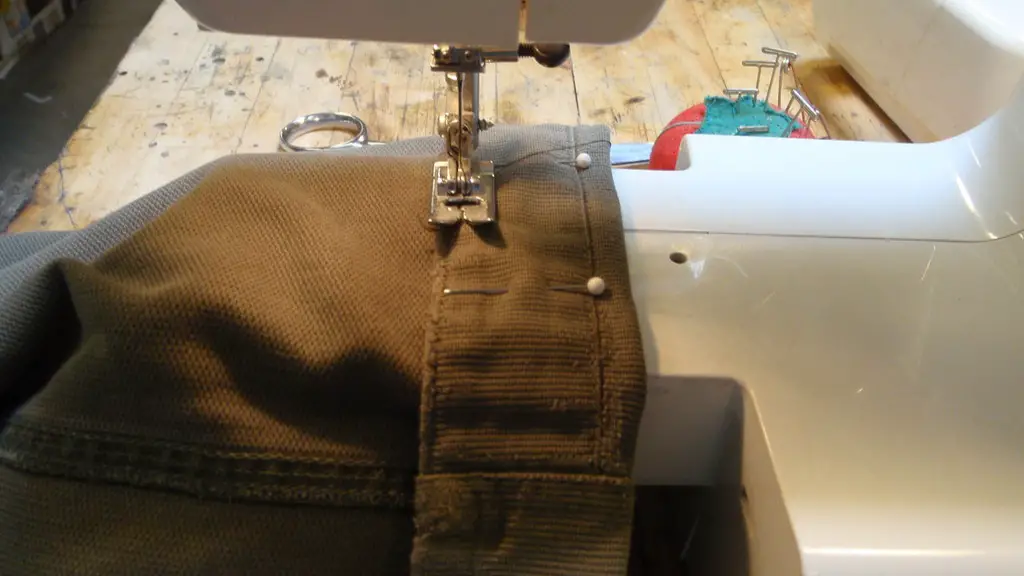
Now place the shoulder seams on top of each other and pin along their edges. Make sure that the stripes and the pattern are lined up with each other and that they are straight. To straighten them, use a ruler and scissors. Once everything is properly lined up, sew the edges together with a hand stitch. The stitch should appear neat and fine, and should not undo after a few washes.
Debunking Common Myths
It is often thought that sewing a shirt without the help of a sewing machine is extremely difficult. But this is not necessarily true. With the help of the above-mentioned steps, you can create a shirt that looks as good as one made with the aid of a sewing machine. What’s more, it is also possible to create extremely intricate designs such as collars, pockets, etc., with just your hands. It may take some time, but the results will be worth the extra effort.
Knowing When You’re Through
Knowing when a shirt is ready can be tricky, but there are certain signs that you should look out for. Firstly, make sure that the seams are even and tight. Secondly, look for signs of loose threads or fraying fabric. Thirdly, check to see if the fabric is pressed properly. Finally, look for any wrinkles or folds that may have been missed. If you’re satisfied with all these points, then you’ll know that your shirt has been properly sewn without the aid of a sewing machine.
The Benefits of Hand Sewing
Sewing without a sewing machine can be difficult, but it has its own range of benefits. For starters, it is much easier to use a hand stitch for fabric that has delicate or intricate designs. The hand-stitch can fit into the tightest of spaces, ensuring that the fabric looks neat and uniform. Secondly, sewing by hand can be a calming, therapeutic experience that can help to reduce stress. As such, it can be a great hobby, even if you don’t make garments.
Equipment and Tools Needed
When making a shirt without a sewing machine, there are few tools and materials that are essential. Firstly, you need fabric scissors to accurately cut the fabric into the desired shape. Secondly, you need a clutch pencil and a measuring tape to measure and mark the fabric. Thirdly, you need a thimble and plenty of sturdy thread. Finally, you need an iron to press the fabric and ensure a crisp and neat finish.


