Essential Supplies and Tools
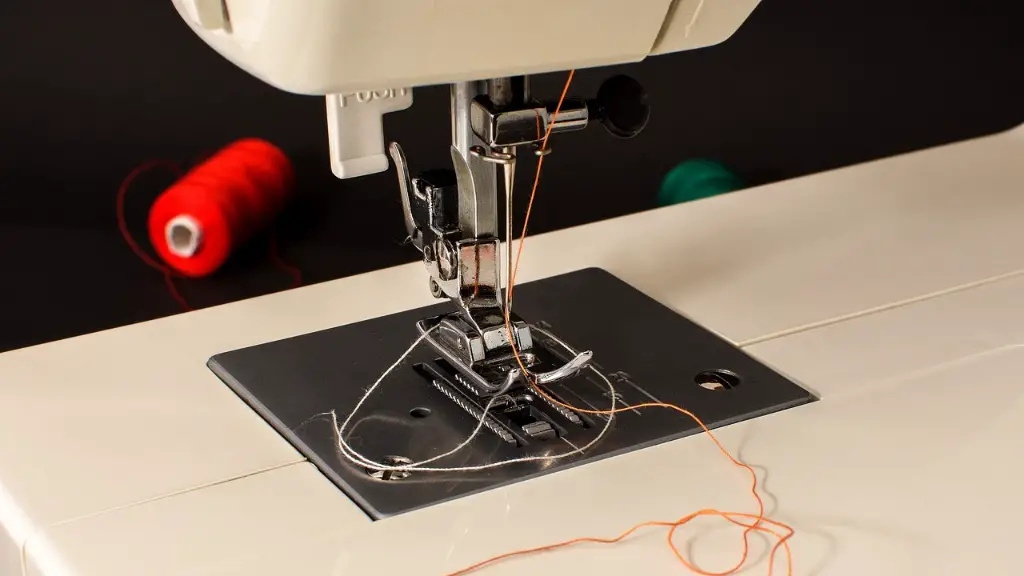
Creating a wig from scratch is no easy feat, especially if you take on the daunting task with a sewing machine. Before getting started, it is important to have all of the necessary supplies and tools on hand, including a mannequin head, measuring tape, sewing machine, sharp scissors, and of course, the hair for the wig. If you want to create a natural-looking wig, you should use human hair, as opposed to synthetic hair. You can purchase individual wefts of human hair, or larger weaves, whichever suits your needs best. Additionally, you will want to gather wig clips and caps, which can be found in most online beauty supply stores.
Creating the Cap
As previously mentioned, you will need to have a mannequin head for this project, as it is much easier to create a wig with an actual head-like structure. Once you have the mannequin head, you will then need to create the wig cap. To do this, you will need to measure the circumference and length of the head, and then create a pattern from the measurements. When creating the actual wig cap, use a stretchy material such as spandex, and make sure it fits snugly on the mannequin head. Then, use the sewing machine to stitch the cap together, or sew in any additional straps or clips that you may need.
Adding Wefts and Sewing in the Hair
Once you have the cap constructed, you can begin to add the wefts of human hair. Start by cutting the wefts to length, so they can be applied to the cap. Then, with the help of a small needle and thread, you can begin to attach them to the cap. If you feel that this is too difficult, you can opt for a wig netting, which will help to keep the hair in place on the cap. After all of the wefts have been attached, it is time to start sewing them in. Make sure to use a sturdy thread that will not easily break. Begin sewing the wefts from the back of the cap and move towards the front in a zig-zag pattern.
Styling the Wig
Now for the fun part: styling. When the wig is finished, you can use any tools that you typically use on your own hair. Heat styling tools, curlers and rollers, as well as a good hairspray and hair gel are all excellent items to have on hand to begin styling the wig. Since the length of the wig is likely already fixed, you can focus on styling the hair or creating curls, as well as any color additions or highlights that you may want.
Caring for Your Wig
Once you have finished creating your wig, you will of course want to make sure that it is cared for properly. Human hair wigs need to be washed with a mild shampoo and conditioner, and styled with a heat protector spray, if necessary. Make sure to remove all tangles before putting the wig in a hooded dryer, and avoid using any products that contain an excessive amount of alcohol, which can dry out the hair. Additionally, it is important to store the wig in a cool, dry place and not expose it to a lot of direct sunlight.
Analyzing the Quality of the Wig
Once you have created and styled the wig and have been using it for a while, it is a good idea to take a step back and analyze the overall quality of the wig. First of all, be sure to inspect the cap and the stitching. Look for any signs of fraying or damages that may have occurred during the styling process. Additionally, check the hair strands for any split ends or any bald spots that may need to be addressed. Lastly, take a look at the texture of the hair and determine if it is still soft and manageable, or if it needs to be replaced.
Alternatives to Sewing the Hair on the Wig Cap
Although sewing the hair on the wig cap is one of the most popular methods for creating a wig, there are a few alternatives for those who are looking for an easier method. For example, if you decide to use a wig netting, then you can tie the wefts of hair to it, as opposed to actually sewing them on. Additionally, if you are not confident in sewing the wig yourself, there are a few online wig-making kits available, which will contain all of the tools and supplies necessary for creating a professional-looking wig.
Adding Glue for a Secure Fit
If you are looking to ensure that your wig stays in place when wearing it, then it may be a good idea to use some glue. There are a variety of glues available specifically formulated for wigs, so be sure to do some research before choosing one. It is best to apply the glue to the areas not covered by the wig netting, such as the nape of the neck and the sides of your head. Then, you can let the glue dry for a few minutes before using a bit of hairspray for extra security.
Choosing the Right Hair Color and Length
When selecting the hair for your wig, one of the most important aspects to consider is color. Not only do you want to choose a color that will match the rest of your hair, but you also want to make sure that it is not too dark, which can make the wig look unnatural. If you are unsure of which color to pick, it may be a good idea to get a few sample colors and then test them out to see which one looks best. Additionally, you will want to pick a length that suits your aesthetics and style best. If you are looking for a shorter wig, then you may want to opt for a bob-style cut, whereas if you are looking for a more dramatic look, then longer lengths are more suitable.


