A Brief Introduction to Apron Making with a Sewing Machine
Making aprons with a sewing machine is a great way to enhance your wardrobe. Not only is it an exciting craft project, but it offers a chance to exercise your creative side as well as expressing your personality and style. With a few basic supplies and a little patience, sewing your own apron can become a fun and rewarding experience!
Tools and Materials Needed for the Project
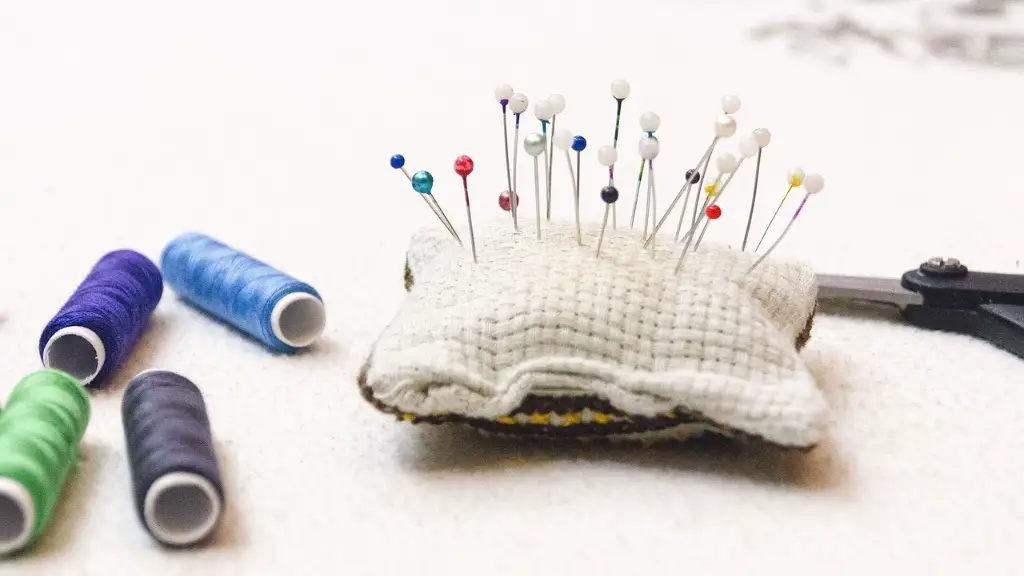
To make the apron, you’ll need a few supplies and tools. First, decide on the type of fabric and the size and shape of the apron. Then gather the supplies: fabric, thread, a sewing machine, Iron, fabric scissors, measuring tape, pins, and a marking pen or tailor’s chalk. All these supplies can be found at most fabric and craft stores.
Choosing the Fabric
The type of fabric and print you choose will depend on the style of apron you’d like to create. If you’re going for a modern look, opt for a cotton blend or canvas fabric. If you’d prefer a more classic look, try linen, wool, or silk. Consider various prints, stripes, and solids to make the apron unique.
Preparing the Pattern
To create the apron pattern, measure the person it’s being made for and calculate how much fabric is needed for the body and straps. Decide on the length and width for the body and straps, and draw the pattern onto a piece of paper, which can be used as a guide for cutting. Most apron patterns will include the front body of the apron, a bib section, two straps, and an optional back body piece.
Cutting the Fabric
Once the pattern is ready, it’s time to lay the fabric out and cut it as per the pattern. Make sure to use fabric scissors and take extra caution when cutting out the straps, as these have to be exact. Take the fabric pieces and lay them out on the floor, paying attention to the alignment so that all the pieces match when sewn together.
Sewing the Apron Together
Begin with the front body piece, laying it out and matching the pieces accurately. Pin each piece in place and sew them together with a top stitch. The top stitch is used to finish the edges and add extra strength to the fabric. Stitch along the edges of the pocket, if applicable, and then sew the straps. Once the straps are attached, sew the bib section onto the body and finish the edges.
Adding Finishing Touches
The last step is to add the optional back body piece. This adds extra strength to the apron and adds a finished look. Sew each side along the pinned edges and add the top stitch for a cleaner look. Finish by pressing the apron with an iron to give it a crisp, professional look.
Caring for Your Apron
Once the apron is complete, be sure to follow the care instructions provided on the fabric label. This will help preserve the fabric and keep it looking new for years to come. With proper care, you’ll be able to enjoy your apron long after the project is finished.
Accessorizing Your Apron
Adding trims and decorations to the apron gives it a personal touch. Look for ribbons, lace, patches, and sequins in colours and patterns to coordinate with the fabric. To attach these, use a sewing machine, fabric glue, or a combination of both. Before attaching any accessories, first make sure they can be washed and dried without damaging them.
Embroidering the Apron
Embroidering the apron is another great way to make it one-of-a-kind. Find a pattern or design that complements the fabric and use an embroidery machine to add it to the apron. Alternatively, hand-stitching is an option as well. Consider finishing off the apron with a monogram to give it that special touch.
Choose the Right Thread
When it comes to sewing aprons, it’s important to use the right thread. Choose one that best matches the fabric to create a polished look. Generally speaking, thicker thread should be used for heavier fabrics, while lightweight fabric will require thinner thread. Also, make sure to use thread that is colourfast and won’t fade or discolour over time.
Extending the Life of Your Apron
With some basic care and maintenance, you can extend the life of your apron. Before washing your apron, be sure to close all the snaps and buttons to ensure that the fabric doesn’t get damaged. A mild detergent and a gentle cycle should be used, and the apron should be laid flat or hung to dry. Also, avoid direct contact with sun or heat to prevent fading.
Follow Expert Advice
Making an apron is not as hard as it seems and can be a fun project. Be sure to check out tutorials and instructional videos online and explore various websites and blogs to find the best tips and tricks. With some practice, you’ll be able to make all sorts of aprons with ease and confidence.
Conclusion
Making aprons with a sewing machine can be a rewarding and enjoyable experience. With the right guidelines and proper supplies, anyone can make a professional-looking apron to add a personal touch to their wardrobe. Have fun creating and accessorizing your apron and enjoy the sense of accomplishment that comes with it!


