Introduction
Buttonholes are a crucial element of clothing – they provide the structure, strength and style to complete any garment. Sewing buttons can be a tricky process, making them look professional, neat and secure. However, it isn’t as difficult as you may think. By following the correct steps and having the right equipment, you can create impressive buttonholes with a Singer sewing machine.
Singer Sewing Machine
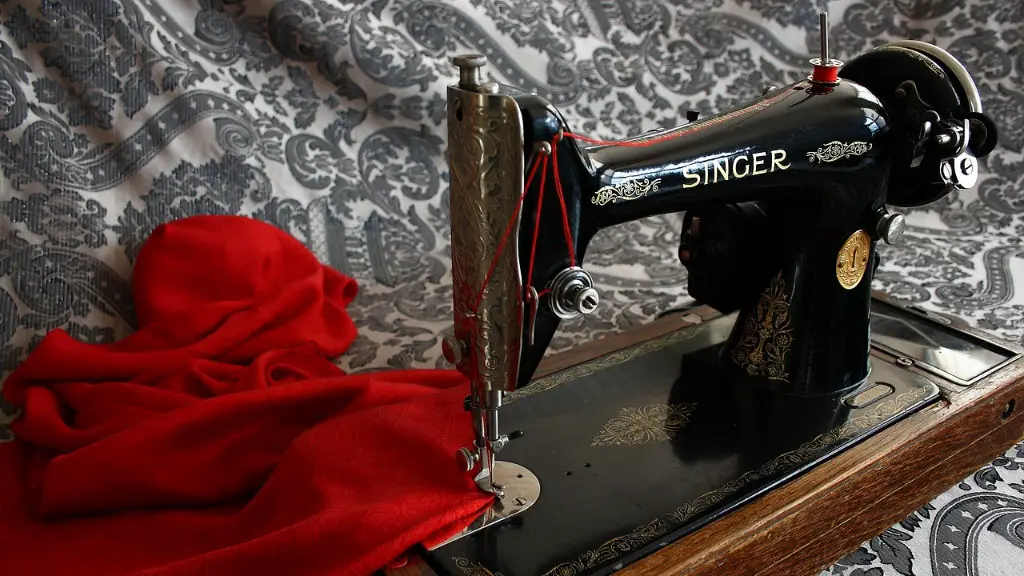
Singer is a company with a long history in the world of sewing, crafting and so much more. Before you can make buttonholes with your Singer sewing machine, you’ll need to make sure that it is installed correctly and is running properly. Once this is taken care of, you’ll be ready to begin!
Buttonhole Accessories
Once your Singer sewing machine is up and running, you’ll need to purchase some accessories. These will include a buttonhole foot, a buttonhole cutter and a buttonhole template. Depending on the type of fabric you’re using, you may need to buy additional supplies, such as stabilizers or interfacing. These are important items, so make sure you read the instructions closely and purchase the right items.
Prepare the Fabric
Once you have all of the necessary supplies, it’s time to prepare your fabric. First, you’ll need to determine the number and size of the buttonholes you’ll need. Then, measure out each buttonhole, being sure to leave enough space for any sewing errors. You’ll also want to mark the location of each buttonhole.
Install the Buttonhole Foot
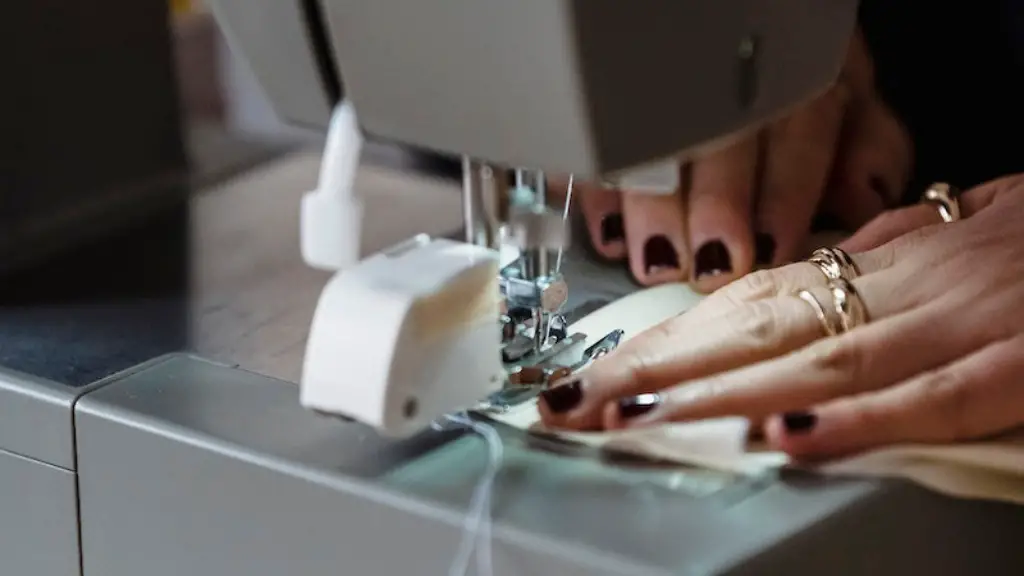
Once your fabric is prepped, you’ll need to install the buttonhole foot. This foot is designed to help you create a consistent and professional buttonhole every time. Carefully slide the fabric underneath the foot and make sure it is securely held in place. If the foot isn’t properly installed, it may lead to accidental stitches or skipped stitches, so double check before you begin sewing.
Stitch the Buttonhole
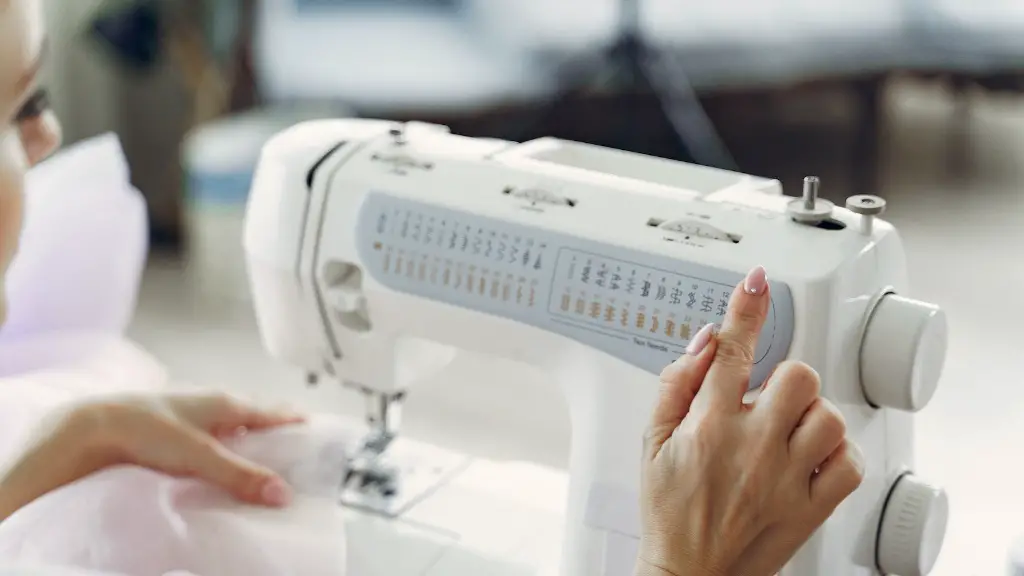
Once the fabric is in place, you’re ready to begin stitching! Start by selecting the type of stitch you’d like for your buttonhole. Then, carefully guide the fabric around the presser foot as you begin sewing. Be sure to keep even pressure throughout the process, as any inconsistencies may lead to skipped stitches.
Cut the Buttonhole
After the stitch is complete, you’ll need to cut the buttonhole. Take your buttonhole cutter and carefully cut along the opening of the stitch, being sure not to cut too far. After the buttonhole is cut, remove the fabric and check the stitching. If it looks even and neat, you’re ready to install the buttons.
Create Buttonholes with Different Fabrics
Cotton Fabrics
Cotton fabrics are one of the most popular fabrics for buttonholes. This type of fabric is easy to work with and can produce beautiful results. You’ll need to use a lightweight fabric stabilizer when sewing cotton fabrics, as the fabric is prone to stretching and pulling. This will help keep the buttonhole in place and ensure a neat finish.
Synthetic Fabrics
Synthetic fabrics are also popular for buttonholes, but they can be more difficult to work with. When sewing these fabrics, it’s important to use a heavyweight stabilizer or interfacing. This will help the fabric hold its shape and keep the buttonhole from becoming distorted. Additionally, be sure to use a new needle and the right type of thread when sewing synthetic fabrics.
Delicate Fabrics
Delicate fabrics, such as chiffon and silk, should also be handled with care when creating buttonholes. Use a lightweight stabilizer and a new needle when sewing these fabrics. Additionally, you may want to opt for a longer stitch. This will create a more secure and consistent buttonhole, as well as protect the delicate fabric from any damage.
Leather and Vinyl Fabrics
Leather and vinyl fabrics require special needles and heavy duty stabilizers when making buttonholes. For these fabrics, it’s important to use the correct thread and needle for the fabric’s thickness. Additionally, take extra care when cutting the buttonhole opening, as this fabric can be difficult to work with.
Top Tips for Making Buttonholes
Take Your Time
When making buttonholes, it’s important to take your time and be precise. Rushing the process can lead to mistakes and sloppy results. Nonetheless, be sure to practice before tackling your sewing project. After all, practice makes perfect!
Prepare Everything Before You Begin
Before you get started, make sure that you have all the necessary supplies. This includes the right type of needle, stabilizer, fabric, thread and more. Additionally, be sure to measure and mark the buttonholes on your fabric before beginning, as this will help ensure a neat and consistent stitch.
Test Your Buttonholes
Finally, once the buttonhole is complete, be sure to test it out. Place a button on the buttonhole and check the fit. Adjust the buttonhole accordingly and then move on to the next one. By doing a test before you finish the project, you will ensure that the buttonholes will fit perfectly once the project is complete.
Additional Tools for Making Buttonholes
Buttonhole Tools
There are many tools on the market specifically designed to help you make neat and consistent buttonholes. It’s worth investing in one of these tools, as it will make the process easier and more precise. Many of these tools come with their own special templates and adjustable feet, allowing you to adjust the size of the buttonhole to your exact specifications.
Buttonhole Machine
For large-scale projects, it may be worth investing in a buttonhole machine. This machine is specifically designed to quickly and accurately make buttonholes of all sizes and shapes. Additionally, many buttonhole machines come with preset settings for various fabrics and button sizes, making them ideal for large-scale project.
Automated Machines
Finally, for those who truly want to make buttonholes quickly and professionally, there are automated buttonhole machines. These machines are specifically designed to quickly and accurately make buttonholes in a variety of fabrics. They often come with special settings and templates, allowing you to customize the buttonholes to meet your exact specifications.
Conclusion
Creating buttonholes with a Singer sewing machine is an easy process, as long as you have the right supplies and take your time. Be sure to practice on scraps of fabric before tackling your project, as this will help reduce any sewing errors. With the correct supplies, a bit of practice, and the tips above, you’ll be sure to create amazing buttonholes with your Singer sewing machine.
