Overview
Buttonholes are crucial on many garments but often overlooked.They provide a professional look and secure closure to loose ends on clothing items.Making buttonholes on a sewing machine is not difficult as long as one is patient and has the right tools and materials.The process may seem intimidating at first,but it doesn’t have to be.With a few tips and tricks,anyone can start making neat and tight buttonholes with a sewing machine.
Tools and Materials
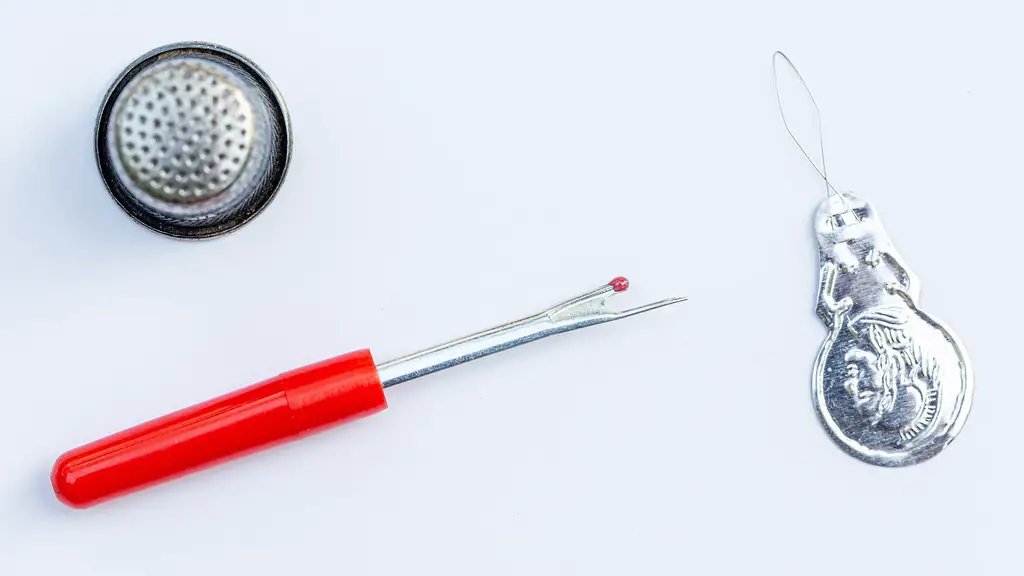
The first step in making buttonholes with a sewing machine is to gather the necessary tools and materials.One will require a number of items such as; the garment, the chosen buttonhole thread, the buttonhole foot attachment, a seam ripper, pins, scissors, an iron and an awl.The awl is used to make the hole in the fabric for the button.The seam ripper allows one to remove any stitches that may have gone wrong.Having all the necessary tools and materials on hand before starting will make the process much smoother.
Set Up the Machine
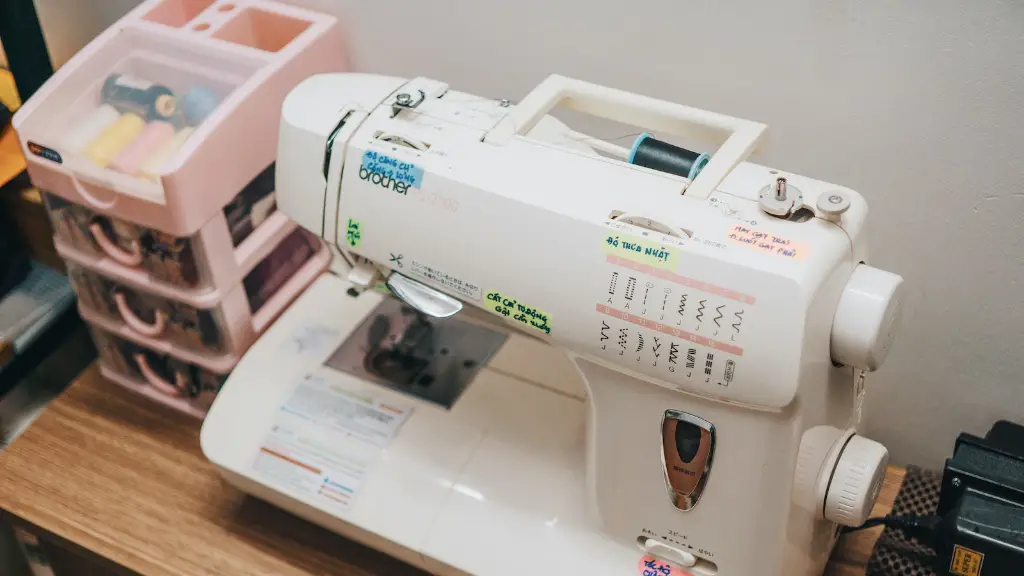
Once the necessary tools and materials are ready,it’s time to set up the sewing machine.This process may vary from machine to machine,so it is important to refer to the manufacturer manual for instructions.Pay close attention to the settings for the type of stitch needed for buttonholes and make sure the tension is correctly set for the chosen thread. This is a key step for successful buttonholes.
Guide Template
Once the machine is set up,it is time to place a template over the buttonhole location.The template is used as a guide for making the specific size and shape of the buttonhole.When placing the template it is important to ensure that it is centered and parallel with the chosen buttonhole fabric.Take extra care to ensure that the template is aligned correctly as it provides the basis for creating the right size buttonhole.
Thread the Machine
Before creating the buttonhole,the machine must be threaded with the chosen buttonhole thread.One must take special care while threading the machine,ensuring that all the threads are properly secured and that the tension is correct.This is key to create a tight and neat buttonhole.Once the threads are secured,the needle should be positioned in the right place and one should be ready to start creating the buttonhole.
Sew
Starting from the top of the buttonhole the user can begin to sew.The stitch should be slow and steady,with regular back stitching at the beginning and end.It is important to keep using the template as a guide and be careful to maintain an even seam width.The user should stitch around the edges,pausing to adjust speed or tension as necessary.At the end,there will be a hole in the fabric which corresponds to the size and shape of the template.
Make the Hole
After the initial stitching is done,it is time to make the actual hole for the button.This is done with the help of an awl,which is a sharp and pointed tool. Insert the awl into the hole and break the threads that have been sewn around the edges. Do not use the seam ripper for this step as it could damage the sewing machine.
With the threads broken,the user can now open the hole and create the actual buttonhole. To ensure a neat finish,it is important to round off the edges of the hole.This is done with the help of an iron and is the final step in making the buttonhole.
Finishing Up
Once all the steps are complete,the user can inspect the buttonhole and make sure it is in line with the template.If satisfied,the machine can be unthreaded and the garment can be taken out.Finally,the button can be placed in the hole and secured with one or two stitches.
Making buttonholes on a sewing machine can seem daunting at first,but with practice and patience,it is possible to create neat and tight buttonholes quickly and easily.
Understand Different Types of Buttonholes
When making buttonholes one must understand the different types of buttonholes and the uses of each.The most common type of buttonhole is the standard one,which is used for small to medium buttons.This is the easiest to make and most machines come with a buttonhole foot attachment for it.The other type of buttonhole is the bound buttonhole,which is a more professional looking and sturdy buttonhole.It is usually used for bigger buttons or in heavier fabric.This type of buttonhole is a bit more complicated and time consuming to make,but the results are much more secure and durable.
Mark the Buttonhole Placement
Before starting to make the buttonhole,it is important to mark the place on the garment where the buttonhole should be located.This will ensure that the buttonhole is placed in the right place,without any mistakes.The buttonholes can either be marked with chalk or pins for better visibility.To ensure accuracy,it is advisable to mark the full length of the buttonhole before starting to sew.
Be Creative
One of the best things about sewing buttonholes on a sewing machine is that there is a lot of scope for creativity.One can experiment with different types of stitches,fabrics and threads to create interesting and unique buttonholes.It is also possible to create a variety of shapes and sizes of buttonholes,all with the help of a sewing machine.
Safety Tips
When making buttonholes with a sewing machine,it is important to ensure safety.Sharp tools such as the awl and seam ripper should be handled with care,as they can cause injury if used improperly.Also,take care to place the template correctly,with proper alignment.Finally,keep your hands away from the needle.This is essential to avoid any accidents or damage to the machine.
Practice
Making buttonholes with a sewing machine can take some time to master,but with practice one can become proficient.The best way to learn is to start with a practice piece of fabric,so that any mistakes can be fixed without ruining the garment.Also,it is important to take the time to understand how the machine works and all the settings involved.With enough practice and patience,it will soon become second nature.


