Introduction: Clip-in hair extensions are an easy way to add length and volume without the need for harsh glues or aggressive styling. They are a popular choice for special occasions such as weddings and prom, and they can be made with basic sewing machine skills and minimal materials. Making clip-in extensions using a sewing machine can be a fast and cost-effective way to add some volume and length without having to use glues or more complicated styling techniques.
Understanding Hair Extension Structure and Attachment: Clip-in hair extensions are constructed from a base piece that is usually made of lace or silk fabric. This base is then meticulously wefted with human hair extensions or synthetic piece extensions and attached to metal or plastic clips. The material of the fabric and the clips used varies depending on the quality of the extensions requested by the client.
Choosing the Right Fabric: When making clip-in hair extensions, the fabric used plays a huge part in their ability to securely attach to the wearers head. It’s important to select a fabric that is strong and durable, such as lace or silk, to ensure that the clips won’t come loose over time. Many people opt for a silk base as it is softer, more comfortable and it tends to blend in with the natural hair better.
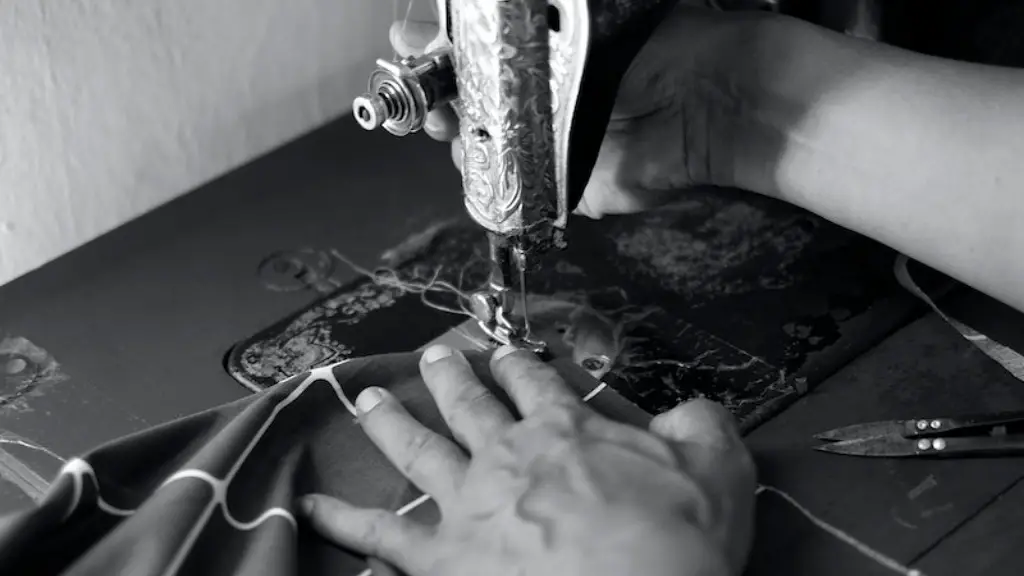
Wefting and Sewing: Once the fabric has been chosen it’s time to start wefting and sewing the extensions. This process usually involves taking small sections of the hair extensions and sewed them to the base piece of fabric. The wefts are usually secured with a zig-zag stitch on a sewing machine. Depending on the desired look, multiple wefts may need to be layered on top of each other to create a thicker result. It’s important to pay attention to the pattern of the wefts, and make sure that they are evenly and tightly spaced to ensure the extensions lie flat against the head. This will also help the clips to hold securely in place.
Attaching the Clips: Clips are essential in clip-in extensions as they are used to secure the extensions in place without the need of glues, clips or other tools. The clips should be attached close to the top of the wefts so that they are secure and not too visible when in place. The clips are usually attached to the wefts using small rings and clasps, which are generally sewn onto the fabric with a sewing machine. It’s important to make sure that the clips are secure and won’t come loose when the extensions are being worn.
Finishing Touches: After the clips are securely attached, the extensions should be trimmed and shaped as desired. This will help them to blend seamlessly with the wearer’s own hair and look natural. To finish off the extensions, a soft layer of hairspray can be used to secure the style and secure the clip-ins in place.
Dyeing Hair Extensions
Introduction: If you’re looking to match your clip-in extensions to your own hair color, you’ll need to dye them. Hair extensions can be dyed like any other hair but with a few extra precautions to prevent damage to the extensions or discolored ends. It’s important to use a professional dyeing kit as regular hair dyes can damage the extensions and harm their longevity.
Preparing the Dye: Before you begin dyeing the hair extensions, it’s important to prepare the dye mixture. Ideally, you should use a dye that is specifically designed for human hair extensions. Make sure to mix the dye according to the instructions and test the color on a small strand of hair before full application. You should also wear gloves, an apron and a mask to protect your skin and clothing from accidental splattering.
Dyeing the Extensions: Once the dye is ready, it’s time to apply it to the extensions. Start by dividing the extensions into sections to ensure even and blended coverage. The dye should then be brushed onto the extensions using a wide-tooth comb and left to sit for the recommended time. After the allotted time has elapsed, the dye should be washed off thoroughly using cool, not warm, water and a mild shampoo to ensure all the color has been removed.
Conditioning Hair Extensions: After the hair extensions have been dyed, they should be conditioned. This will help restore the moisture and nourish the fibers of the extensions. A good quality hair mask or conditioning cream can be applied to the extensions and left for at least 15 minutes before being washed off with a mild shampoo. This will help keep the extensions looking shiny, healthy and full of volume.
Styling Hair Extensions: After the extensions have been washed and conditioned, they should be styled as desired. Depending on the look you’re going for, this could involve blowdrying, curling or straightening. When styling the extensions, it’s important to use low temperatures as high temperatures can cause the extensions to damage and discolor.
Making Your Own Clip-In Hair Extensions
Introduction: Creating your own clip-in hair extensions can be a fun and creative process. It’s a great way to add length, volume and style without the need for chemical hair dyes or damaging styling tools. Making your own clip-in extensions requires a few basic tools and materials, as well as a bit of patience and practice.
Gathering Materials:The materials required for making your own clip-in extensions are fairly basic. You’ll need a thin piece of fabric (such as lace or silk), a set of clips, some wefted human or synthetic hair extensions, a needle and thread, a pair of scissors and a sewing machine. If you’re using a synthetic hair extension, it’s important to purchase a quality brand and make sure it is heat-resistant.
Making the Base Piece: The base piece of the clip-in extensions should be made with a thin, durable fabric such as lace or silk. Using a needle and thread or a sewing machine, attach the fabric to a clip. Then, attach the other side of the clip to the back of the fabric to create a loop. It’s important to make sure the loop is securely sewn so that the clip won’t come loose.
Weaving and Securing the Hair Extensions: The hair extensions should then be carefully wefted and secured to the base piece. Make sure to evenly space the wefts and use a high-quality thread to secure them. It’s best to use a zig-zag stitch with a sewing machine to ensure the wefted hair is tightly secured.
Attaching Clips: Once the wefts have been secured, the clips can be attached to the base piece. This should be done carefully with a pair of pliers and small rings and clasps. Make sure to securely attach the clips to the fabric of the extensions and double-check that they won’t come loose.
Maintaining Clip-In Hair Extensions
Introduction: Keeping clip-in hair extensions looking their best involves regular maintenance and care. Good and consistent care will help prolong the life of the extensions and ensure that they look their best for longer. If you’re looking for tips on how to keep your clip-ins looking glossy and vibrant, here are a few of our top maintenance tips.
Cleaning and Brushing: One of the best ways to keep your clip-in extensions looking their best is to clean and brush them regularly. It’s important to use a gentle shampoo and conditioner when washing the extensions and make sure not to over-wash them as this can cause them to become dry and brittle. After washing, make sure to brush the extensions with a soft boar bristle brush to keep them smooth and tangle-free.
Minimising Heat Damage: Heat damage can do a lot of damage to hair extensions so it’s important to be mindful of how much heat you’re using. When styling the extensions, it’s best to use a low heat setting as high temperatures can cause the extensions to become dry and brittle. If possible, let the extensions air dry after washing and avoid using heat styling tools as much as possible.
Using the Right Products: It’s important to use the right products when caring for clip-in hair extensions. Ideally, it’s best to use a light moisturising shampoo, conditioner and serum to keep the extensions hydrated and glossy. Avoid using heavy styling products as these can weigh down the extensions and cause them to become dull and lifeless.
Applying Christmas Lights Sparingly: Christmas lights can look great with extensions, but they can also cause a lot of damage if applied too often, too heavily or with the wrong products. If you want to add some festive sparkle to your clip-in extensions, it’s best to use a light dusting of glitter as this will help to keep the extensions looking soft and glossy without weighing them down.
Which Type of Clip-In Extension is Right for You?
Introduction: With so many different types of clip-in extensions available it can be hard to decide which one is right for you. When choosing the right clip-in extensions for you, it’s important to consider factors such as the type of hair you have, your desired length and volume and the overall look you’re trying to achieve. Here are some tips to help you decide which type of clip-in extension is best for you.
Your Hair Type: The type of clip-in extensions that you choose will depend on the type of hair you have. If you have fine hair, it’s best to opt for a thinner weft with a smaller amount of hair. Conversely, if you have thick hair you’ll want to choose a thicker weft with more hair. This will ensure that the extensions blend in seamlessly with your natural hair without weighing it down.
Your Desired Length and Volume: Before making a purchase it’s important to decide how long and voluminous you would like your extensions to be. Make sure to purchase extensions that match your desired length and volume to ensure you get the look you’re after. It’s also important to consider how much extension you’ll need. If you’re after a subtle look, one weft may be enough. However, if you’re going for a more dramatic look you may need to opt for more than one weft.
The Overall Look: When choosing clip-in extensions it’s important to consider the overall look that you’re trying to
