Overview of a Sewing Cover
Crafting a cover for a sewing machine is an easy, affordable and fun way of preserving the machine and protecting it from wear and tear. Doing so also adds a tasteful touch of customizing a room. Creating a cover for a sewing machine, including the necessary measurements and materials, can be done by virtually anyone. It requires no special skills or tools, and it can be finished in a few hours.
Gathering Materials:
The materials required include fabric, batting, thread, and quilting clips. It is essential to choose the type of fabric: cotton fabric is the popular choice, as it is easier to clean and press. For batting, use foam or cotton batting, or a combination of the two, to give the cover a finished, padded look. The batting must be large enough to pad the entire area of the sewing machine.
Measuring the Cover:
Measure the top, bottom, sides, and back of the sewing machine. In most cases, the top and bottom measurements should be the same, but the sides and back measurement can be slightly longer. Once the measurements are taken, they should be added together to determine the size of the fabric. The thickness of the batting should be taken into consideration when measuring.
Cutting and Sewing the Cover:
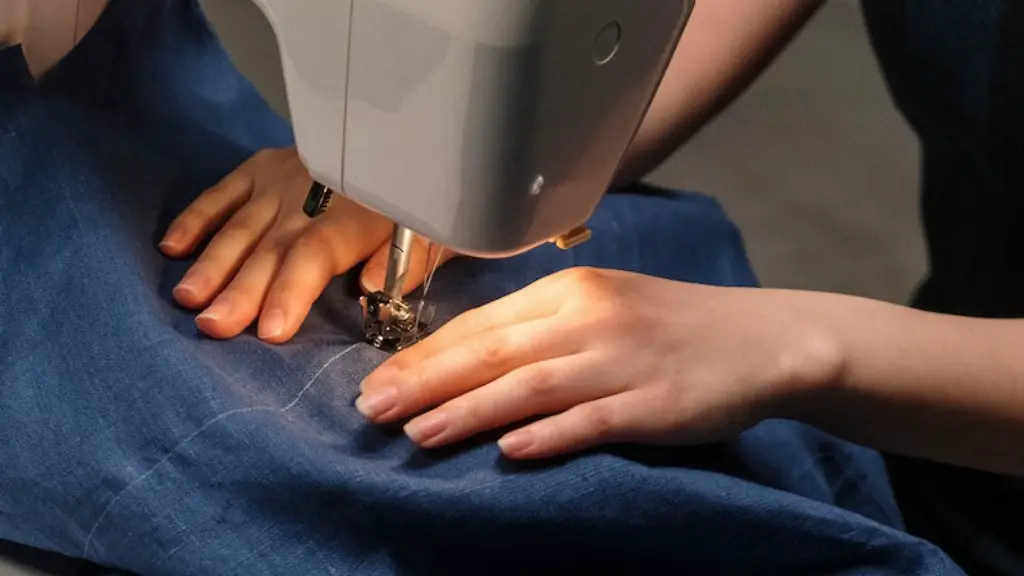
After the measurements are taken and the fabric and batting are cut, the cover can now be sewn and quilted. Start by sewing the fabric and batting together and lay it on top of the sewing machine. Make sure to leave enough fabric for folding and hemming. Sew the back, top and sides of the cover. Place the quilting clips at even intervals, beginning from the center and working your way out. Finally, fold the hem and sew it to the cover.
Grommets, Buttons and Fastenings
To secure the cover, place grommets at the top of the cover and leave a space for a button through the top. The number of grommets and buttons will depend on the size of the cover. A simple fastening such as Velcro could also be used.
Conclusion
Making a cover for a sewing machine is an easy task that requires only basic materials and a little bit of know-how. This project will not only make the machine look great, but it will also protect it from dust, dirt, and everyday wear and tear.
Utilizing French Seams
Creating a cover for a sewing machine that has French seams will give the piece a professional and finished look. French seams are used when two pieces of fabric are sewn together, then turned and re-stitched using a zigzag stitch to create a neat seam. To create a cover with French seams, sew the two pieces of fabric together with a 5/8-inch seam allowance, then trim the seam allowance to 1/4-inch. Next, turn the fabric and stitch along the seam line with a zigzag stitch. This will create a tidy and secure seam.
Machine Embroidery Patterns
Using a machine embroidery pattern is a great way to give a sewing machine cover some extra character. Many patterns come in a variety of shapes and sizes, so making an individualized cover can be easily accomplished. Embroidery patterns vary in complexity, so it is important to find the right type depending on the experience level. Most patterns require the user to transfer the pattern to the fabric and to use a stabilizing material, such as interfacing or fusible web, to keep the fabric from shifting.
Adding Additional Elements
Adding extra elements such as pockets, ruffles and ties can give the cover a unique look and enhance its function. Pockets can be used to hold sewing supplies or to add a decorative touch. Ruffles can be added along the bottom edge or to the sides for a more feminine look. Ties can be used to secure the cover in place.
Interfacing for Strength
For an extra layer of strength, interfacing should be used for the cover. Iron-on interfacing can be used to give the fabric additional stability. This will also help to ensure the longevity of the cover.
Pressing the Cover
After the cover is finished and all embellishments have been added, it needs to be pressed. The seams should be pressed well, starting with the right side of the fabric and continuing to the wrong side. This will help to keep the cover in good shape and will help to keep the fabric from losing its shape.
Quick-Release Clips
For convenience, quick-release clips could also be added to the cover. This will allow the cover to be quickly removed and reattached. Quick-release clips are easy to add and can be found at most craft stores.
Sewing Machine Cover for Large Machines
Making a cover for a larger sewing machine, such as an industrial machine, is similar to making a cover for a regular-sized machine. The only difference is that the measurements must be larger and the fabric and batting must be cut accordingly. Once the measurements are taken, the cover will proceed in the same way.
Personalizing with Monograms
Adding a monogram can be a fun way to personalize the cover and make it unique. Monograms can be easily created by purchasing a monogram kit that comes with an alphabet stencil or by buying iron-on letters. Monograms are a great way to add an individual touch to a sewing machine cover.
Using Old T-Shirts
For a creative and thrifty way of making a cover, consider using old t-shirts. Cut two large rectangles from the t-shirts, using a 1/4-inch seam allowance. Next, sew the two rectangles together and fold the hem. After the cover has been assembled and seams pressed, the cover is now complete.
Making Straps
For an easier way to attach the cover, consider making straps. Straps are simple and easy to make and can be created from any type of fabric. Measure the length of the strap and cut the fabric accordingly. Fold the edges of the fabric and sew them in place. Grommets can then be added to the ends of the straps to secure the cover.
Reinforcing the Seams
It is important to reinforce the seams of a sewing machine cover, as these tend to take a lot of wear and tear. This can be done by using fusible web or by adding a strip of interfacing along the edges of the seams.
Adding Elastic
Elastic can be added to the cover for added security and flexibility. A strip of elastic can be added at the top or the sides to give the cover a snug fit. This will ensure that the cover will stay in place and will not slip off the sewing machine.
