Custom Wig Making Basics
Making a custom wig with a sewing machine is a great way to express yourself and be fashionable. With a few basic supplies, a sewing machine, and a bit of patience, you can create a one-of-a-kind wig that looks just like it came from a salon. Here are the supplies and steps you need to take to make your custom wig.
Firstly, you’ll need to buy materials such as ribbon, thread, a mannequin, hair extensions, and a good quality wig-making kit. You should go to a supplier that specializes in wig-making materials, as they will have the best selection and lowest prices. Additionally, you’ll need a wig block, which is a special kind of foam head that will help you shape your wig properly.
If you are just getting started with custom wig-making, you may want to take a class or watch some instructional videos. This will help you learn the basics of custom wig-making and what supplies you will need. Additionally, it will help you become more familiar with the sewing machine and how to use it. Once you have taken a few classes or learned the basics from instructional videos, you are ready to begin custom wig-making.
The first step in custom wig-making is to choose your wig base. You can either purchase a unit that is already made, or you can make your own wig base. To make your own, you’ll need to measure your head and create a pattern for your wig base. Once the pattern is made, you can use a sewing machine to create the base of your custom wig.
The next step is attaching the hair extensions to the base. Depending on the type of wig you are making, you can attach the extensions to the base with thread, ribbon, or even glue. It’s important to make sure the extensions are properly secured to the base so that your wig looks natural and securely attached. You also need to make sure that the extensions blend in with the base so that the transition between the two is seamless.
The final step in custom wig-making is styling the wig. You can use hot tools such as curling irons or flat irons to style your wig the way you want it. Once the styling is complete, you can use a hairspray to keep the style in place and to help keep the wig looking natural. And voila! With a bit of patience and creativity, you can make your own custom wig you love.
Different Types Of Custom Wig Making
The type of custom wig you create will depend on the look you want to achieve. If you want to create an everyday style that you can wear to work or school, a basic wig is the way to go. You can choose from a range of hair textures, styles, and length. If you are looking for an edgier style, opt for a more creative or fantasy look. You can mix different hair textures and styles to create something unique and eye-catching.
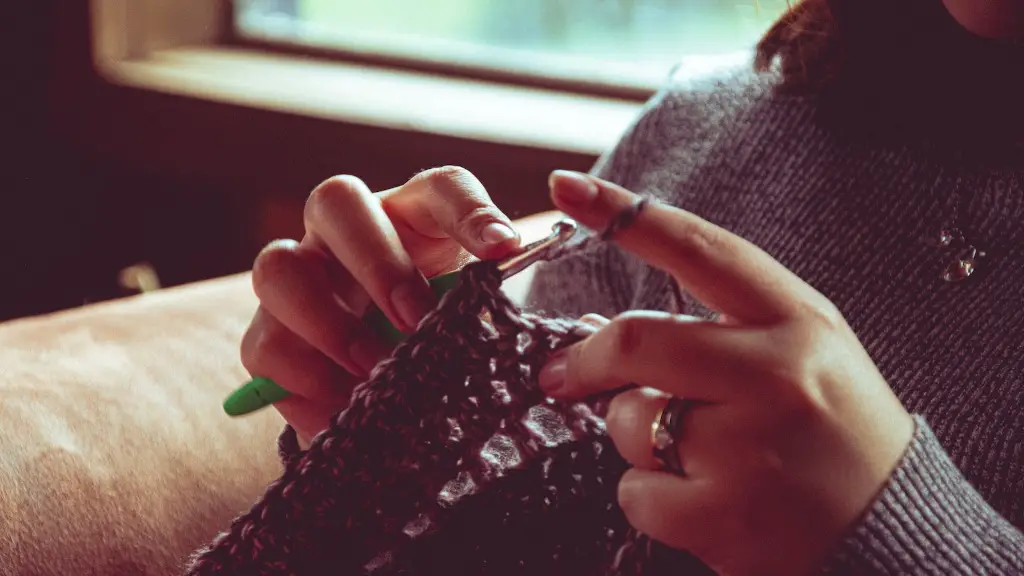
Another option is to create a wig with a lace-front closure. This type of wig gives you the look and feel of a natural hairline without damaging your natural hair. The lace-front closure is a special type of hairline that is made with a crochet needle and thread. You can choose from a range of lace-front closures, or you can make your own using a crochet needle and thread. This is a great option if you want to wear a wig but don’t want to damage your natural hair.
Finally, you can create a wig with a custom-made cap. This type of wig will fit perfectly to your head, as it is made from measurements you provide. The cap is usually made from a net-like material and provides a secure fit. You can then attach the hair extensions to the cap to create your custom wig.
Once you have chosen the type of custom wig you are going to make, you can begin to shop for the supplies and materials you will need. You can then get to work creating your very own custom wig.
Choosing The Right Hair Extensions For Your Custom Wig
Once you have decided on the type of custom wig you want to make, it’s time to choose the hair extensions that you will be using. This is a very important step, as the quality and type of hair extensions you choose will greatly impact the look and durability of your custom wig.
When choosing hair extensions, you should consider things such as the length, thickness, color, and texture of the hair extensions. If you are making your own wig, you should also consider the size of the wig. You should always go with high-quality hair extensions, as they will last much longer and look better than cheap, low-quality ones. Additionally, you should price-shop to make sure you are getting the best deal possible.
If you are unsure of what type of hair extensions to choose, you can always consult a professional. A professional hairstylist will be able to help you choose the perfect hair extensions for your custom wig. They can also give you tips on styling and maintaining your wig.
Once you have chosen the perfect hair extensions for your custom wig, you can begin the process of making your wig. If you have taken a class or watched some instructional videos, you will be well on your way to making a one-of-a-kind wig that looks like it came from a salon.
Sewing Your Custom Wig
Once you have chosen the type of custom wig you are making, as well as the material and hair extensions you will use, you can begin sewing your wig. This is the most important part of the custom wig-making process and requires a lot of patience and focus.
You must make sure that you are following the right sewing techniques and using the right tools and materials. For example, make sure you are using the right type of thread and needle for the job. Additionally, you should practice sewing on scrap fabric or cloth before you move on to the actual wig fabric.
Once you have completed sewing your custom wig, you should then shape it to the head of the wig block. This step should be done carefully and slowly as it will help to give your wig its shape and secure it properly. Finally, you can then attach the hair extensions to finish your custom wig.
Caring For Your Custom Wig
Once you have completed your custom wig, you need to make sure that you are taking proper care of it so that it lasts. You should never use hot tools on your wig unless it specifically states that it is heat-resistant. Additionally, you should never brush, comb, or pull the wig, as this can quickly damage the hairs.
You should also avoid using too many styling products such as gels, sprays, and mousses on your wig. If you must use styling products, choose ones specifically designed for wigs, as these will help keep the wig looking natural and healthy.
You should also make sure to keep your wig stored safely in a cool, dry place when not in use. Finally, you should wash your wig every two weeks to keep it clean and looking its best. With proper care and maintenance, your custom wig will last for many years.
Creative Options For Custom Wig Making
If you want to get really creative with your custom wigs, there are several different options available. You can choose to make wigs in different colors and styles, or you can opt for something more unique such as raver style wigs or fantasy-themed wigs. Additionally, you can add glitter, gems, or sparkles to make your wig even more unique and eye-catching.
You can also choose to add different types of accessories such as flower headbands or x-shaped clips to your wig. If you are feeling really creative, you can create a wig with multiple colors or even add a feather-like trim. No matter what type of wig you decide to make, the options for custom wig-making are endless.
Custom wig-making is an excellent way to express yourself and be fashionable. With a few basic supplies and a bit of patience, you can create a one-of-a-kind wig that looks just like it came from a salon. Once you have all the supplies and materials you need, you can begin the process of creating your own custom wig. With practice, you will soon become a pro at custom wig-making.
Cutting And Styling Your Custom Wig
The final step in custom wig-making is to cut and style your wig. This step is important as it will help to give your wig the perfect shape and look. When it comes to cutting and styling, you will want to use the same technique and tools that you would use when cutting and styling your own hair.
You can start by trimming the wig to the desired length and keeping the layers even. Once you have achieved the desired length and shape, you can then add the finishing touches. For example, if you want to create a natural look, you can use a flat iron to add waves or curls. You can also choose to add highlights, low lights, or other colour combinations.
When styling your custom wig, it’s important to remember that less is more. Try to avoid using too much product or overstyling the wig, as this could result in an overwhelming and unnatural look. Once you have finished styling, you can then use a light hairspray to help keep the style in place and to help keep the wig looking natural.
Maintaining Your Custom Wig
To make sure your custom wig stays looking its best, you will need to take care of it properly. Make sure that you are storing your wig safely when not in use and that you are gentle when brushing and combing it. Additionally, you should never use hot tools on your wig unless it specifically states that it is heat-resistant.
You should also avoid using too many styling products such as gels, sprays, and mousses on your wig. If you must use styling products, choose ones specifically designed for wigs, as these will help keep the wig looking natural and healthy. You should also make sure to wash your wig every two weeks to keep it clean and looking its best.
Finally, you should take your custom wig to a professional hairstylist once or twice a year to get it re-shaped and re-styled. This will help keep your wig looking its best and ensure that it lasts for many years.
