Overview
Embroidered patches are an excellent way to add a personal touch to clothing items or accessories and elevate their aesthetic appeal. They are also a perfect way to individualize items with a unique design or company brand. Making embroidered patches is not difficult and requires not many items, such as embroidery thread, a frame to mount the fabric, a canvas, and a sewing machine. In this article, several steps on how to make embroidered patches with a sewing machine are discussed.
Gathering Materials
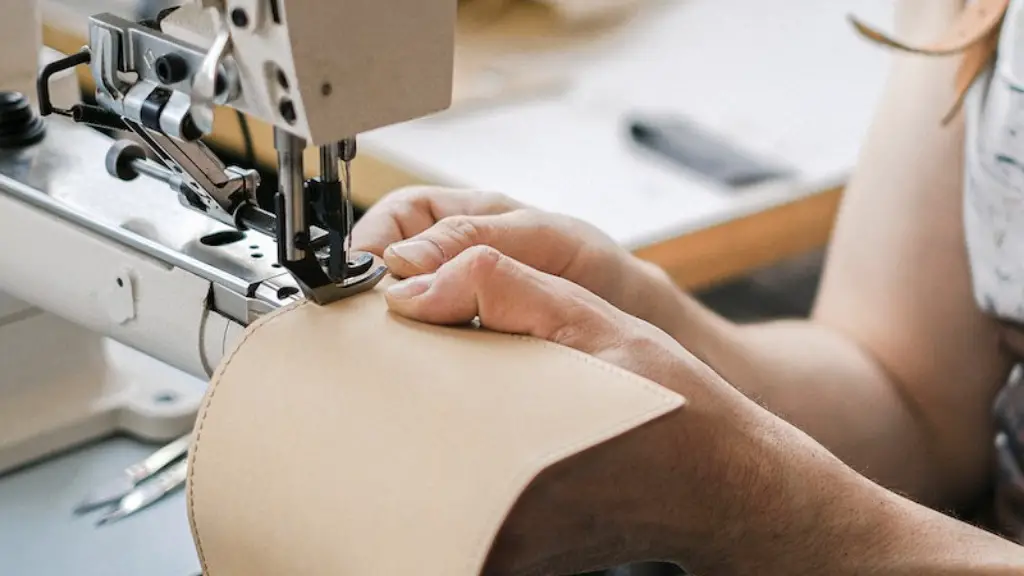
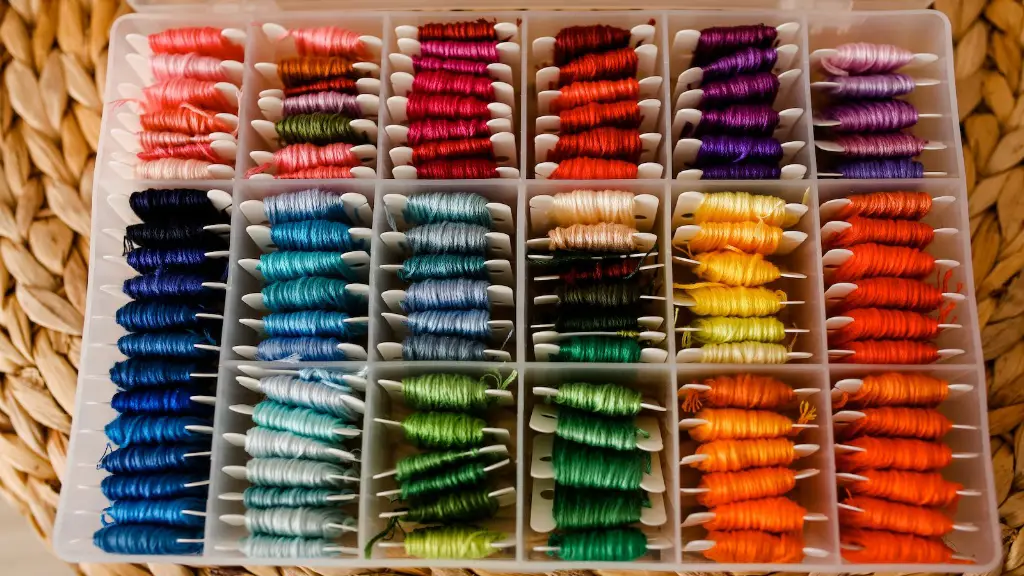
To begin, the materials needed to make embroidered patches should be gathered. These items include thread, a frame, a fabric piece, and a sewing machine. The embroidery thread should be chosen based on the patch design that is desired. Additionally, the material for the frame should be sturdy and have tight edges to protect the fabric from fraying. If a metal frame is chosen, it should have protective padding on all sides to avoid fabric tearing and shredding. The canvas chosen should be the same size as the metal frame, and the sewing machine should be strong enough to sew through multiple layers of fabric.
Measuring and Cutting the Fabric
Once all the materials have been gathered, the fabric should be measured and cut to the desired size. Depending on the shape of the patch, the fabric should be cut in either a square, circle, or rectangular shape. To ensure accuracy and to get a clean cut, a cutting board and rotary cutter should be used along with a measuring tape. It is important to make sure the fabric measurements exceed the frame measurements to provide enough space for sewing purposes.
Framing the Fabric
The next step is to frame the fabric. Once the fabric is cut to the desired size, it should be placed in the chosen frame. To avoid fabric stretching and distortion, the corners of the fabric should be tucked in before attaching it to the frame. The frame should be secured with a tight grip on the fabric and tightened with a screwdriver.
Designing the Patch
The fourth step is to design the patch. There are several ways of creating a design, including using a computer program to produce a digital design or creating a photograph or illustration on a piece of paper. Additionally, a simple design can be created directly on the fabric by freehand drawing or creating a grid pattern. It is important to create the design on a sheet of paper first to get an idea of what it will look like on the fabric.
Transferring the Design onto the Fabric
The fifth step is to transfer the design onto the fabric in the frame. This can be done by tracing the desired design onto a piece of carbon paper and then placing it underneath the fabric and tracing the design onto the fabric. Alternatively, the design can be drawn directly on the fabric using an erasable marker.
Fixing the Fabric onto the Sewing Machine
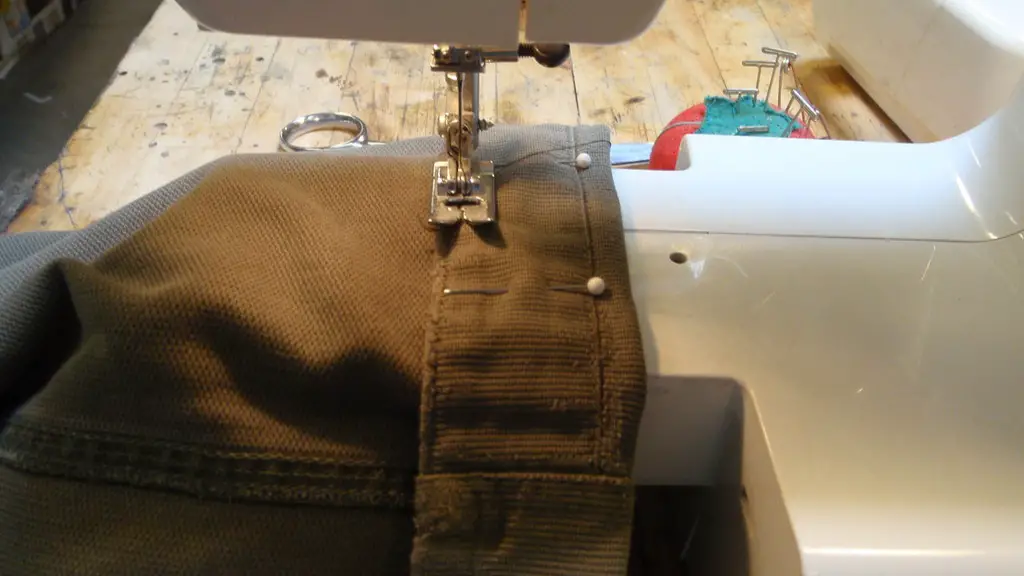
The sixth step is to fix the fabric onto the sewing machine. To ensure that the fabric is in place and secure, it should be attached to the sewing machine with pins. Once the fabric is securely fastened, the sewing machine should be set to the appropriate thread tension and length.
Sewing the Patch
The last step is to sew the patch. To get a consistent and neat pattern, the sewing machine should be set at a consistent speed. Additionally, the stitch length should be set to either a short or medium-length stitch. To give the patch more dimension, a dense and even pattern of stitches should be used. After the patch is complete, it should be left to air dry over a few hours and then it can be ironed and attached to clothing or accessories.
Accessories
Embroidered patches can easily be attached to clothing items and accessories such as hats, bags, and shoes. For items such as hats, a patch that is circular is recommended, however, for other items, it is possible to use any shape patch. When attaching the patch, a hot glue gun should be used at a low temperature setting. It is important to use a low temperature setting because this allows the patch to stick without damaging the fabric. Additionally, a damp cloth should be used to correctly position the patch on the clothing item and ensure that it is secure.
Embellishments
To make an embroidered patch more interesting and eye-catching, embellishments such as rhinestones, beads, and other decorative items can be added. When adding embellishments, it is important to attach them on the underside of the patch to avoid them coming off when wearing the item of clothing. Furthermore, a hot glue gun should be used to attach them as this provides a secure hold on the fabric.
Fixing Mistakes
If mistakes are made while creating the patch, they can be fixed using a fabric marker. To fix small mistakes, the fabric marker should be used to draw over the affected area and cover the mistake. For larger mistakes, it is best to remove the part of the patch that contains the mistake and start again.
Caring for the Patches
It is important to care for patches to ensure that they last longer. To preserve the quality of the patch, it should be washed with a mild detergent in cold/warm water, air dried, and then ironed on the reverse side of the fabric. Additionally, when not being worn, the embroidered patches should be stored separately from other items to avoid them losing their vibrancy, shape, and color.
Adding Unique Touches
For those who want to make their patch unique, several techniques can be used such as adding textured stitches, two-tone stitching, and embroidery appliques. Textured stitches can be used to enhance the texture of the fabric and make it more interesting by adding raised or 3D effects. For a two-tone effect, two different colors of thread can be used to create a unique patch. Finally, embroidery appliques are an excellent way to add a special touch to the patch by adding depth and dimension to it.
Finishing the Patch
To finish the patch, it should be properly secured to the clothing item or accessory. To do this, a needle and thread should be used to make small stitches on the patch to attach it to the item. Alternatively, heat seal patches can be used to quickly and easily attach the patch to the item. Heat seal patches contain a heat-activated adhesive on the back and are suitable for both light and heavy fabric items.
Storing Patches
It is important to store patches correctly so that their shape and color remain intact. To store patches, they should be kept in a cool and dry place away from direct sunlight and heat. Additionally, to preserve the color, they should be kept away from chemical and cosmetic products such as lotions, perfumes, and oils.
Tips and Tricks
When creating an embroidered patch, there are several tips and tricks to follow to make the process easier. Firstly, when drawing the design on the fabric, it is best to use an erasable marker as it can be washed off afterward. Secondly, when stitching the patch, it is advisable to use a piece of paper underneath the fabric to protect the sewing machine and the fabric from damage. Finally, to make the patch more secure, several small stitches should be used to attach the patch to the clothing item.
