Whether you’re just starting out with embroidery or have been doing it for a while, you may have seen the different machines available to create beautiful and intricate pieces of art. While they can be expensive, there are ways to create embroidery designs even with a regular sewing machine. The following article will guide you on how to make embroidery with a regular machine, including what supplies you’ll need and techniques you may want to try.
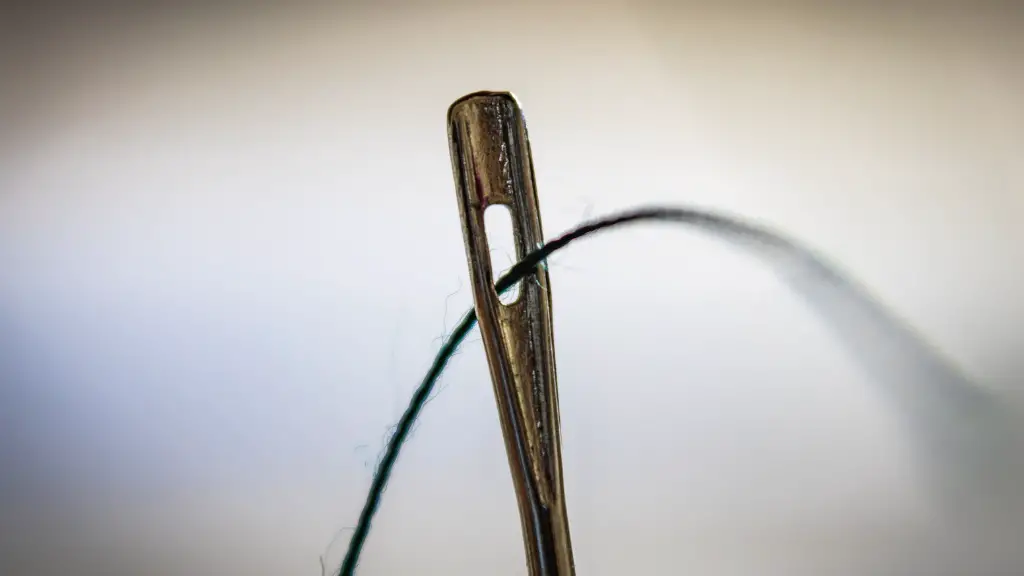
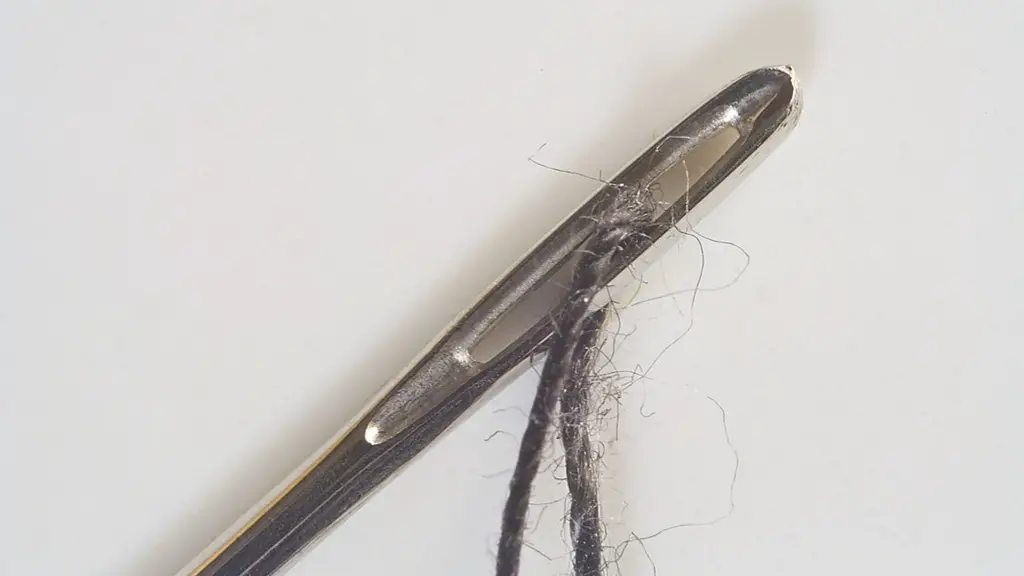
The first step to learning how to make embroidery with a regular sewing machine is gathering the right supplies. You will need a regular sewing machine, embroidery thread, and a stabilizer. Embroidery thread is thicker and more tightly spun than regular thread, and it helps keep the stitches uniform and creates a nice, even look. Stabilizer keeps the fabric from puckering and coming undone when it’s stitched.
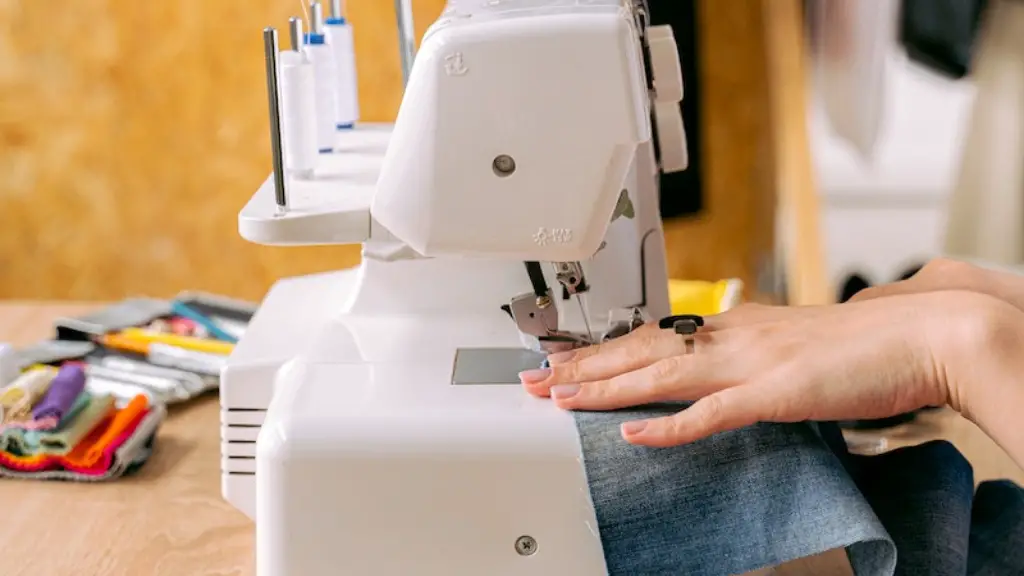
Once you have the supplies, it’s time to get started. First, you want to make sure your machine is set for straight stitching instead of zig-zagging. You also want to check the tension and make sure it’s set for the type of thread you’re using. When all the settings are in order, you can start stitching, either from left to right or from right to left, depending on the pattern. This is where practice comes in – the more you stitch, the better you’ll get at knowing which direction works best for different types of patterns.
Now that you know the basics, there are a few additional techniques you can use when making embroidery designs with a regular sewing machine. Filling in an area with a medium-weight thread can create an interesting design, as can layering multiple threads. You can also create interesting designs by combining a knit stitch and an embroidery stitch. It’s also important to familiarize yourself with the different embroidery stitches available on your sewing machine. You may be surprised to find just what kinds of designs you can create.
There are also special attachments for regular sewing machines that allow you to do even more. Some machines come with a cording foot attachment- this allows you to add texture and depth to your design. There are also specialty embroidery feet attachments that help stitch more intricate designs.
Learning how to make embroidery with a regular sewing machine takes patience and practice, but it can be a really rewarding experience. Not only will you learn a new skill, but you’ll also be able to create beautiful pieces of art without breaking the bank. With the right supplies and techniques, you’ll be able to create stunning embroidery pieces with ease. Now go out and get stitching!
Types of Embroidery Thread
When making embroidery with a regular sewing machine, one of the most important elements is the thread. There are a few different types of thread available, each with their own benefits and drawbacks. The most common type of thread is cotton thread, which is available in a variety of colors. Cotton thread creates a nice, even stitch and is the most economical option, but it can be prone to snagging and breaking. Polyester thread is more durable and can be created in a wide range of colors, but it’s more expensive than cotton.
Rayon thread is another option, and it’s the go-to choice for most embroidery projects. Rayon creates a beautiful and shiny luster when stitched and is great for creating intricate and delicate designs. However, it is susceptible to tangling and knots. Finally, nylon thread is the strongest of the embroidery threads, and it’s ideal for use in areas that will get a lot of wear and tear. All of these threads have their advantages and drawbacks, and it’s important to consider the best option for your project before buying.
Transferring Patterns to Fabric
Once you’ve got your supplies and your thread, it’s time to start stitching. But before you can do that, you have to transfer the pattern onto the fabric. There are a few different ways to do this. You can either trace the pattern onto the fabric with a fabric pen or you can use a water-soluble stabilizer, which will allow you to place the pattern directly onto the fabric and then wash away the stabilizer when you’re done stitching.
It’s also possible to transfer patterns using a light source, such as a lightbox or window. Place the pattern onto a light source and then place your fabric on top. Trace the pattern using a pencil or fabric pen and you’ll have the image transfer to the fabric. This method is great for intricate and detailed patterns.
Whichever method you use, make sure to check the pattern for accuracy before you start stitching. If the pattern doesn’t look right, you can correct it by re-tracing it or washing away the stabilizer and starting again.
The Final Step: Finishing Your Project
Once your project is finished, it’s time to give it a professional finish. If you used stabilizer, now is the time to wash it away. If you used a water-soluble stabilizer, place it into a mesh bag and machine wash on the delicate cycle. For heavier fabrics, use an upholstery cleaner to get rid of any residue. If your project is a work of art or something to wear, you may want to give it a light steam pressing with a dampened cloth to give it a crisp and professional finish.
Finally, you may also want to give your project a final touch with a fabric sealant. Fabric sealants are easy to apply, they help keep fabric from fraying and they give the embroidery a professional, finished look. After applying the fabric sealant, let it sit overnight before wearing or displaying your work of art.
Tips for Beginners
When it comes to learning how to make embroidery with a regular sewing machine, there are a few tips and tricks you should keep in mind. First, make sure to use the appropriate fabric for your pattern – some patterns are created for lightweight fabrics, while others will require a heavier fabric. Also, make sure you use the right thread for each stitch – if you use a heavier thread for a delicate pattern, it will create a bulky result. Finally, practice makes perfect, so keep stitching and trying different techniques until you find a method that works for you.
When it comes to learning how to make embroidery with a regular sewing machine, the most important thing is to have fun. Whether you’re stitching an intricate pattern or a simple border, the possibilities are endless. With some practice and experimentation, you’ll find a method that works for you and be creating beautiful embroidery pieces in no time.
Embroidery Hoops
A great accessory to use when making embroidery with a regular sewing machine is a hoop. Embroidery hoops are used to help keep the fabric taut and prevent shifting and bunching, which can ruin a project. Hoops come in various sizes, shapes and materials and can be easily found at most craft stores. When using the hoop, you want to make sure the fabric is snugly wrapped, but not too tight that it’s causing puckering or bunching. The hoop should be gently squeezed before use to make sure the fabric is evenly distributed.
Embroidery hoops can also be used to create interesting patterns as you stitch. Try using multiple hoops in different sizes, or rotate the hoop after every few stitches to create a unique pattern. Embroidery hoops can also be used to create appliques or 3-dimensional images. There is no limit to what you can create with this helpful tool.
Summary
Creating beautiful pieces of embroidery is possible even with a regular sewing machine. With the right supplies, techniques, and accessories, anyone can make amazing works of art. From practicing different stitches and creating intricate designs to adding texture and depth, anyone can create stunning embroidery with ease. We hope this article has helped you understand the basics of creating embroidery with a regular sewing machine – now go out and get stitching!


