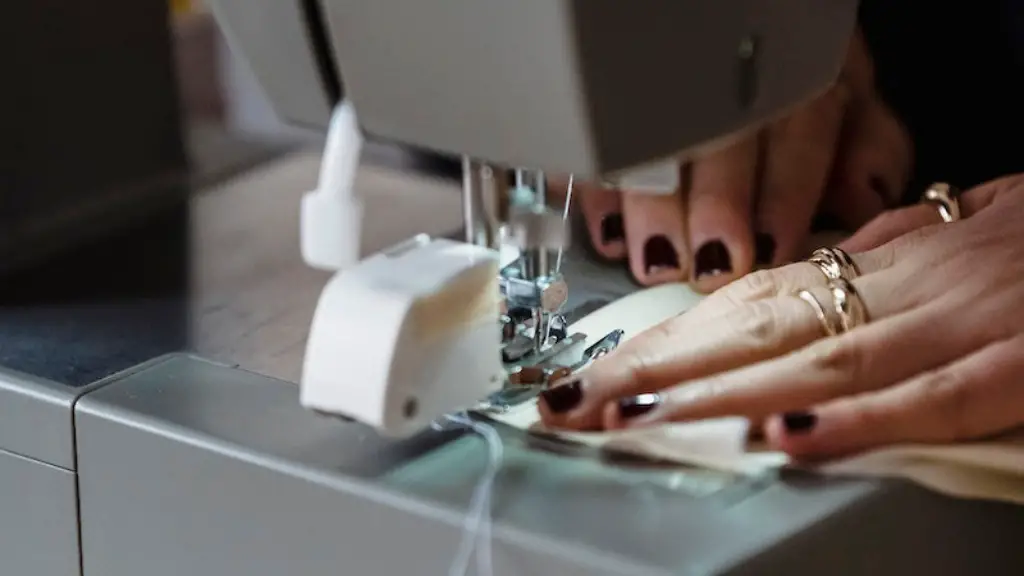
Making your own sewing patterns is a great way to get the perfect fit for your clothing. Sewing your own clothes also allows you to be more creative with your clothing choices. You can choose from a variety of fabrics and trims to make your clothing unique. With a little effort, you can create a pattern that is exactly what you want.
There’s no one-size-fits-all answer to this question, as the best way to make your own sewing pattern will vary depending on your individual needs and preferences. However, some tips on how to create your own sewing pattern include finding a basic garments that fit you well and using it as a template, or using a drafting method to create a custom pattern. Whichever route you choose, be sure to take accurate measurements and create a test garment to check the fit before cutting into your final fabric.
Is it hard to make your own sewing patterns?
Pattern making can feel quite hard for some people, especially if it’s a new skill. However, with some practice and patience, it’s a skill that anyone can learn. There can be a bit of math involved in pattern making, so being comfortable with numbers is helpful. However, there are also ways to make pattern making easier with the help of technology.
This is a great app for anyone who loves to sew! It helps you keep track of your projects, measurements, patterns, fabric, and your sewing shopping list all in one place. This is a must-have for any serious sewer!
How do I make a pattern from something I own
1. Start with a t-shirt: A t-shirt is a great starting point for creating a pattern because it is a simple garment with few curves.
2. Choose a fabric similar in type to the original garment: This will help you to get a better idea of how the garment will look once it is made.
3. Add lots of markings: Markings will help you to transfer the pattern onto the fabric and will also help you to make any adjustments that may be necessary.
4. Use a flexible ruler to duplicate curves: This will help you to get an accurate representation of any curves on the garment.
5. Divide your garment into two halves: This will make it easier to transfer the pattern onto the fabric.
6. Adjust for fit after tracing: Once you have transferred the pattern onto the fabric, you may need to make some adjustments to ensure a good fit.
There are a few different methods of pattern making, each with its own advantages and disadvantages.
Drafting is a popular method for creating patterns, as it is relatively simple and quick. However, it can be difficult to get accurate measurements and proportions using this method.
Draping is a more time-consuming method, but it allows for a more accurate fit. This is because the pattern is created directly on the body, rather than being measured and then transferred to paper.
Flat paper patternmaking is a compromise between drafting and draping. It is more accurate than drafting, but not as time-consuming as draping.
What is the hardest thing to sew?
Sewing with leather, sheer fabrics, and knit fabrics can be difficult because they are tough, delicate, and stretchy. Here are some tips to make it work:
Leather:
-Use a sharp needle and a strong thread
-Test the seam on a scrap piece of leather first
-Be careful not to pierce the leather while sewing
Sheer fabrics:
-Use a small needle and a fine thread
-Be careful not to tear the fabric while sewing
-Use a stabilizer underneath the fabric to prevent it from stretching
Knits:
-Use a stretch needle and a stretch thread
-Test the seam on a scrap piece of knit fabric first
-Be careful not to stretch the fabric while sewing
If you’re thinking about starting to sell on Etsy, patterns are a great way to get started. You don’t have to worry about shipping, inventory management, delivery mix-ups, and product malfunctions – patterns are a great way to get your feet wet in the world of online selling. Thanks to the increased interest in crafting due to the COVID-19 pandemic, patterns are a hot commodity right now. so jump on the bandwagon and start selling!
Can Cricut make patterns?
In order to add a pattern fill to any text or image layer, simply click on the layer and then select the “Pattern Fill” option from the toolbar. You will then be able to choose from hundreds of patterns in the Cricut Design Space pattern library, or you can upload your own. Note: Patterns are available only in the Windows and Mac version of Design Space.
This is an amazing machine for anyone who wants to get into sewing! With the Cricut Maker, you can find everything you need in one place to get started on your sewing projects.
How do I create a PDF pattern
This tutorial will show you how to use the PDF templates to create a multi-page pattern. You will learn how to select the paper size that suits your needs, copy and paste the pattern onto a PDF template, and arrange the blocks by moving and rotating them in order to economise printing. Finally, you will learn how to remove redundant pages or Artboards that do not feature pattern pieces.
Sewing your own clothing is a great way to save money and time. By creating your own sewing patterns, you can ensure that your clothes will fit well and look great. Drafting a custom bodice piece using your specific measurements is a great way to get started. With your own sewing patterns, you can sew tops, dresses, and more with confidence.
Do designers make their own patterns?
There are many design companies that employ their own pattern-makers and seamstresses. These professionals create the master patterns and sew the prototypes. This allows the companies to have complete control over the design and production process.
Both calico and muslin are plain-woven textiles made from cotton. They are often used for pattern making because they are inexpensive and easy to work with. However, calico is often more sturdy and muslin is usually more finer and smoother.
What are the 5 steps of pattern making
Creating a pattern is essential to making a garment. To create a simple pattern, a pattern maker would have to follow five essential steps: gathering their material, taking proper measurements, adding styles and designs, grading their design, then draping it to result in the final garment.
Gathering the material is the first step. The pattern maker will need to choose the fabric they want to work with and make sure they have enough to complete the project. They will also need to find any other materials they need, such as buttons, thread, and interfacing.
Taking proper measurements is the second step. The pattern maker will need to take accurate measurements of the person or object they are making the garment for. They will also need to take measurements of themselves or a dress form to use as a guide.
Adding styles and designs is the third step. The pattern maker will need to decide what style they want the garment to be and what design elements they want to include. They will also need to create a sketch of their design.
Grading their design is the fourth step. The pattern maker will need to create different sizes of their pattern so that it can be made in different sizes. They will also need to grade their design for different body
The flat pattern method is a great way to develop patterns quickly and efficiently. By modifying the basic block, you can create new and varied styles while still maintaining a consistent size and fit. This is especially important for mass-produced garments.
What are the basic tools for pattern making?
There are a variety of different tools that can be used for pattern making and garment construction. Slopers or blocks can be used to create a basic outline of a garment, which can then be used to create a more detailed pattern. Pattern paper can be used to draft patterns, and also to create a template for cutting out fabric. Pattern notch paper can be used to mark darts and other details on a pattern, and scissors can be used to cut out the paper patterns. A measuring tape, set square, and grading ruler can be used to ensure accuracy when cutting and stitching the garment. Finally, sewing pins can be used to hold the fabric in place while stitching.
1. Always use the correct type of machine needle for your fabric and sewing project.
2. Replace your needle regularly (about every 8 hours of sewing) to avoid damage to your fabric and machine.
3. Finish all your seams to avoid fraying and tearing.
4. Press your seams to set them and avoid wrinkles. Use the correct heat setting on your iron.
5. Choose the right fabric for your project. Avoid using delicate fabrics for high-stress areas.
6. Use sharp scissors designed for sewing to avoid damaging your fabric.
Final Words
Assuming you would like a step-by-step answer:
1. Begin by finding a garment that fits you well and that you would like to make a pattern for. trace the outline of the garment onto a large piece of paper.
2. Cut the garment apart along the seams, being careful to preserve the pieces.
3. Place the pieces of the garment on the paper, arranging them so that they lie flat. Trace around each piece, adding seam allowances as desired.
4. Label each piece of the pattern so that you will remember what it is and where it goes.
5. Transfer the pattern pieces to a sturdier paper, such as pattern paper or muslin. Cut out the pieces and assemble them to make sure everything fits together correctly.
6. Make any necessary adjustments to the pattern pieces, then cut them out again.
7. Your pattern is now ready to use! Use it to cut out pieces of fabric to make your own version of the garment.
There are a few things you need to know in order to make your own sewing pattern. First, you need to know how to take accurate measurements of the garment you want to create. Second, you need to be able to translate those measurements into a pattern. And finally, you need to be able to sew the garment you’ve created. With a little practice, you can master all of these skills and start making your own custom clothing.
