In recent times, more and more people are turning to craftsmanship as a way to express themselves. Sewing machines are one of the favoured options for those looking to design their own patchouli. Making patches with sewing machines seems intimidating at first, but with enough practice and the right skill set, it is an incredibly rewarding activity. Here, we provide a comprehensive guide to making patches with a sewing machine, and delve into the different techniques and the variety of materials one requires.
Firstly, it is important to select the right kinds of fabrics. Most patch makers prefer to use cotton fabric, as it is the most versatile material. It is also quite easy to work with and holds its colour for a relatively long period of time. Other materials such as denim, chambray, and corduroy are also commonly used to make patches. It is important to note that some materials, such as silk and velvet, need to be lined with interfacing to prevent fraying and provide the patch with additional structure.
It is recommended to use the patch design before cutting out the fabric. Patches may be either stitched on the material or ironed-on. When designing a patch, one should consider the size and shape of the patch, as these two factors are essential when creating a successful patch. Additionally, it is important to outline the design elements in the patch, such as embellishments, colours, quilt-work, threads, and trims.
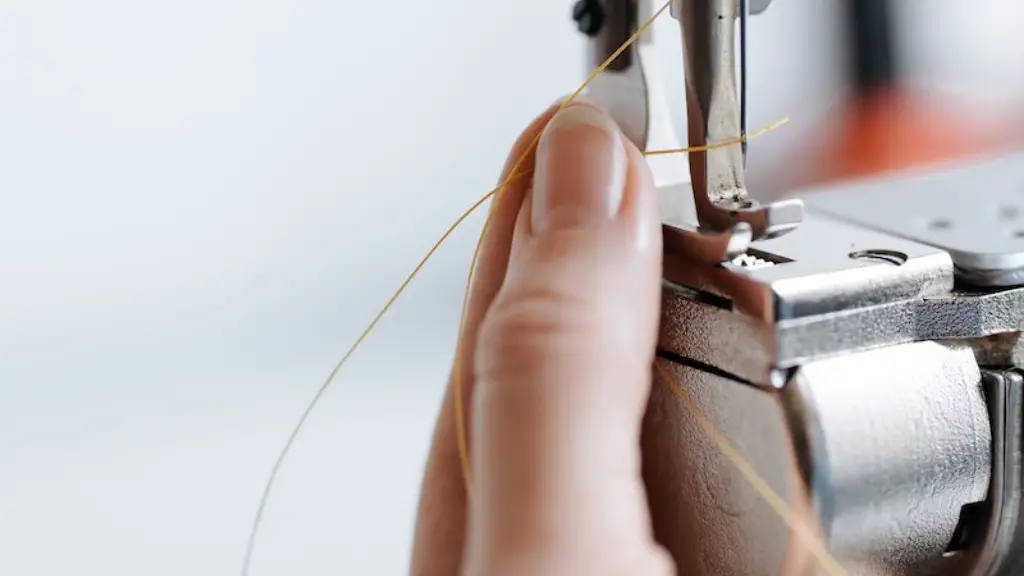
Using a sewing machine to make patches requires some basic knowledge of the machine and its operations. The sewing machine should be set to the appropriate stitch and tension settings, and the correct thread should be used. In order to ensure the patch is well-secured, the edges of the patch should be sewn with a zigzag stitch. Slight variations to the stitch type and tension may be necessary depending on the fabric being used.
The patch should be placed on the intended location before stitching it on. For iron-on patches, an iron-on adhesive adhesive (or a glue stick) should be used to adhere the patch to the fabric. Once the adhesive is secured to the patch, it should be ironed for a few seconds and left to cool before stitching. For patches that are sewn on the fabric, a simple running stitch should be used. It is important to secure the stitch with a back stitch at the beginning and the end of the stitching line.
One should ensure that the thread and the stitching line is tight and secure, as this will ensure that the patch is firmly attached to the fabric. If the stitching is not secure, the patch may come off in time. Additionally, one should use a sharp pair of fabric scissors when cutting the fabric, otherwise the edges will be sloppy and uneven, which will make the patch appear unprofessional. After the patch is securely in place, one should trim the excess fabric and threads around the edge of the patch.
Finishing the Patch
To finish the patch, one should add any desired embellishments such as ribbons, tassels, beads, etc. These can be secured with a few stitches around the perimeter of the patch. Additionally, for an extra creative touch, one can also use fabrics paints, markers, stamps and stencils to add extra detail to the patch. It is important to let the patch dry thoroughly prior to wearing it or washing it.
Advice from Experts
According to some experienced patch makers, the best way to create a professional-looking patch is to practice patience and be meticulous with the details. They also suggest using contrasting coloured thread for added visual appeal, and to use the contrasting colour to stitch the details, such as trims and embellishments. Furthermore, for a more intricate design, one should use a zigzag stitch, as this will provide more flexibility for curves and shapes.
Tools and Resources
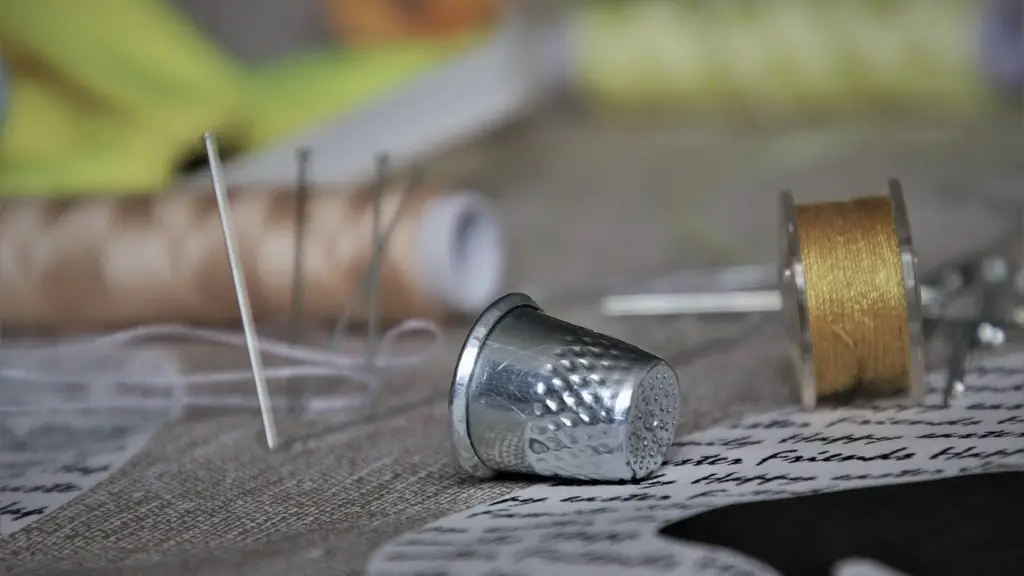
The necessary tools and materials for making patches with a sewing machine include a pair of sharp fabric scissors, a measuring tape, a ruler, needles, and thread. Additionally, one may also require embroidery floss and a thimble, depending on the details of the patch. It is recommended to use an embroidery hoop when stitching intricate designs, as this will ensure that the thread and stitches remain taut and secure.
Alternative Techniques
Aside from sewing machines, there are also alternative methods for making patches. Some of these include hand-stitching, machine embroidery, heat transfer paper (for iron-on patches), and vinyl cutters. Each of these techniques has its own pros and cons, and the right technique largely depends on the desired size of the patch and the level of detail the patch maker wishes to add.
Making Custom Patches
For those who are looking to create custom patches, it is important to research different printing companies to find one that best suits their needs. Some places offer custom printed patches, while others offer embroidered patches. Additionally, it is important to research the materials and designs available, and to determine the size, shape, and other design elements for the patch.
Caring for Patches
It is important to take proper care of the patch to ensure it lasts for a long time. For patches that have been ironed-on, it is recommended to clean the patch with a damp cloth rather than washing it. Sewn-on patches are much more resilient, and can usually be hand-washed, although it is still recommended to take care when washing these patches. Additionally, both kinds of patches can be kept in good condition if they are placed in a garment bag and hung in a suitable place.
Safety Considerations
When using a sewing machine to make patches, it is important to wear proper protective gear, such as eye protection and gloves. Additionally, one should keep scissors and other sharp objects away from children, and store needles and pins in a suitable container. Finally, it is also important to check that the sewing machine is in working order before use, and to practice regularly to maintain proficiency.


