Introduction
Ruffles have long been an emblem of glamour, femininity and sophistication, appearing on everything from wedding dresses to clothing for everyday occasions. Creating ruffled designs is a challenge — but with the right machine, it can be an achievable task. Here, we look at how to make ruffles with a sewing machine and what options are available, as well as the types of fabric you can ruffle, the techniques and the tips to master the craft.
Types of Ruffles
While all ruffles look the same from a distance, there are actually a range of different types that can be made in different ways. Some types of ruffles are flat and gathered, with an even pleated look once completed. Others are wavy and full and can be combined for a more dramatic effect.
For those looking for an easy starter option, the basic type of ruffles is probably the best bet. It’s an easy technique to learn and only requires minimal equipment. The most common type of ruffling is flat and gathered, where the edges of the fabric are folded in towards the middle and secured with a row of long stitches.
The second type of ruffling is pleating and it can be a more challenging technique to master. Pleats are created when fabric is folded twice lengthwise, resulting in a thicker and shaped ruffle. This type of ruffling requires more preparation and careful pinning before seaming. It’s also important that the fabric’s pattern is straight when the pleats are pinned, so that the pleats will stay intact even after washing and drying.
The third type of ruffling is the ruffle with a gathering effect. It’s a slightly more complicated technique, requiring extra steps such as hand gathering and topstitching. It’s not impossible though; with practice and attention to detail, you can create a unique ruffle with a professional finish.
Fabrics to Use
When selecting the right type of fabric for the task, it’s important to consider the type of ruffle you’re trying to achieve. Lighter, sheer fabrics such as organza, silk, chiffon and tulle are ideal for creating more delicate, light and flouncy ruffles. Heavier fabrics such as cotton and linen are better for creating more structured and voluminous ruffles.
When it comes to choosing the weight of fabric for ruffling, you’ll want to pick something that’s lightweight but with enough strength to hold the ruffle shape. Heavy fabrics can be too stiff for ruffles and can cause the fabric to break down and warp.
If you’re unsure which fabric to pick, it’s worthwhile to try out a few options first and practice on scraps or samples. This way you’ll have a better idea of what type of fabric is best for the job and can also compare results.
Making the Ruffles
Once you’ve chosen the right fabric and type of ruffle, the next step is to set up the sewing machine. Depending on the type of ruffle you’ll be creating, decide on the right length and width of stitches for the job. Generally, it’s better to start off with a longer stitch length and adjust later as needed.
To begin, mark your fabric so you know where you’re going to be ruffling. Draw a marking line on the wrong side of the fabric – the distance of the line should be twice the width of the ruffle when finished.
Then, fold the edge of the fabric towards the center along the marking line, with wrong sides of the fabric facing each other. Secure the fold with pins and start sewing along the edge of the fold. Once the ruffle has been created and all the edges are sewn, gently pull the bobbin threads to gather the fabric into a ruffle shape.
If you’re making pleats, you need to be extra careful when pinning the fabric. After the pleats are pinned, stitch the center of each pleat, then gently pull the thread until each side is gathered.
Tips for Perfect Ruffles
Here are a few tips to keep in mind when creating ruffles:
1. Make sure your fabric is properly pre-washed and wrinkle-free before you start – this will ensure your ruffle will stay in shape even after multiple washes.
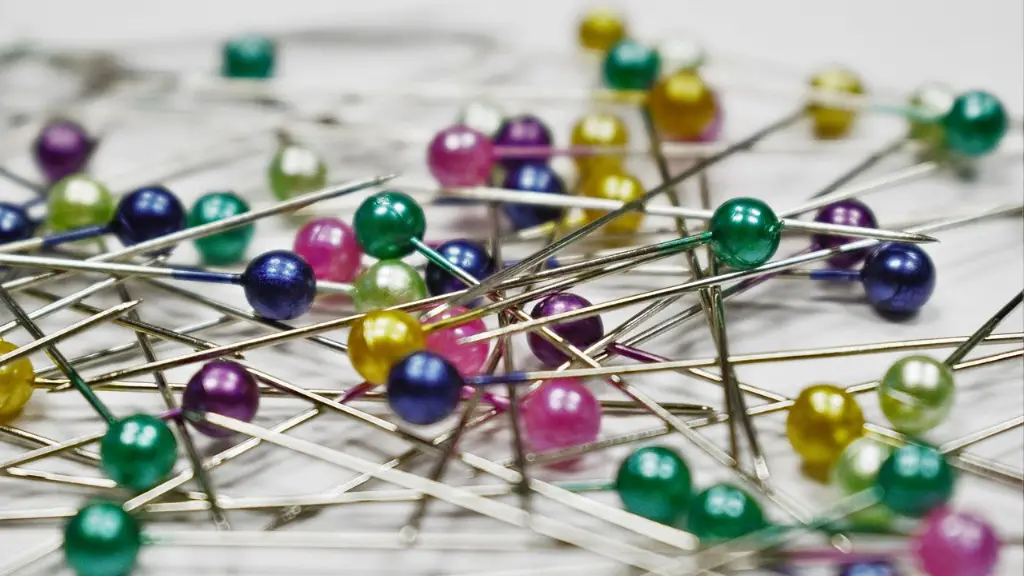
2. Make sure the pins you use are secured tightly – you don’t want them to loosen up while you’re sewing or have them come out during the process.
3. Adjust the tension while sewing. You want the stitches to be tight enough to hold the fabric in place, but not so tight that it distorts the fabric.
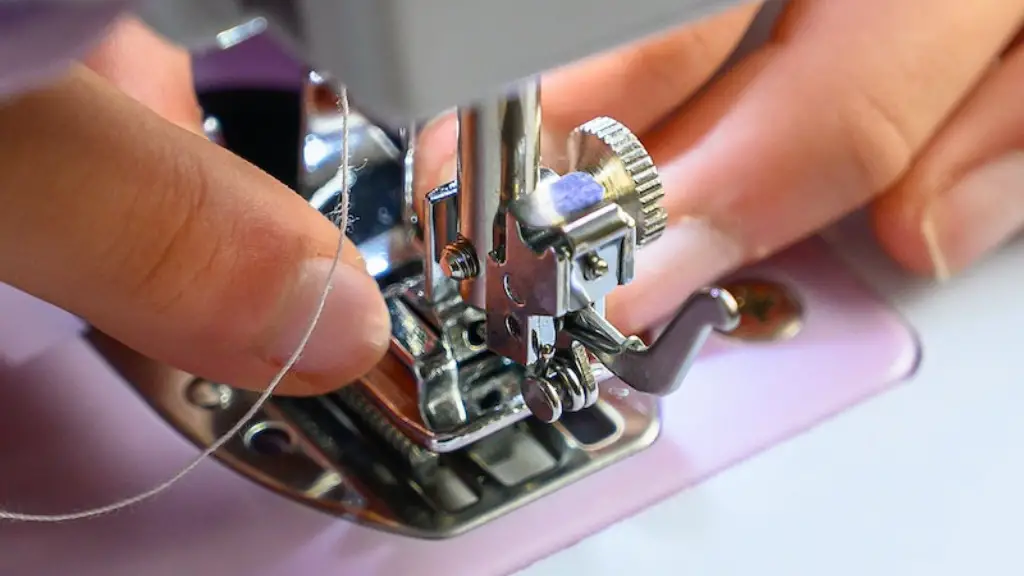
4. Use a presser foot designed for ruffles. This will help keep the fabric in place and even out any irregular pleats.
5. Use the right machine needle for the task. For lightweight fabrics, use a finer needle, and for heavier fabrics, opt for a larger one.
6. When you’re finished sewing, test the ruffle by lightly stretching it – this will ensure you’ve employed the correct needle, tension and stitch length.
Finishing the Ruffles
Once the ruffles are created, the next step is to trim away any excess fabric by cutting it close to the stitches. You can then press the ruffle with a hot, dry iron to set it in place. For a professional finish, you can also add an edge stitch along the sides of the ruffle. This will help ensure the ruffles stay secure and don’t unravel.
If you’re stitching the ruffles onto a garment, it’s best to sew them in place before the garment is sewn together. This way, you can ensure the ruffles are in the right place.
Adding Decorative Effects
Ruffles can also be embellished for a more finished, ornamental effect. This can be done with embroidery, lace trim or ribbon. You can also add a line of decorative stitches with contrasting thread to add a fun and unique touch.
If you’re using a lightweight fabric such as chiffon or tulle, a decorative lace trim or applique can add a romantic touch. It’s best to use a zigzag stitch to secure the lace to avoid the fabric becoming too stiff.
Pros and Cons of Making Ruffles
Creating ruffles can be a time-consuming task and it’s not without its challenges. However, the outcome can be a unique and elegant look that elevates any garment.
The pros of making your own ruffles are obvious – you get to customize your look and add an intricate dimension to your garments. This can help make them stand out from the rest of the crowd.
On the downside, making ruffles requires patience and attention to detail. It can also be frustrating when the fabric isn’t behaving and the stitches won’t stay put. In addition, it can be difficult to match the same ruffles when making multicolored garments.
Conclusion
Ruffles are a unique, eye-catching element that can bring life to any garment. With the right sewing machine, the right fabric and the right techniques, making stunning pieces with ruffles is achievable. We’ve looked at how to make ruffles, from the types and fabrics to use to the techniques and tips to master the craft. We’ve also looked at the pros and cons of making them. We hope the information and tips will help you make perfect ruffles every time.
