Overview
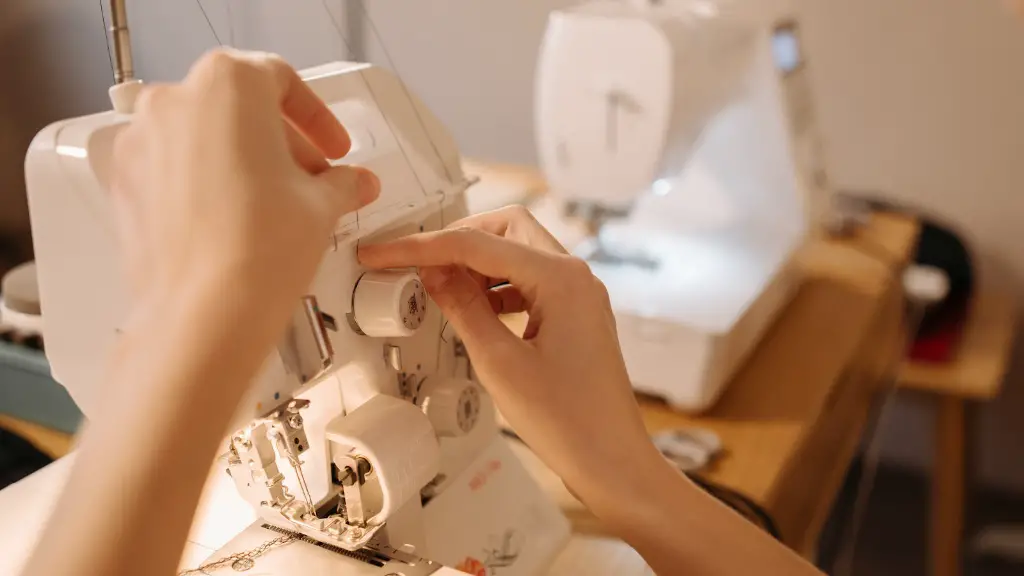
Scrunchies are a great way to add a touch of flair and fun to any outfit. They can be made from various fabrics with just a few supplies and a sewing machine. If you’re looking for an affordable and easy DIY project, then you’re in the right place. This article will explain the step-by-step process of making a scrunchie using a sewing machine. It will also provide some helpful tips and advice so you can make the perfect scrunchie in no time.
Preparing To Sew A Scrunchie
The first step to making a scrunchie is to gather all the supplies you need. The most important supplies you will need are the fabric, scissors, and a sewing machine. You can use any type of fabric for this project, however, it’s best to use lightweight fabric with no stretch as this will make your scrunchie look more polished. Once you have your fabric and supplies, you can start making your scrunchie.
Cutting Fabric To Create The Scrunchie
Start by cutting the fabric into a long rectangle with the width being the desired circumference of your scrunchie. You can measure this out or just guess. Once you have your rectangle, fold it in half lengthwise, wrong sides together. When you fold it, make sure to leave some excess fabric to use as trim.
Sewing The Scrunchie Together
When you’re ready to start sewing, place the fabric right sides together and pin in place. Sew along the entire length of the fabric, leaving a 1cm seam allowance. At the end, leave a few inches open and backstitch the opening shut. After you’ve finished sewing, turn your scrunchie right sides out and use a chopstick or eraser to push out the corners.
Adding The Trim
One of the most important steps in making scrunchies is adding the trim. This can be done before or after the scrunchie is completely assembled. To add the trim, start by cutting a strip of fabric the same length as the scrunchie, with a width based on how thick you want the trim to be. Next, fold this strip in half and sew the two ends together. When you’re done, slide the trim onto the scrunchie and sew in the place.
Securing The Knot
The last step in making a scrunchie is to secure the knot. To do this, you will have to thread elastic through the middle of the scrunchie. Start by cutting an elastic band that is long enough to go around your wrist with some extra for tying a knot. Insert the elastic into the scrunchie and tie a tight knot at the end. Once you’ve done this, you can trim any excess elastic and your scrunchie is now ready to wear.
Tips For Making The Perfect Scrunchie
When making scrunchies, it’s essential to follow the steps closely and take your time. Here are a few tips to help you make the perfect scrunchie:
• Use high-quality fabric – The right fabric will make all the difference. If possible, try to use fabrics like cotton or linen.
• Make sure your stitches are tight – Your stitches should be small and tight, so they don’t come apart during wear.
• Don’t pull the elastic too tight – Pulling the elastic too tight will cause the scrunchie to stretch and lose its shape.
• Take your time when adding the trim – Adding the trim can be tricky, so make sure to take your time when doing it.
• Match the colors – When picking out fabrics and trims, make sure to choose colors that match or compliment each other.
Cleaning Tips
It’s essential to take proper care of your scrunchie to keep it in the best condition possible. A few easy tips to keep in mind when caring for your scrunchie are:
• Avoid machine washing your scrunchie – Scrunchies should be hand-washed to avoid damaging the fabric.
• Use a gentle detergent – Use a mild detergent when washing your scrunchie to avoid discoloration or fading.
• Dry them flat – When drying your scrunchie, it’s important to dry it flat to retain its shape.
• Avoid harsh chemicals – When storing your scrunchie, it’s important to avoid using any harsh cleansing or bleaching products.
Styling Ideas
Scrunchies are incredibly versatile and can be worn in a variety of ways. Here are a few ideas to help you get the most out of your scrunchie:
• Wear it in a ponytail – The classic way to wear a scrunchie is in a ponytail. To add a bit of flair, accessorize your ponytail with a few bobby pins.
• Stack them on your wrist – Arrange multiple scrunchies on your wrist to create a fun and colorful arm cuff.
• Wear it as a headband – Instead of tying it around your wrist, you can wear your scrunchie on your head. This works great for days when you want to add a bit of extra flair to your hairstyle.
• Style it with a belt – Add a pop of color to your outfit by wearing your scrunchie as a belt.
Safety Tips
When sewing a scrunchie it’s important to take certain precautions to ensure your safety. Here are a few tips to remember when making your scrunchie:
• Supervise children – If you’re making a scrunchie with children, make sure to supervise them at all times.
• Use the right tools – Make sure to use the right tools for cutting and sewing.
• Be aware of power cords – When using your sewing machine, make sure to keep power cords away from water sources.
• Unplug when finished – Always turn off your sewing machine and unplug it when finished.
Conclusion
Making a scrunchie with a sewing machine is a great way to add a fun and funky touch to your wardrobe. By following the step-by-step instructions outlined above, you can make a beautiful scrunchie with ease. Just remember to take your time and stay safe when handling sharp tools. Have fun and don’t be afraid to experiment with different fabrics and trim styles!


