Monogramming is a great way to add a personal touch to clothes and accessories. Monogramming is easy to learn and can be done with most regular sewing machines. There is no need for a fancy embroidery machine.
Choose Your Monogram
Before starting the process of monogramming, you need to decide what type of monogram you want to make. The two most popular fonts used with monogramming areblock and script. With block font, letters are usually the same size, while with script font, the first letter is usually larger. You can make a monogram of your initials or create a single initial monogram with a decorative font.
Preparing the Machine
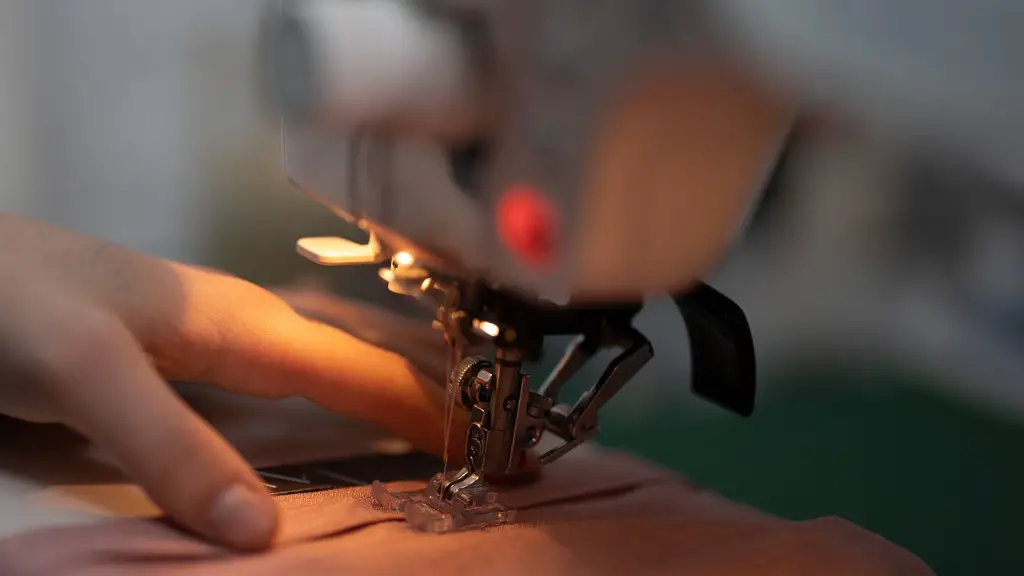
Once you have chosen your monogram, you will need to prepare the sewing machine. The sewing machine should be set to a zigzag stitch with the widest width and shortest length. You will also need to set your tension to loose. This will ensure that the fabric does not pull together as you stitch.
Sketch and Cut Out Monogram
Once the sewing machine is prepared, it is time to sketch and cut out your monogram. Traditionally, monograms use felt to create a 3 dimensional look. You can trace the letters on the felt with pencil and then cut out. Alternatively, you can create a mock monogram by printing it out from a computer and cutting it out of paper. This can then be used as a template for tracing the felt.
Stabilize the Fabric
Once the monogram has been cut out, you will need to stabilize the fabric by attaching it to a stabilizer of some kind. Stabilizers can be purchased at most fabric stores and range from lightweight to heavyweight depending on the weight of the fabric being used. This will keep the fabric from stretching or shifting as it is being stitched.
Attach and Stitch
Once the fabric is properly stabilized, you can attach the monogram to the fabric. Use a basting stitch and a long stitch length to attach the monogram. Once the monogram has been attached, you will need to stitch the letters in the monogram with a zigzag stitch. Adjust the width and length of the zigzag stitch depending on the type of monogram and fabric being used.
Finishing Up
After the monogram has been stitched, it is time to remove the stabilizer. Gently pull the stabilizer back until the stitches are exposed and cut off as much stabilizer as possible without damaging the stitches. Finally, trim the edges of the monogram with sharp scissors.
Add a Personal Touch
Once the monogram has been finished, you can add a personal touch. Rhinestones, ribbons or buttons can be added around the monogram to give it extra flair. You may also consider adding a decorative border for a more finished look or a lace overlay for a more romantic look.
Experiment With Different Fabric Types
Once you have completed your first monogram, you can experiment with different fabric types. Thick fabrics such as corduroy and velvet work best for thicker monograms with a bold stitch, while lightweight fabrics such as chiffon and silk work best for a lighter and more delicate monogram.
Additional Ideas
You can also experiment with different types of threads to create different looks. Metallic threads add a sparkly touch while cotton embroidery floss adds a vintage look. Additionally, you can use pre-cut iron-on letters to create a more intricate and professional look with less effort.
Create Different Styles
You can use the same process of monogramming to create different types of projects. Appliqué is a great way to combine fabrics and add a unique twist to traditional monograms. Adding beads or sequins to a monogram will also help make it stand out.
Felt Embellishments
Felt is a great fabric to use for monograms as it is easy to manipulate. Try adding felt embellishments such as flowers or stars to give your monogram a custom look. You can also use felt to create a three-dimensional look with your monogram.
Beginner Guidelines
If you are a beginner, it is important to practice on fabric scraps before stitching your monogram on your project. This will help you to perfect the technique and adjust your stitch settings for the best results. Always use a basting stitch when first attaching the monogram and test the stitch on a scrap piece of fabric before stitching your final project.


